

Cleaning your ceiling fan seems simple enough, right? Just turn off the power, grab a microfiber cloth or an old pillowcase to catch the dust, and give the blades a quick wipe. This basic method works, and it definitely stops a flurry of dust from covering everything below.
But if you live here in Arizona, you know we're playing a different ballgame. As a professional window cleaning company serving Phoenix, Scottsdale, and Paradise Valley, we at South Mountain Window Cleaning understand how Sonoran dust affects every part of your home, especially your ceiling fans.
Why Cleaning Your Ceiling Fan Is Different in Arizona
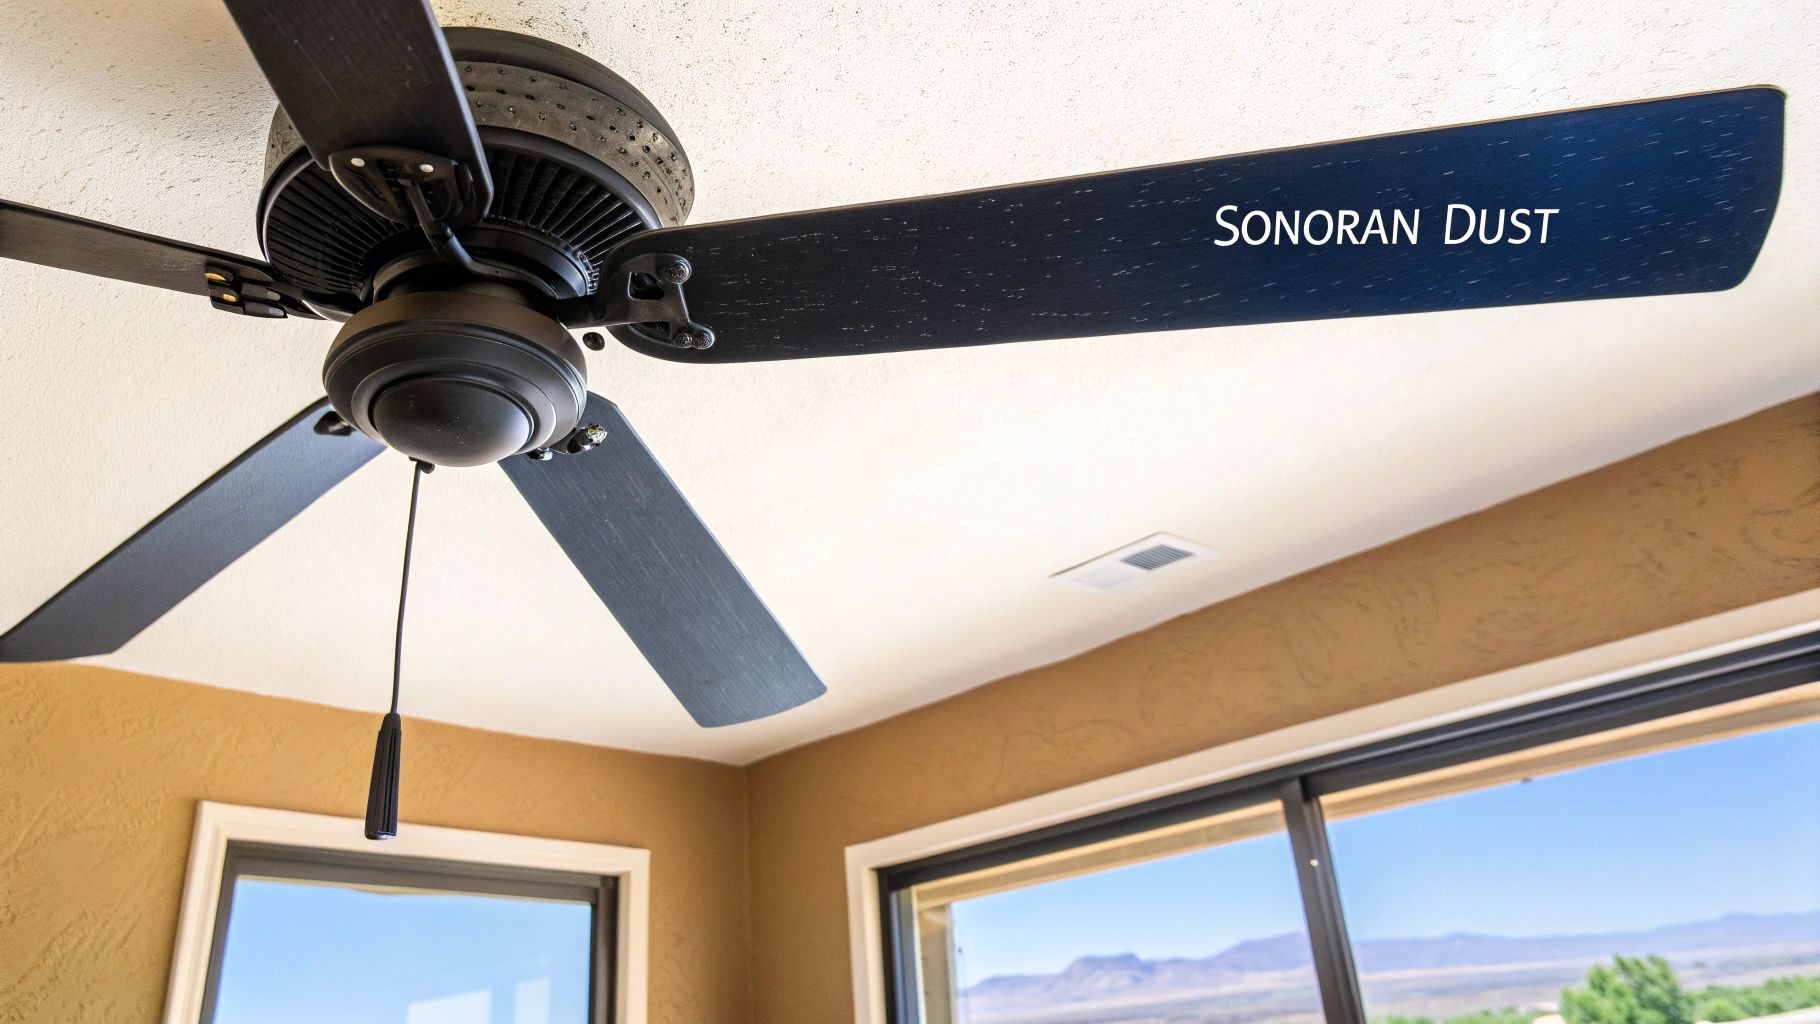
Here in Phoenix, Scottsdale, and all across the Valley, it’s not just regular household dust we’re up against. It’s that fine, gritty Sonoran Desert dust that coats every single surface, especially your ceiling fan blades. This isn't just about looks; it's a home maintenance task that’s unique to our climate.
Every time you flip that switch on a dirty fan, you’re launching a storm of allergens, pollen, and fine particles right into the air you and your family breathe. Beyond just keeping things tidy, regularly cleaning your fans is one of the most effective methods for improving indoor air quality. If you or someone in your home struggles with allergies or respiratory issues, this can make a world of difference.
The Hidden Costs of a Dusty Fan
That layer of grime might seem harmless, but it does more than just kick up allergens. The weight of all that accumulated dust, even though it seems slight, can throw the fan blades off balance. When that happens, the motor is forced to work harder, leading to a few problems we see all the time in homes across Phoenix, Chandler, and Tempe:
- Higher Energy Bills: A motor fighting an imbalance needs more power to spin at the right speed. That extra effort shows up on your monthly SRP or APS bill.
- Shorter Lifespan: The constant strain puts extra wear and tear on the motor’s internal parts, which can cause your fan to give out years before it should.
- That Annoying Noise: Unbalanced fans almost always develop a wobble or a persistent clicking sound, ruining the peace and quiet of a room.
When you put off cleaning your fans, you're not just living with more dust. You're paying for it with higher energy costs and the potential for an expensive replacement down the road. It’s a small chore with a big impact on your home's health and your wallet.
Properly cleaning a ceiling fan in Arizona is about more than wiping away dirt. It’s about protecting your air quality, your investment, and the overall efficiency of your home. Think of it as preventative maintenance, just as critical as other tasks like knowing how to clean window screens to keep the air and light flowing freely.
Your Essential Toolkit for a Dust-Free Finish
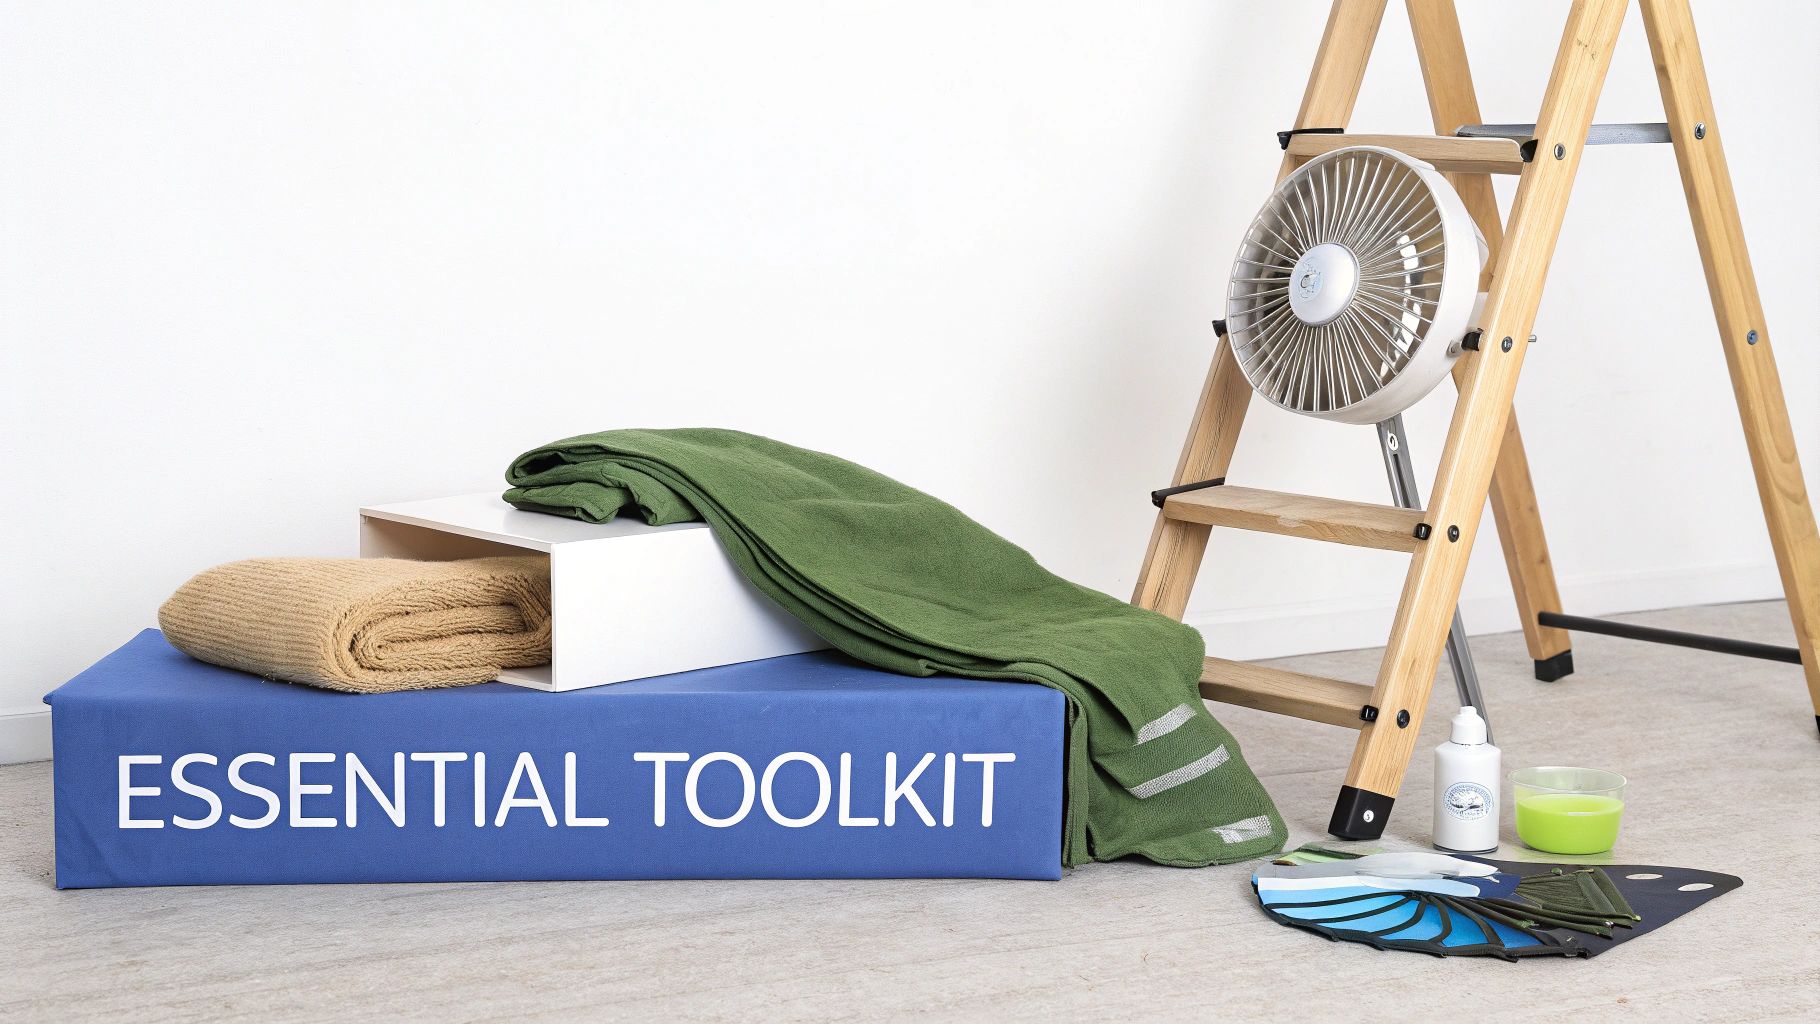
Before you even think about tackling that dusty ceiling fan, let's talk prep. Gathering the right tools is the real secret to a fast, effective clean that doesn't just spread the mess around. As professionals who handle everything from residential window washing to high-rise jobs, we know that preparation is everything.
But here’s the good news: you don't need a truckload of fancy equipment to get professional-grade results. Most of what you need is probably already sitting in a closet, just waiting to be put to good use. Our goal here is simple: capture the dust at the source, not just fling it across the room.
Must-Have Cleaning Supplies
The foundation of any good clean starts with the basics. Having these items ready to go will mean you can handle everything from light dust bunnies to the stubborn, greasy grime you often find on kitchen fans here in Phoenix.
Here’s a quick rundown of what we at South Mountain Window Cleaning recommend.
| Category | Essential Items | Pro Tip |
|---|---|---|
| Safety & Access | A sturdy ladder or step stool | Make sure you can comfortably reach the blades without standing on the top step. Overreaching is a major safety risk. |
| Dust Containment | An old pillowcase | This is the game-changing trick. It slides over each blade and traps all the dust inside as you pull it off. No dust storm! |
| Wiping & Drying | 2-3 microfiber cloths | The fine fibers grab onto particles instead of just pushing them around. You'll want one for damp wiping and one for drying. |
| Cleaning Solution | A bowl of warm water with a few drops of mild dish soap | This is all you need for most fans. It cuts through any light grease without being harsh on the blade's finish. |
Having this simple toolkit assembled makes the entire job smoother and safer from start to finish.
The right tools do more than just clean; they protect your home from a dust storm. A simple pillowcase can contain 99% of the dust from your fan blades, saving you from having to clean the entire room afterward.
Optional but Helpful Tools
While the items above cover the essentials, a few other tools can make the process even easier, especially if you're dealing with hard-to-reach spots or tougher jobs. For a better sense of the kind of gear we pros rely on for different cleaning tasks, you might be interested to learn more about what professional window cleaners use to get those spotless results.
An extendable duster with a microfiber head, for instance, is great for quick, regular maintenance between deep cleans, letting you dust the blades without even pulling out a ladder.
For the motor housing and vents where dust loves to hide, a vacuum cleaner with a soft brush attachment is your best bet. It pulls out buildup that could otherwise lead to overheating. Having these extra tools ready ensures a truly comprehensive clean.
Setting Up for a Safe and Mess-Free Clean
Before you even think about touching those dusty blades, a bit of prep work is your best friend. Taking a few minutes to get set up will not only save you from a massive cleanup job later but also keeps you safe. This is really the secret sauce to making a dreaded chore feel more like a quick, manageable task.
First things first, protect your space. Grab some old sheets, a painter's drop cloth, or even some plastic sheeting and lay it out on the floor and over any furniture directly under the fan. This simple step catches all the dust bunnies and debris that will inevitably fall. Trust me, especially here in Phoenix where fine desert dust gets everywhere, you'll be glad you did this.
Prioritizing Electrical Safety
Now for the most important part: turning off the power. And we don't just mean flipping the wall switch. For your own safety, you absolutely need to head to your circuit breaker and shut off the power to the fan's entire circuit. This guarantees the fan can't accidentally turn on while your hands are up there.
This isn't just a suggestion—it's non-negotiable. An unexpected spin-up while you're on a ladder can cause a serious injury. That thirty seconds it takes to find and flip the breaker is the single most important safety measure you can take.
Using Your Ladder Correctly
With the power safely off, it's time to position your ladder. Make sure it's fully extended and the safety braces are locked securely into place. You want to place it on solid, level ground where you can easily reach the fan blades without stretching or standing on the very top step—that’s a recipe for disaster.
Good ladder habits are just as critical as electrical safety. Always, always maintain three points of contact: two feet and one hand, or one foot and two hands. This simple technique provides a stable base and drastically cuts down your risk of falling. It’s a fundamental skill for so many home projects, just like the precautions we recommend when you learn how to clean gutters safely.
Rushing the setup is never worth it. By taking these few preliminary steps, you're creating a secure, controlled workspace for a clean that's both successful and mess-free.
Getting Those Fan Blades Spotless
Okay, with the room prepped and your safety sorted, it's time to get to the main event: the fan blades. This is where you'll see the biggest transformation. We're going to walk through two of our favorite methods, one for light dust and another for the tougher, greasy grime you sometimes find.
Before you even think about touching a blade, just remember these three non-negotiables.
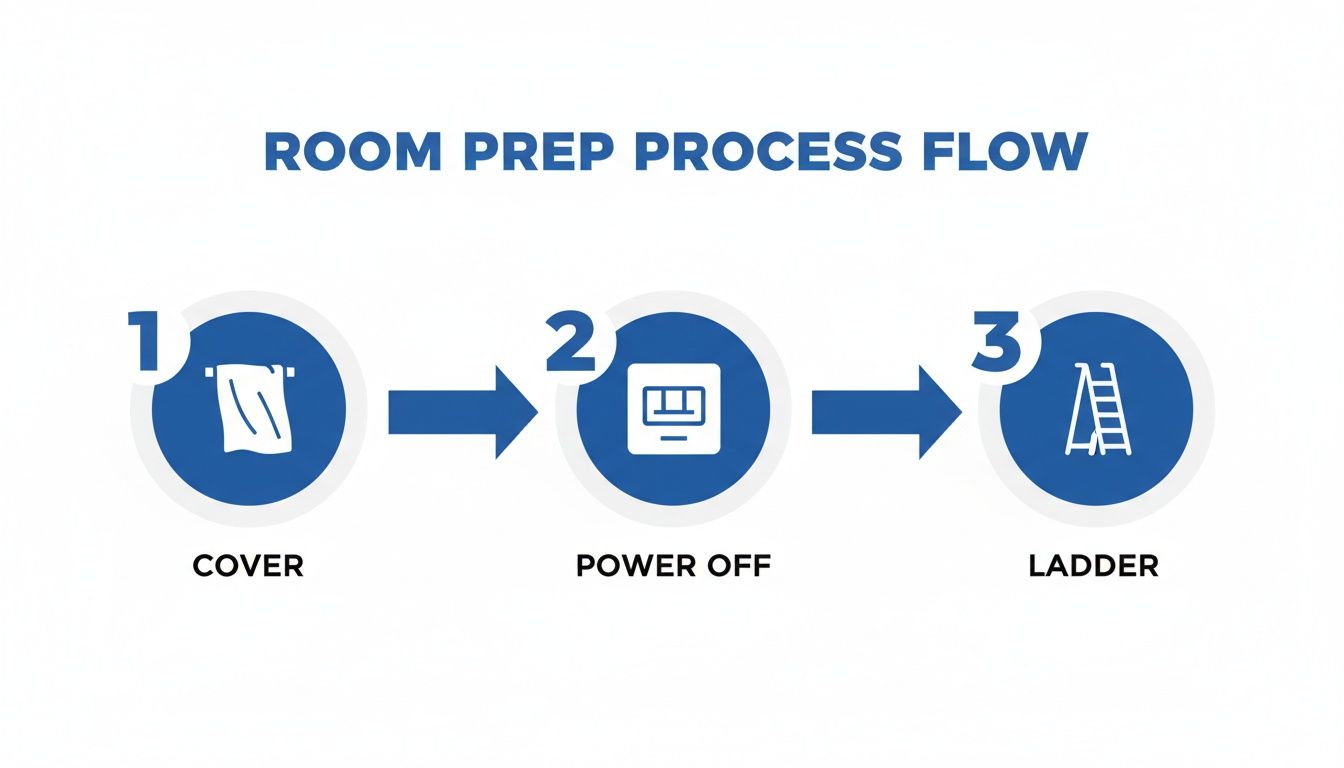
Seriously, covering your space, killing the power, and setting up a solid ladder are the absolute foundations for doing this job right—and safely.
The Brilliant Pillowcase Method for Dust
For a standard, dusty fan, you can't beat the pillowcase method. It’s a genius little hack that traps 100% of the dust, stopping it from raining down all over your furniture and floors. It’s quick, super effective, and you don’t need any special tools.
Grab an old pillowcase and just slide it over a fan blade, like you’re putting on a sock. Once it’s fully covered, use both hands to press gently on the fabric, top and bottom, and pull it back toward you.
All that dust and gunk gets trapped right inside the pillowcase. Do this for all the blades, then take the pillowcase outside, turn it inside out to shake out the dust, and toss it straight into the laundry. Easy.
This technique is more than just a clever trick; it's a dust-containment strategy. By trapping particles at the source, you save yourself the secondary task of dusting and vacuuming the entire room again, making it the most efficient method for regular maintenance.
Deep Cleaning for Stubborn Grime
Sometimes, especially with kitchen fans here in Chandler or Gilbert, dust gets mixed with airborne grease and creates a sticky film. A dry duster just won't cut it. This is when you need to step up your game a bit.
For this kind of deep clean, you'll want a microfiber cloth that’s slightly damp. We recommend a simple mix of warm water with a few drops of mild dish soap. Make sure you wring that cloth out really well—you want it damp, not dripping, to protect the finish on the blades.
Hold the blade steady with one hand and wipe it down with your damp cloth. Always start from the inside, near the motor, and wipe outward toward the tip. This keeps you from pushing grime into the motor housing.
- For Wood Blades: Be extra careful here. You don't want to oversaturate the wood. After you wipe it with the damp cloth, immediately go over it again with a completely dry microfiber cloth to soak up any leftover moisture.
- For Metal or Plastic Blades: These are a bit more forgiving with moisture, but it's still a good habit to dry them afterward. This prevents any water spots or streaks from forming.
This two-step wipe-and-dry process gets rid of that stubborn grime and leaves your fan looking brand new, without risking any damage to the blades.
Don't Forget the Motor, Lights, and Pull Chains
Once the blades look brand new, it’s tempting to pack up and call it a day. But if you want a truly deep clean, you have to hit those smaller, often-ignored parts: the motor housing, the light fixtures, and the pull chains.
Think of it this way—skipping these areas is like washing your car but leaving the wheels caked in mud. It just looks unfinished. Giving these components a little attention ensures your fan not only looks great from top to bottom but also runs safely and efficiently.
Wiping Down the Motor Housing
That motor housing isn't just for show; it's got vents that are crucial for keeping the fan’s engine from overheating. Over time, those little vents get clogged with dust, which basically acts like an insulator. This forces the motor to work harder, which is the last thing you want during a scorching Phoenix summer.
All you need is a dry microfiber cloth to wipe down the surface. For the vents themselves, use a vacuum cleaner with a soft brush attachment. It's perfect for pulling out any stubborn dust without accidentally pushing it deeper into the motor. Keeping this area clear is a simple way to extend your fan's lifespan. If you're curious about the bigger picture of motor health, looking into professional electric motor service and optimization can offer some great insights into general maintenance practices.
A clean motor vent isn't just about appearances—it's about performance. A fan motor clogged with dust can run up to 15% less efficiently. That means it's working harder and using more electricity just to move the same amount of air.
Polishing Light Fixtures and Bulbs
If your fan has a light kit, you've got another prime dust magnet on your hands. Start by carefully removing any glass shades or globes. Most of the time, you can wash these by hand right in the sink with some warm, soapy water, just like you're washing dishes.
- Wash Gently: Use a soft sponge, never an abrasive pad that could scratch up the glass.
- Rinse Thoroughly: Make sure you get all the soap residue off to avoid leaving any streaks behind.
- Dry Completely: This is a big one. Dry the shades inside and out with a lint-free cloth before you even think about reattaching them.
Before putting the shades back on, take a second to dust off the light bulbs. Make absolutely sure they are completely cool to the touch, then give them a quick wipe with a dry microfiber cloth. You'd be surprised how much brighter a clean bulb can look.
And for the final touch, don't forget the pull chains. A quick wipe with a slightly damp cloth or a spritz of all-purpose cleaner is all it takes to get rid of fingerprints and grime.
When It's Time to Call a Professional for Your Ceiling Fans
Look, cleaning your own ceiling fans is a perfectly fine weekend project for most people. But there are definitely moments when doing it yourself goes from a simple chore to a risky, impractical task.
Knowing when to hand the job over to a pro isn't admitting defeat—it's about being smart, prioritizing your safety, and getting a perfect result without the headache. The second you feel that hesitation climbing a ladder or start thinking, "Is this a good idea?", that's your cue to call South Mountain Window Cleaning.
Here in Phoenix and Scottsdale, one of the biggest hurdles is simply the height. So many homes have gorgeous vaulted or cathedral ceilings, which means fans are often perched 10 feet or even higher off the floor. As a company that handles commercial and high-rise window washing, we are fully equipped for this kind of work. Getting up there safely isn't just about having a ladder; it's about having the right ladder and being completely comfortable working at that height. One wobble or overreach is all it takes for a serious fall.
Situations That Warrant a Professional Call
Beyond just tall ceilings, some fans and personal situations are just better left to a trained team. Take a minute to think about your specific home and your own comfort level.
- Ornate or Delicate Fixtures: Got an expensive, antique, or super intricate fan? The risk of you accidentally chipping, scratching, or breaking something is pretty high. A professional knows exactly how to handle delicate materials without causing damage.
- Mobility or Health Concerns: If you deal with balance issues, have physical limitations, or are sensitive to dust, climbing a ladder and unleashing a cloud of allergens is a risk you just don't need to take.
- Lack of Time or Equipment: Sometimes, it really just boils down to convenience. If you don’t own a sturdy, tall-enough ladder or your schedule is already packed, hiring a service is the most efficient way to get it done right.
Think of hiring a pro for those hard-to-reach fans as an investment in your safety and your home. The potential cost of a hospital bill or a damaged fixture is far greater than the price of a professional service call.
Professional ceiling fan cleaning is a specialized job for a reason. We come equipped with the proper tools to tackle jobs that are simply unsafe for the average homeowner. The typical cost, usually somewhere between $117 and $144 per fan, is a small price to pay to avoid the very real risks of high ladder work and heavy dust exposure. You can find out more about pro cleaning costs at fishwindowcleaning.com.
Choosing to bring in an expert is a smart move that guarantees the job is done safely and correctly. For a closer look at the benefits, check out our guide on hiring a professional window cleaning company—you’ll find that many of the same principles about safety, quality, and peace of mind apply.
Common Questions We Get About Cleaning Ceiling Fans
Even with a solid game plan, you're bound to have a few questions. To wrap things up, here are the most common things we hear from homeowners around Phoenix, Tempe, and Gilbert when it comes to ceiling fan cleaning.
How Often Should I Clean My Ceiling Fans in Phoenix?
Living in the Sonoran Desert means a constant battle with dust. For that reason, we suggest giving your fans a light dusting every one to two months. This quick maintenance stops that thick, furry layer from building up and keeps your air that much cleaner.
Plan on doing a full deep clean—wiping down the blades, the motor housing, and any light fixtures—every three to four months. Of course, if you have pets or allergies, you might notice a huge difference in your home's air quality by bumping that up to a monthly cleaning.
Can I Use a Vacuum to Clean My Ceiling Fan?
Absolutely. A vacuum with a soft brush attachment is a fantastic tool for this chore. It’s particularly good at getting the loose dust out of the motor vents and off the canopy where the fan meets the ceiling.
When it comes to the blades, though, trying to maneuver a vacuum hose while perched on a ladder can get a little awkward. The pillowcase method is usually a much safer and more effective way to trap all that dust without sending it flying.
What Is the Best Way to Clean Greasy Kitchen Fan Blades?
Ah, the kitchen ceiling fan. It's a magnet for that sticky, grimy film of grease and dust. A simple dry cloth just isn't going to cut it here.
Your best bet is to mix a few drops of a good degreasing dish soap into a bowl of warm water. Dip a microfiber cloth in the soapy water, then wring it out until it's just damp. Wipe down each blade, and then grab a second cloth dampened with plain water to rinse off any soap residue. To finish, dry the blades completely with a clean cloth to avoid any streaks or water spots.
A wobbly fan is more than just an annoyance—it's a warning sign. The imbalance puts extra stress on the motor, which can cause it to wear out prematurely and lead to a costly replacement.
My Fan Wobbles After Cleaning What Should I Do?
If your fan starts wobbling right after you've cleaned it, the cause is almost always an imbalance. First things first, double-check that the blades are totally dry and don't have any leftover cleaning gunk on them that could be throwing off the weight.
Still wobbling? Take a gentle look at the blade holders (the metal arms connecting the blades to the motor) to see if one got bent by accident during cleaning. If they all look straight, it’s possible the dust you cleaned off was actually counteracting an existing imbalance. It sounds weird, but it happens! A simple, inexpensive blade-balancing kit from your local hardware store will fix this problem right up.
When your fans are just too high to deal with or you’d rather have the pros handle it, South Mountain Window Cleaning has your back. We offer expert residential and commercial cleaning services, including ceiling fans and windows, across Phoenix, Scottsdale, Paradise Valley, Chandler, Tempe, and Gilbert, Arizona. We guarantee a spotless, safe result every time. Head over to https://www.southmountainwindowcleaning.com to get your free and easy quote today.