
Tired of looking at streaky, smudged interior windows? If you live anywhere in the Phoenix or Scottsdale area, you know how quickly that fine layer of dust builds up, making clean glass feel like an impossible dream.
Forget the frustrating DIY hacks and store-bought sprays that promise a lot and deliver little. We're going to walk you through the exact methods we use at South Mountain Window Cleaning to get that perfectly clear, "invisible glass" look every single time. It's simpler than you think.
Clean windows do more than just let in light; they completely change the feel of a room, making it seem bigger, brighter, and more welcoming. But a few common missteps can turn a quick cleaning job into a hazy, frustrating mess.
Why Are My Windows Still Streaky?
Getting that flawless finish means sidestepping a few common pitfalls. Most people don't realize they're sabotaging their efforts before they even start.
- Using the Wrong Cleaner: Many commercial window sprays are loaded with soaps and chemicals that leave behind a sticky film. That film doesn't just look hazy—it actually attracts more dust.
- Reaching for Paper Towels: This is a classic mistake. Paper towels break down and leave lint all over your freshly cleaned glass. Worse, they don't absorb all the moisture, which is what creates those annoying smudges as the water evaporates.
- Working in Direct Sunlight: That intense Arizona sun is your enemy here. It causes your cleaning solution to dry almost instantly, baking streaks onto the glass before you have a chance to squeegee them away.
It’s no surprise that more people are turning to the pros. The global window cleaning services market recently hit a massive $141 billion and is expected to climb to $257.27 billion by 2032. Homeowners and businesses alike are seeing the value in truly pristine windows. You can learn more about the rising demand for professional window cleaning.
With this guide, you’ll have the know-how to tackle your interior windows like a seasoned pro. Whether you're in Chandler, Tempe, or Gilbert, it’s time to say goodbye to frustrating smudges and hello to a crystal-clear view.
Assemble Your Professional Window Cleaning Kit
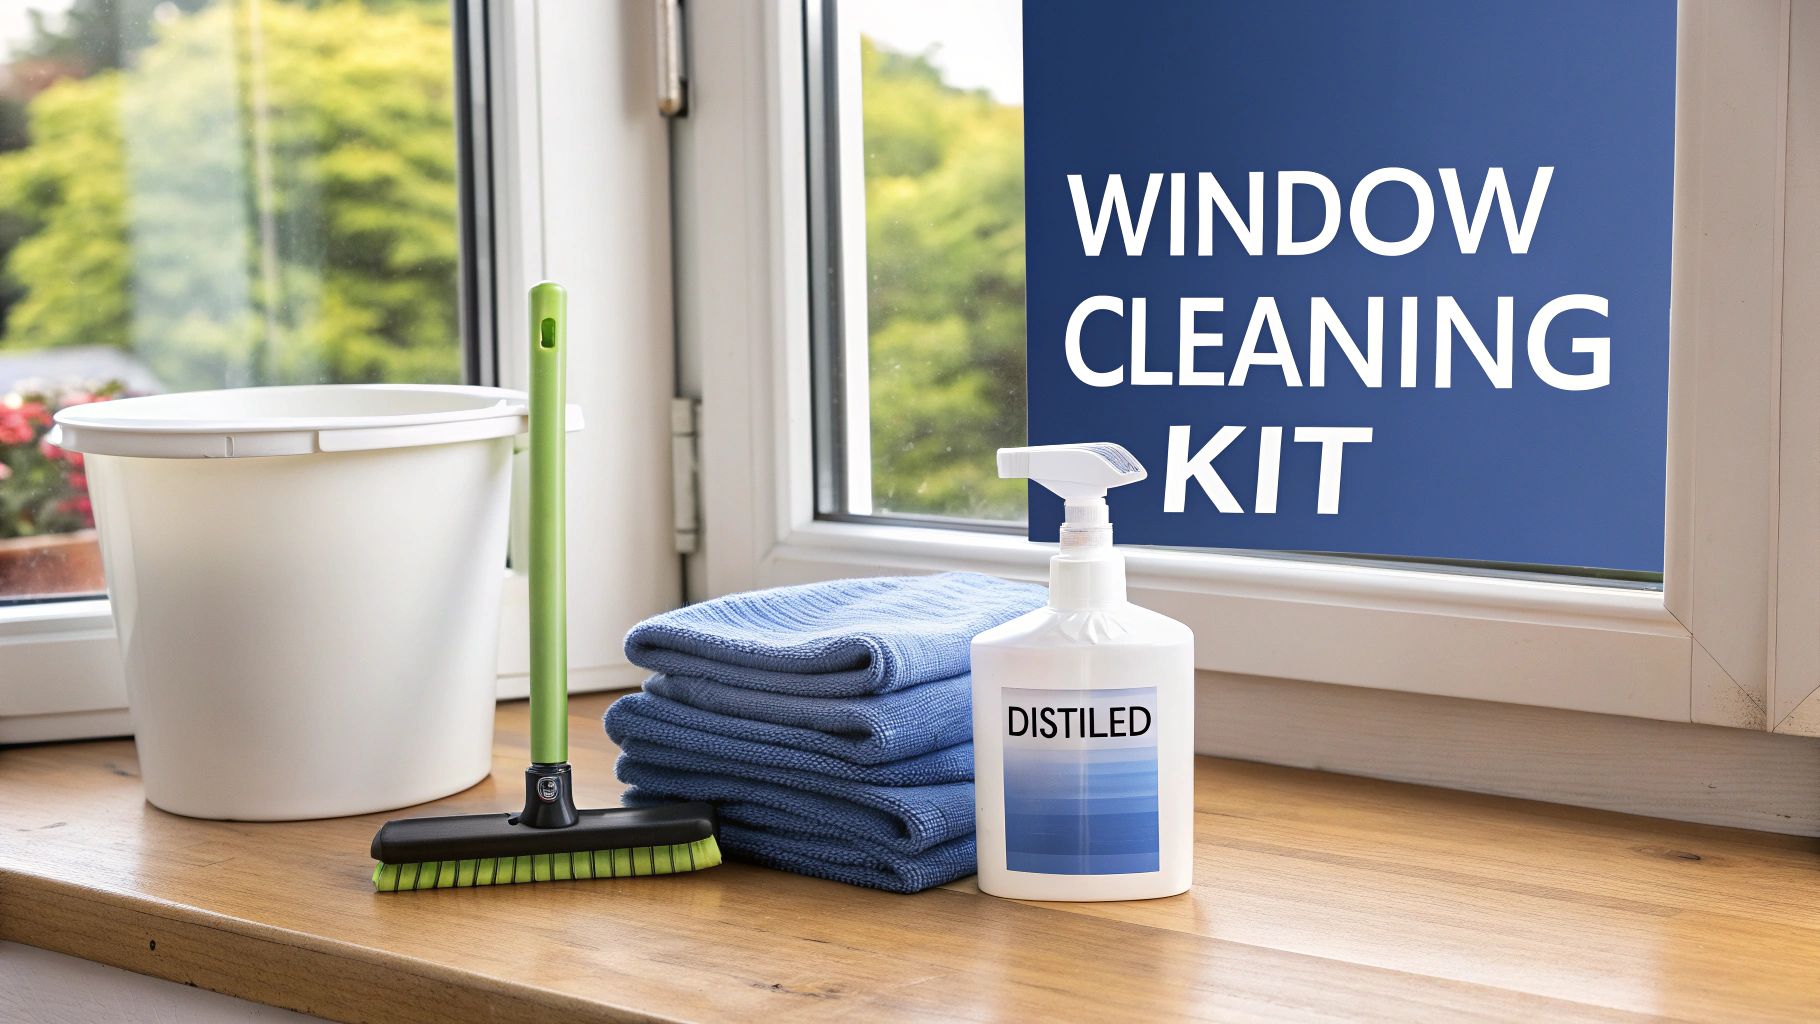
If you're after that flawless, invisible-glass look we deliver for our clients, it’s time to ditch the paper towels and generic blue sprays. The real secret to a professional, streak-free finish isn't about scrubbing harder—it's about using the right gear.
Here at South Mountain Window Cleaning, we rely on a pretty simple toolkit that you can easily put together yourself. It all starts with the single most important tool in our arsenal: a high-quality squeegee. Find one with a sharp, pliable rubber blade that glides smoothly. A worn-out or nicked blade is the number one cause of streaks, so check yours before you even think about starting.
You'll also need at least two professional-grade microfiber cloths. One acts as your washer or applicator, used to get the cleaning solution on the glass and gently scrub off the grime. The second one—your detailing cloth—needs to stay completely dry. You’ll use it to wipe the squeegee blade after each pass and to catch any drips along the edges of the pane.
Your Go-To Cleaning Solution
Forget those complicated chemical cleaners. They often leave behind a sticky film that just ends up attracting more dust. For years, we've found that the best and safest solution for interior glass is incredibly simple:
- A bucket filled with distilled water
- Just one or two drops of a basic dish soap, like Dawn
So, why distilled water? In areas like Chandler and Gilbert, tap water is loaded with minerals. When that water evaporates, it leaves behind hazy hard water spots. Distilled water is pure, so it leaves nothing behind on your glass. That tiny drop of soap is just enough to help the squeegee glide effortlessly without creating a bunch of suds you'll have to clean up later.
You can get a deeper dive into the specific products we trust by reading our guide on what professional window cleaners use.
The right tools don’t just make the job easier; they deliver a completely different level of results. Using a spray bottle can be a problem, especially indoors under the Arizona sun, because the solution can evaporate too quickly and cause streaks. A bucket keeps your washer saturated and ensures the glass stays properly lubricated for a perfect squeegee pull every time.
Choosing professional-grade tools over common household substitutes is the difference between a frustrating afternoon of smudges and a crystal-clear finish.
Pro Toolkit vs Common Household Items
| Tool | Professional Recommendation | Common (But Less Effective) Alternative | Why It Matters |
|---|---|---|---|
| Squeegee | 10-14 inch with a fresh rubber blade | Paper towels or old rags | A squeegee removes water completely, preventing evaporation streaks. Paper towels leave lint and smudges. |
| Cloths | 2+ high-quality microfiber cloths | Terry cloth towels or newspapers | Microfiber lifts and traps dirt without scratching. Other materials often just push grime around. |
| Solution | Distilled water + drop of dish soap | Ammonia-based or store-bought spray | Our simple mix leaves no residue. Commercial sprays often create a film that attracts dust. |
Once you have this simple, professional-grade kit ready, you’re set up for success. You'll have everything you need to clean your windows efficiently and finally get that coveted, invisible-glass look.
Prepare Your Workspace for a Flawless Clean
Anyone who’s tried cleaning windows knows that a little prep work goes a long way. This is the part of the job that separates a frustrating, messy afternoon from a fast, professional-looking result. Taking just a few minutes to get your area ready is the secret to preventing drips and protecting your stuff.
First things first, grab some old towels or a drop cloth and lay them down right at the base of the window. This simple move catches any drips from your cleaning solution, which is a lifesaver for your floors, carpets, and windowsills—especially if you have hardwood.
Clear the Tracks and Sills First
Before a single drop of cleaner hits the glass, you have to deal with the tracks and sills. Here in dusty Arizona, especially in places like Phoenix and Scottsdale, window tracks are magnets for dirt, pollen, and all sorts of grit. If you skip this, the second your cleaning solution runs down, it’ll turn all that dry gunk into mud that smears right across your glass.
The easiest way to handle this is with a vacuum using a brush attachment to get all the loose stuff out. For the stubborn grime that’s caked in the corners, an old toothbrush or a stiff-bristled brush works wonders. Finish it off with a quick wipe from a damp microfiber cloth, and you're golden.
Professional Tip: Cleaning the tracks first isn't just a suggestion; it's a must for a truly clean window. It’s the #1 mistake we see homeowners make, and it’s almost always the reason for those ugly, muddy streaks that show up at the bottom of the pane right after you think you’re done.
What to Do With Window Screens
If you’ve got screens, they have to come off. Taking them out gives you a clear shot at the entire glass surface and, honestly, it’s the perfect time to clean the screens themselves. A dirty screen will just blow dust and dirt all over your freshly cleaned window the next time it rains or the wind picks up.
For a great, step-by-step guide on getting them spotless, check out our post on how to clean window screens.
Once your area is protected and the tracks and screens are handled, you’re ready to get cleaning. It’s worth noting that getting your windows perfectly prepped is also a critical step for other projects. For instance, if you're learning how to apply privacy window film for a flawless finish, starting with a completely clean surface is non-negotiable for getting it to stick properly without any bubbles. This prep work ensures all your effort pays off with a crystal-clear view.
Master the Squeegee for a Streak-Free Finish
Alright, this is where the magic happens. The squeegee is what separates a decent window cleaning job from a truly professional, invisible-glass finish. It’s less about brute force and more about finesse. Get this part right, and you’ll wonder why you ever cleaned windows any other way.
First things first, get your microfiber applicator nice and soaked with your cleaning solution. You want it fully saturated, but not sopping wet and dripping all over your floors. Generously apply the solution to the entire window pane, working from the top down. The goal here is simple: get the whole surface wet. Any dry spots will cause your squeegee to skip, and that's a one-way ticket to a streaky mess.
The Cut-In and Overlap Method
Here’s the pro secret to a perfect pull every time. Start by creating a "cut-in" strip at the very top of the glass. Just take your squeegee and pull it horizontally across the top edge, creating a dry path about an inch wide. This little move stops the solution from the top frame from dripping down onto your freshly cleaned glass later.
Now, set your squeegee blade right into that dry strip, overlapping it by about an inch. Apply firm, consistent pressure and pull straight down in one single, smooth motion.
One of the most critical tips we give our teams in Paradise Valley is to wipe the squeegee blade with a clean, dry microfiber cloth after every single pass. It takes just a second, but it prevents you from dragging a line of dirty water across the glass on your next pull—which is the number one cause of streaks.
Keep that rhythm going across the window. Place the squeegee on the wet glass, making sure to overlap your last stroke by about an inch, and pull straight down again. That one-inch overlap is non-negotiable; it picks up the water line left from the previous pass and gives you that seamless, streak-free surface.
Before you even get to this point, remember that a good prep job sets the stage for a perfect squeegee finish.

This workflow just reinforces that protecting your space, getting screens out of the way, and cleaning the tracks are foundational steps. Don't skip them.
Detailing for a Perfect Finish
Once the main pane is squeegeed, you're on the home stretch. Grab your separate, completely dry detailing cloth and carefully wipe around the edges of the glass. This simple step cleans up any lingering water lines tucked into the corners or along the frame. Give the windowsill a final wipe to catch any drips, and you're done.
While the North American glass cleaner market keeps growing, we’ve found that professional techniques will always outperform off-the-shelf products when you're learning how to clean windows inside. Here at South Mountain Window Cleaning, we know a quality squeegee can slash streaks by up to 95% compared to those common ammonia-based sprays, which leave a frustrating hazy film for about 80% of users. The big shift toward better tools really started in the 1980s with the rise of microfiber, which cut water usage by an incredible 90% and is now the gold standard for eco-friendly cleaning in Gilbert homes. You can read more about the glass cleaner market trends if you want to geek out on the data.
By following these exact steps—a wet surface, a clean blade, overlapping strokes, and a final detail—you’re not just wiping down glass. You’re using the same proven method that we rely on for flawless results, day in and day out.
How to Handle Tough Spots and Common Problems
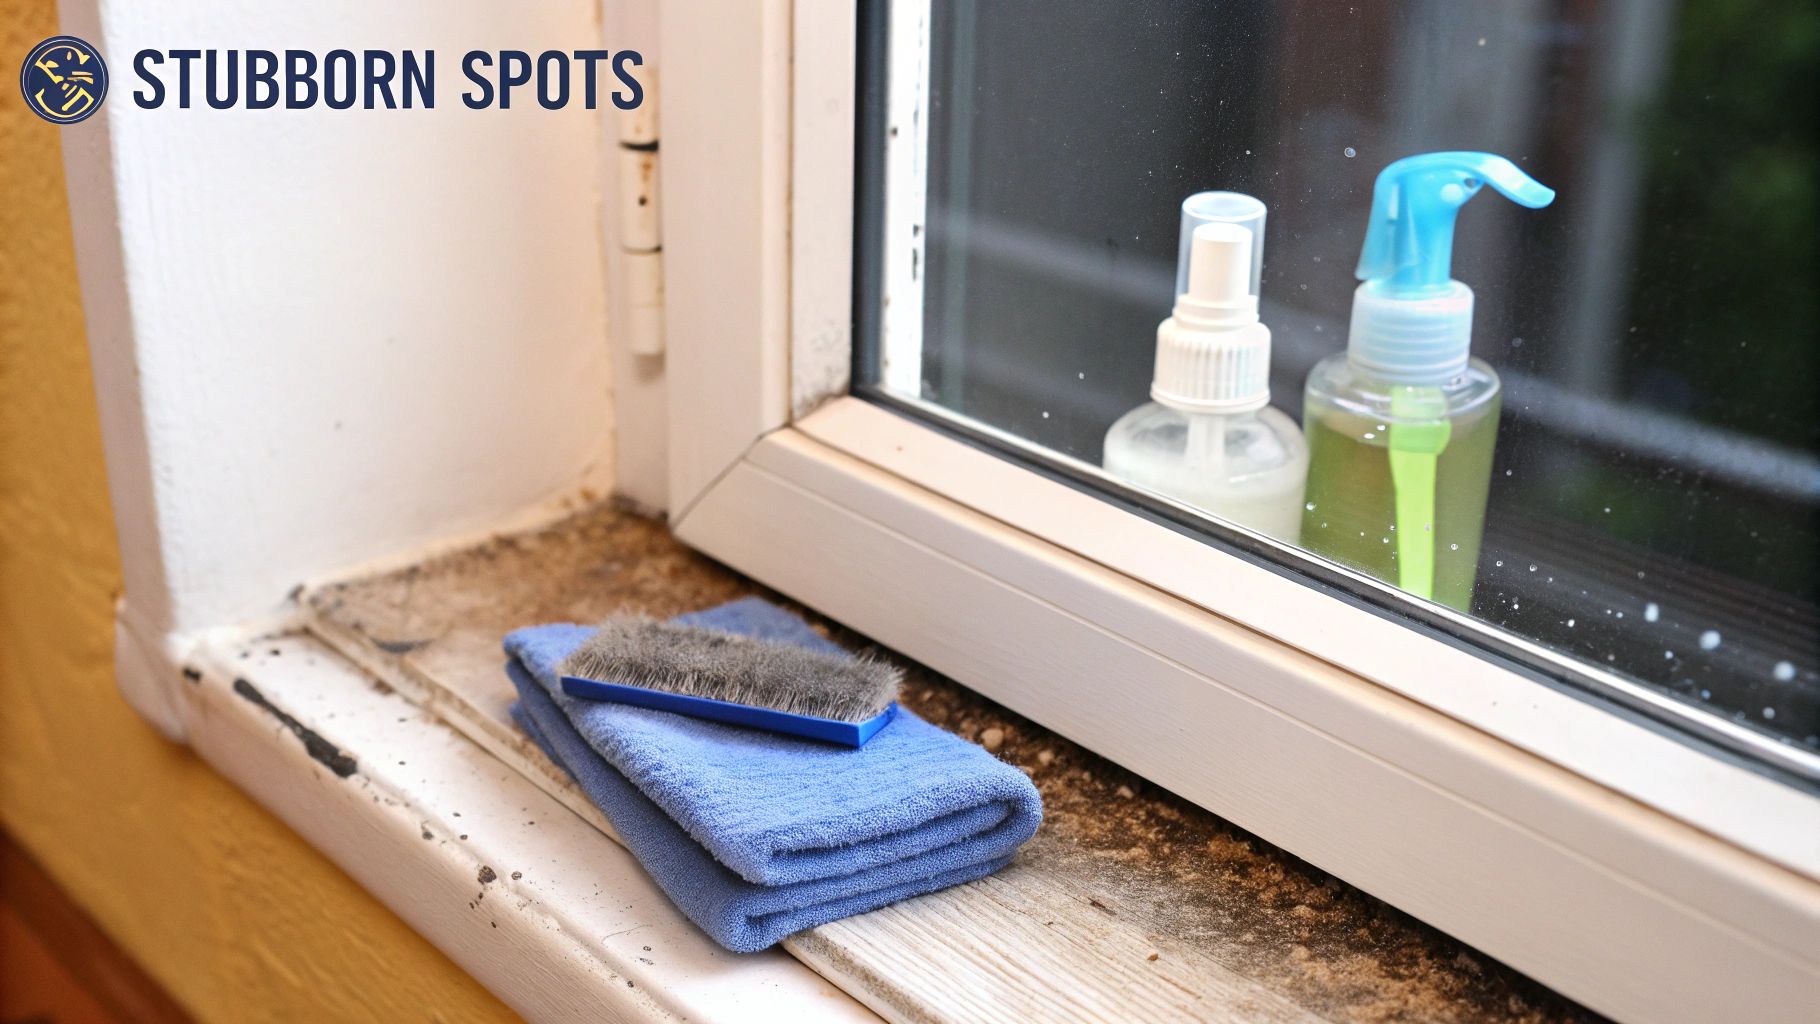
Even with a perfect squeegee technique, you’ll sometimes run into stubborn spots that just won’t budge. From greasy fingerprints to mineral buildup, these common issues require a targeted approach. Knowing how to safely tackle them is a key part of learning how to clean windows inside like a pro.
Before you try any of these methods, always remember the golden rule: test on a small, inconspicuous area first. A lower corner of the window pane is the perfect spot to make sure the method won't scratch or damage your glass. Trust me, this simple precaution can save you from a very costly mistake.
Tackling Greasy Fingerprints and Smudges
Greasy marks, often left by hands or curious pets, can resist a standard soap-and-water solution. The oils in these smudges actually repel water, causing your squeegee to glide right over them and leave behind a frustrating haze.
To cut through the grease, you just need to add a little more power to your cleaning mix. A simple and effective trick is to add a splash of rubbing alcohol to your distilled water and dish soap solution. The alcohol acts as a solvent, breaking down the oils and allowing you to wipe them away cleanly.
Apply this mix directly to the spot, give it a gentle scrub with your microfiber applicator, and then proceed with your normal squeegee routine.
Removing Stubborn Residues and Stickers
Stickers, tape, and even paint overspray from a recent renovation project can feel impossible to remove without scratching the glass. The key is to use the right tool—something hard enough to scrape off the gunk but softer than the glass itself.
For these situations, a plastic razor blade is your best friend.
- First, generously wet the area with your cleaning solution to provide lubrication.
- Hold the plastic blade at a 45-degree angle to the glass.
- Apply gentle, consistent pressure to carefully lift the residue off the surface.
This method is highly effective for adhesives and latex paint spatters. And a word of caution: never use a metal razor blade. It can easily create permanent scratches.
Beyond general dirt and grime, certain stubborn residues like soap scum can be particularly challenging. For specific tips on how to remove soap scum from glass, consider these methods.
Conquering Hard Water Stains
Here in Arizona, hard water spots are one of the most frequent challenges we face. These cloudy mineral deposits are left behind when tap water evaporates on the glass, and a standard cleaning solution won't even touch them.
For light to moderate mineral buildup, #0000 steel wool (the finest grade available) is an excellent tool. When used on a wet surface, it can gently abrade the mineral deposits without scratching the glass.
Simply wet the window and the steel wool, then scrub the affected area in a circular motion with light pressure. You can learn more in our detailed guide on how to remove hard water stains from windows. With the right approach, even the toughest spots can be handled safely, leaving you with nothing but a crystal-clear view.
When to Call a Professional Window Cleaner
Doing it yourself can be incredibly satisfying, and this guide will definitely get you some impressive results. But knowing how to clean your own interior windows is only half the battle. The other half is knowing when to hang up the squeegee and call in a pro for your own safety and for a truly perfect outcome.
Let’s be honest, for a lot of homeowners here in Phoenix, the biggest hurdle is just getting to the glass. We’re talking about those soaring second-story windows, massive picture windows, or any glass in a high-rise that makes you gulp when you look at it. Turning a simple chore into a risky balancing act on a ladder is never a good idea. A professional crew, like us at South Mountain Window Cleaning, has the right safety gear and training to tackle those jobs without breaking a sweat.
Another classic "call a pro" scenario is the post-construction or renovation cleanup. That mess of paint overspray, silicone smudges, or plaster splatters is a nightmare to remove without scratching the glass. You really need specialized tools and a delicate touch to get that stuff off, and a wrong move with a scraper can cause permanent damage.
Beyond the Basics: Guaranteeing a Flawless Finish
Sometimes, you just don't have a whole weekend to spend on a ladder chasing that last stubborn streak. You just want the job done, and you want it done perfectly. This is especially true for our commercial clients in Scottsdale and Paradise Valley, where a pristine appearance is everything. Our teams deliver that professional look with a 100% satisfaction guarantee.
Hiring a professional isn't just about convenience; it's an investment in your property's value and your own peace of mind. We handle the difficult, dangerous, and time-consuming parts so you don't have to.
The numbers back this up. The contract window cleaning industry is projected to hit a staggering $128.73 billion by 2030. For property managers and condo associations from Phoenix to Gilbert, scheduling routine interior window cleaning is a no-brainer. It enhances the natural light and views, which can bump up property values by as much as 12%. You can dig into more of the data on the commercial contract cleaning market if you're curious.
So, whether you're staring up at hard-to-reach windows, dealing with the aftermath of a construction project, or you simply want to ensure your home or business looks its absolute best, bringing in a professional window cleaning company is often the smartest, safest, and most effective call you can make.
Your Top Window Cleaning Questions Answered
Over the years, we've heard just about every window cleaning question under the sun from our clients here in the Valley. To help you out, we’ve put together some quick answers to the most common ones we get. This should help you get that professional-looking shine and keep it lasting between our visits.
How Often Should I Clean My Interior Windows In Arizona?
For most homes around the Phoenix area, giving your interior windows a good cleaning every 2-3 months is the perfect schedule. That’s usually enough to keep that fine layer of desert dust from taking over.
Of course, life happens. If you've got pets leaving nose art on the glass, kids with sticky fingers, or a smoker in the house, you'll probably want to bump that up to a monthly wipe-down. This helps manage all those smudges and any film that builds up. Kitchen windows, especially if they’re near the stove, also appreciate a monthly cleaning to cut through any grease splatter.
Here's a pro tip from our crew: always try to clean your windows on a cooler, overcast day. The intense Arizona sun makes cleaning solutions evaporate in seconds, and that’s the #1 reason you get streaks. A cloudy day gives you the time you need to properly squeegee the glass before it dries.
Is It Okay To Use Vinegar And Newspaper To Clean My Windows?
Ah, the classic DIY trick! While it’s been passed down for generations, we honestly don't recommend it. The ink from newspapers can bleed all over your hands, and worse, it can leave a dingy, grey smudge on your white window frames and sills. It's a real pain to clean off.
Plus, the acid in vinegar can be harsh over time. It can slowly eat away at the rubber seals around your windows, which can lead to bigger problems and costly repairs down the road. A much safer and more effective bet is the simple solution we use: a bucket of distilled water with just one drop of dish soap. Pair that with a quality squeegee, and you're set for a streak-free finish every time.
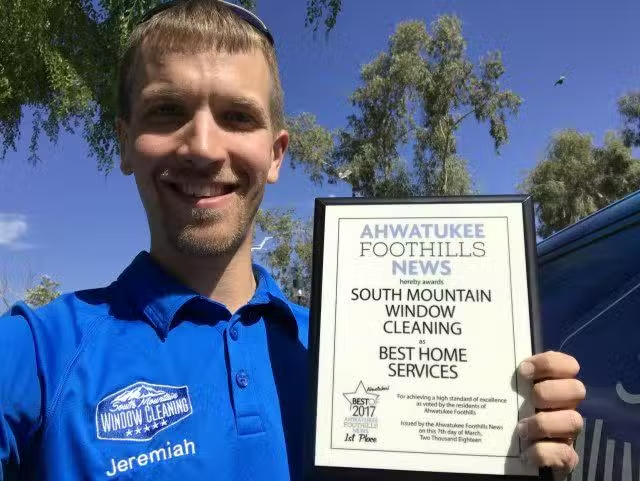
Ready to hang up the squeegee and just enjoy the view? The team at South Mountain Window Cleaning, LLC delivers a perfect, professional finish every time. We offer reliable residential, commercial, and high-rise services across Phoenix, Scottsdale, Paradise Valley, Chandler, Tempe, and the entire Valley. Get your free, no-obligation quote today!