
Getting that perfect, streak-free shine on your interior windows is much easier than you might think. At South Mountain Window Cleaning, we've mastered this process serving homes and businesses across Phoenix, and it all comes down to three key elements: preparation, the right tools, and a solid technique. We're going to walk you through the professional method we use every day, so you can achieve that same crystal-clear glass that lets all that beautiful Arizona sunshine pour in.
Your Guide to Flawless Interior Windows
Here at South Mountain Window Cleaning, we know that clean windows do more than just improve your view—they completely transform the ambiance of your home. In a dusty climate like we have in Phoenix and Scottsdale, it doesn’t take long for interior glass to get covered in a hazy film of dust, fingerprints, and even allergens. This guide is your complete roadmap to getting rid of that grime for good.
It's helpful to understand why professionally cleaned windows make such a difference. This isn’t just about aesthetics; it's about maximizing natural light and maintaining your home's pristine condition.
The Big Picture
Achieving that flawless finish isn't about a secret trick. It's about a systematic approach that covers everything—from the dusty window tracks common in Chandler homes to the final squeegee pull on a large picture window in Paradise Valley.
Each step builds upon the last. This method prevents common mistakes, like turning dry dust into a muddy mess or leaving behind frustrating streaks. It’s all about working efficiently and protecting your home while getting results that truly last.
The demand for this level of quality is clear. The window cleaning industry is a significant part of the home services economy. In the U.S. alone, the sector includes over 35,000 businesses and is projected to reach USD 3.2 billion by 2029, highlighting how much homeowners value professional results.
You can absolutely achieve that same professional-grade standard by following the right process.
A Quick Look at Streak-Free Window Cleaning
Here is a summary of the core stages for cleaning your interior windows, from preparation to the final perfect finish.
| Stage | Key Action | Objective |
|---|---|---|
| Toolkit Assembly | Gather a squeegee, microfiber cloths, a bucket, and a quality cleaning solution. | Having the right tools on hand prevents streaks and lint left by paper towels. |
| Space Preparation | Lay down towels or drop cloths and dry-dust the window frames, sills, and tracks. | This crucial step protects your home and prevents turning loose debris into a muddy mess. |
| Cleaning Technique | Apply the solution, then use a squeegee in a consistent pattern, wiping the blade after each pass. | Mastering a professional squeegee method is the key to a streak-free, professional shine. |
| Finishing Touches | Use a clean microfiber cloth to wipe away any drips from the edges and sill. | A final detail wipe ensures a perfectly clean frame and prevents water spots. |
Think of this table as your cheat sheet. Each stage is simple on its own, but when you put them all together, that's when you get that truly professional, streak-free look.
Choosing Your Window Cleaning Toolkit
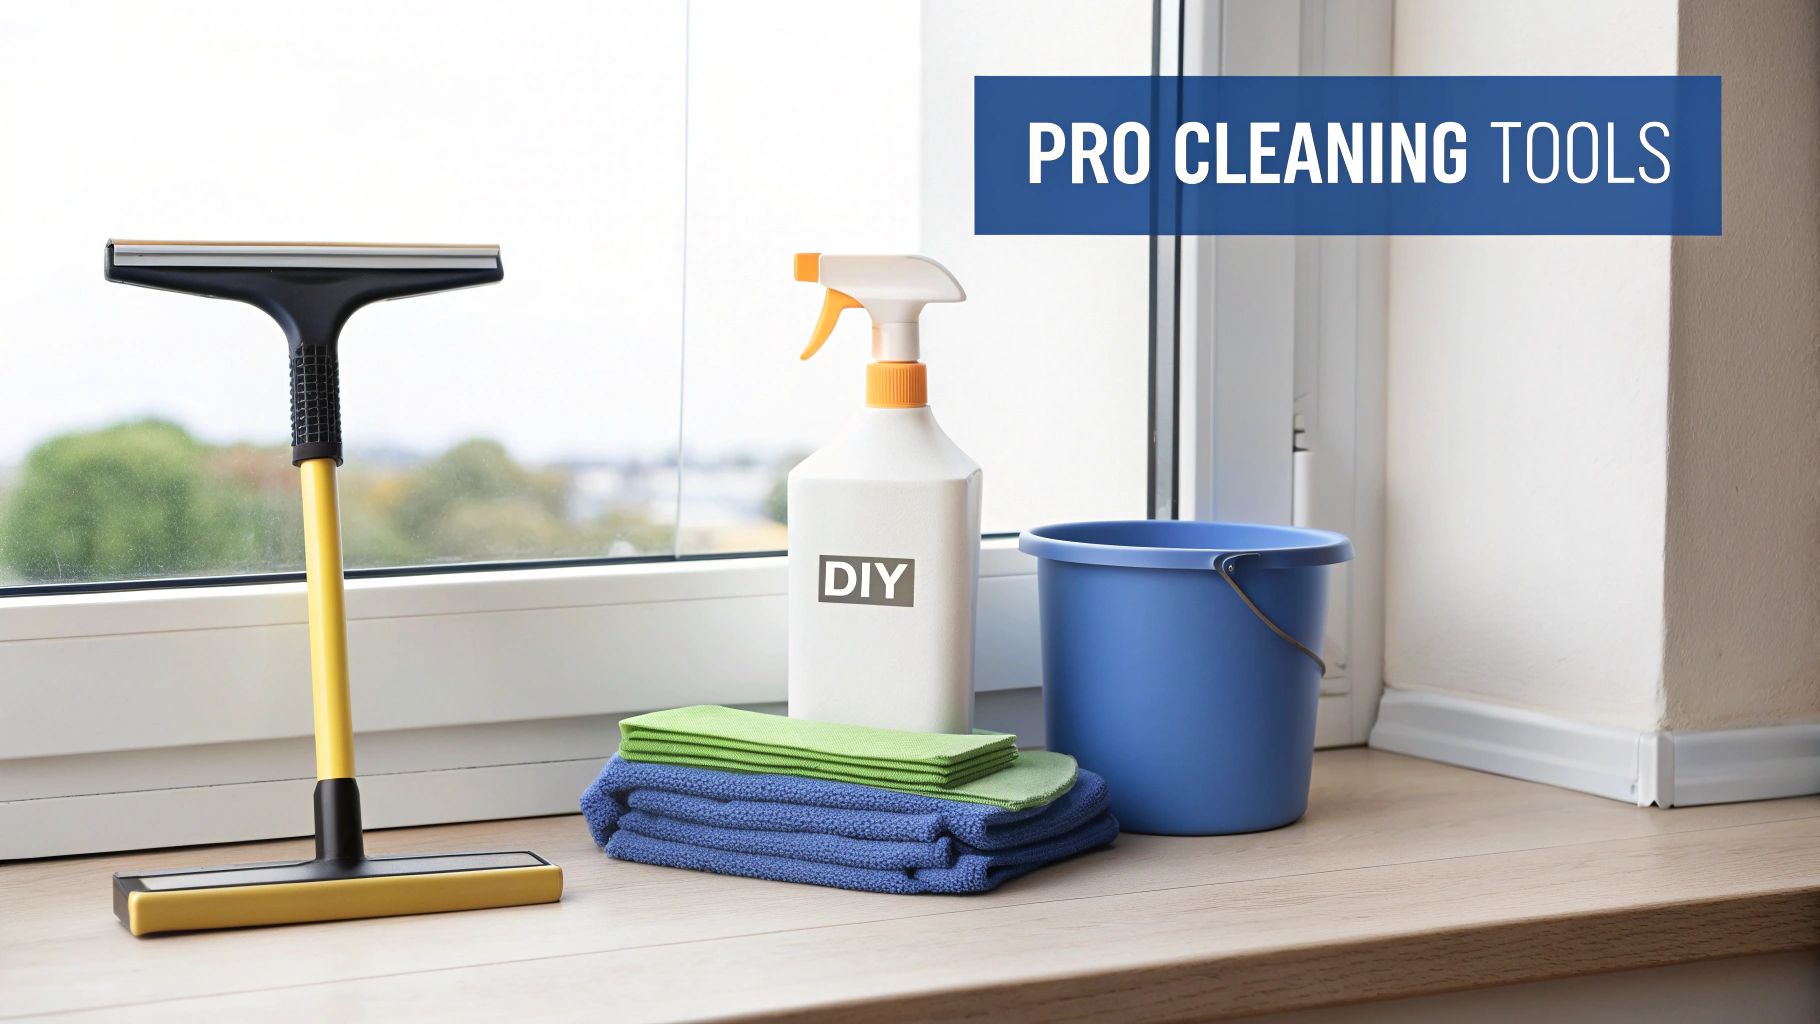
The difference between a frustrating, streaky mess and a flawless finish almost always comes down to the tools you use. It’s time to ditch the paper towels and that generic blue spray that just leaves behind lint, static, and a film on the glass. Assembling a professional-grade kit is surprisingly simple, but it makes all the difference in the world.
The right equipment doesn't just clean better; it makes the job faster and significantly easier. Investing in a few key items is your first real step toward getting that signature, streak-free shine you see in professionally cleaned homes across Phoenix and Paradise Valley.
The Essential Hardware for Window Cleaning
You can forget about a bunch of complicated gadgets. The core tools for cleaning inside windows have remained the same for years because they simply work. Our advice? Focus on quality over quantity.
- A High-Quality Squeegee: This is your most valuable tool. Look for one with a sharp, replaceable rubber blade. A 10- or 12-inch squeegee is the perfect size for most residential windows, from the small panes in Gilbert to the large sliding glass doors in Scottsdale.
- A Strip Applicator (or T-Bar): This looks like a squeegee but has a soft, absorbent cover. Its job is to apply the cleaning solution evenly without dripping and to gently scrub away grime.
- Microfiber Cloths: You’ll want several of these. They are absolutely non-negotiable for a lint-free finish. We keep a few just for wiping our squeegee blade and a separate set for detailing the edges and wiping down the sills.
- A Bucket: A simple rectangular bucket, often called a window cleaning bucket, is perfect. The shape is ideal for dipping your strip applicator without making a mess.
- A Scraper with a Sharp Blade: A small, handheld scraper is a lifesaver for removing stubborn gunk like paint flecks or sticker residue. The golden rule is to always use it on wet glass to avoid scratching it.
These tools are the foundation of any professional's kit. They are designed to work together to lift dirt and then completely remove it from the glass—something sprays and paper towels just can't do.
Crafting the Perfect DIY Cleaning Solution
Commercial window sprays often contain ammonia and other chemicals that leave a residue, which ironically attracts more dust. Our go-to solution is incredibly simple, highly effective, and uses ingredients you probably already have.
It’s especially good at cutting through the kind of film that builds up on windows here in Arizona, where our hard water is a constant challenge.
Forget complicated formulas. The best window cleaning solution is often the simplest. Distilled water is the secret ingredient, as it contains no minerals that can cause spotting—a frequent problem with the hard tap water in areas like Chandler and Tempe.
Here’s the recipe we swear by for crystal-clear results:
- Start with a Gallon of Distilled Water: Using distilled water is key. It’s pure H2O, free of the minerals in our tap water that leave behind ugly hard water spots.
- Add One Cup of White Vinegar: Vinegar is a natural degreaser that cuts right through the greasy film from fingerprints, cooking vapors, and dust.
- Mix in a Few Drops of Dish Soap: A tiny amount of a simple, clear dish soap (like original Dawn) acts as a lubricant. It helps the solution glide smoothly across the glass and breaks down tough grime. Don't use too much, or you'll have a sudsy mess.
Just mix these ingredients in your bucket, and you have a professional-strength solution ready to go. This simple blend is powerful enough for dirty windows but gentle enough that it's safe to use around your family and pets. It's the perfect answer for anyone wondering how to clean inside windows without resorting to harsh chemicals.
Now that your toolkit is assembled, you’re ready for the next critical phase: prepping your space for a mess-free clean.
Prepping Your Space for a Mess-Free Clean
Any professional will tell you that a great window cleaning job starts long before a squeegee ever touches the glass. One of the biggest mistakes homeowners make is jumping straight to the washing part, which almost always leads to a bigger mess.
Taking a few minutes to prep the area is our secret to a clean, efficient job. It's not just about preventing drips—it's about creating a controlled workspace and removing all the loose dust before it turns into muddy streaks on your pristine glass.
Protecting Your Floors and Furniture
First things first: clear the area. Water has a way of finding its way onto things you don't want it on, like hardwood floors or upholstery. A little preparation here saves you a major headache later.
Before you mix your solution, take a moment to:
- Move Your Stuff: Pull any nearby couches, chairs, or tables back a few feet. You need room to move without obstruction.
- Lay Down Cover: An old towel or a canvas drop cloth on the floor directly under the window is perfect for catching drips.
- Clear the Window: If you have curtains, tie them back or even take them down. For blinds, pull them all the way up and out of the way. This keeps them clean and gives you unobstructed access.
Think of this as setting up your "splash zone." Now you can focus on cleaning without worrying about where every little drop is going.
The Crucial Dry-Clean Most People Skip
This is the most important prep step, especially for those of us in dusty Arizona locations like Scottsdale and Chandler. You must remove all dry debris—dust, cobwebs, loose dirt—before adding any liquid. Applying water to a dusty windowsill is a guaranteed recipe for a muddy, streaky nightmare.
It's just like sweeping the floor before you mop. This quick "dry clean" means you're only dealing with the grime actually stuck to the glass.
As professionals providing residential and commercial window washing services, we can tell you this part is non-negotiable. A thorough dry-dusting prevents you from dragging gritty particles across the glass with your squeegee. That grit not only causes streaks but can create microscopic scratches over time.
To get this done, grab a soft-bristled brush or the brush attachment for your vacuum. Methodically go over every part of the window that isn't glass.
Your Dry-Cleaning Checklist:
- The Window Frame: Start at the top and work your way down, brushing or vacuuming the entire frame.
- The Sill: Give this area extra attention, as it's where dust and debris love to accumulate.
- The Tracks: If you can, open the window and get deep into the tracks. A vacuum with a crevice tool is your best friend here, sucking up built-up gunk.
- The Screens: If your screens are easily removable, now is the time to do it. Take them outside and give them a good brushing or a quick wash.
This dry-clean process might add five minutes per window, but the difference it makes in your final result is enormous. You're creating a cleaner, more controlled environment for the actual washing.
And speaking of a controlled environment, it's also smart to think about the time of day you're cleaning. Even though you're inside, strong sun can heat the glass from the outside, and knowing what temperature is best for cleaning windows can keep your cleaning solution from drying too fast and leaving streaks.
Mastering the Professional Squeegee Method
This is where the magic really happens. After all that prep work, learning the professional squeegee method is what separates a decent job from that stunning, streak-free shine you’re after. The technique we use is a deliberate flow designed to lift and pull every last drop of dirty water off the glass.
The moves might feel clumsy at first, but they become second nature with practice. This skill is the single biggest difference between a DIY attempt and the flawless finish we deliver on homes across the Valley—from huge picture windows in Paradise Valley to tricky French doors in Tempe. It all comes down to control and a few professional tricks.
There's a reason the professional window cleaning industry is booming. That global market value of around USD 141.00 billion is not just a random number; it shows how much people truly appreciate a crystal-clear view. You can discover more insights about the window cleaning services market, but the bottom line is, people want professional results—and you can get them yourself.
The Essential S-Method Technique
You'll never see a professional just swiping randomly at the glass. We use a specific pattern, usually called the "S-Method" or "snake pattern," to clear the window efficiently without leaving lines. The goal is to maintain a "wet edge," which means you're always pulling the squeegee over a small part of the previous, still-wet stroke.
First, grab your strip applicator, dip it into your cleaning solution, and give it a light squeeze to remove excess liquid. You want it wet, not dripping. Soap up the entire pane of glass, ensuring it’s completely covered from edge to edge.
Now, pick up your squeegee and get ready.
- Create a Dry Zone: Take a clean microfiber and wipe a thin, one-inch strip straight down the side of the glass where you'll start. This gives your squeegee a dry starting point for its first pass, which is key to preventing drips.
- Get the Angle Right: Place the squeegee at the top corner of that dry strip. Tilt it at about a 30-degree angle to the glass. This is the sweet spot. Too flat and it'll skip; too steep and it won't clear the water properly.
- The First Pass: Pull the squeegee straight down that dry strip from top to bottom. Use light, steady pressure.
- Wipe the Blade: This is the golden rule you can't skip. After that first pass—and after every single pass—wipe the rubber blade clean with your microfiber. If you don't, you're just dragging a line of dirty water back onto the clean glass.
Getting this initial setup right lays the foundation for a perfect S-pattern across the rest of the window.
Professional Insight: Let the tool do the work. The pressure should come from your hand guiding the squeegee, not your whole arm forcing it. A good squeegee with a sharp blade barely needs any muscle behind it.
Executing the Perfect Overlapping Strokes
With your first vertical strip clean, it's time to work your way across the window. The secret here is the overlap.
Position your squeegee at the top of the wet section, but let it overlap the clean strip by about an inch. Pull it straight across the glass. As you reach the other side, smoothly pivot your wrist to angle the squeegee downward, then pull it back across in the opposite direction, again overlapping your last stroke by an inch.
You’ll continue this back-and-forth "S" motion all the way down the pane. That one-inch overlap is what prevents you from leaving a thin line of water between each stroke. It’s absolutely critical.
This infographic breaks down the prep steps that make this squeegee work possible in the first place.
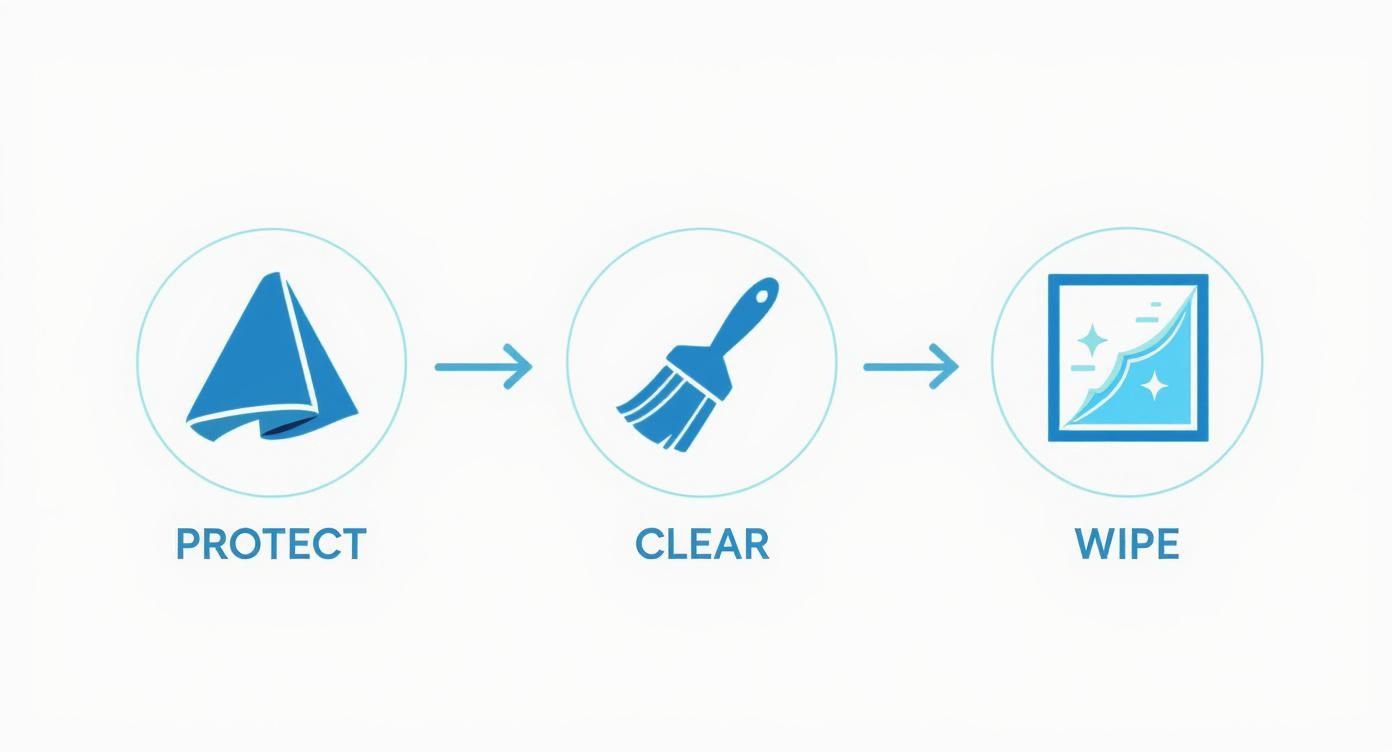
As you can see, a clean wipe is only possible when you've protected your space and cleared away the initial grime first.
Once you reach the bottom, do one last horizontal pull along the windowsill. Then, grab your detailing microfiber and carefully wipe any bits of moisture from the edges of the glass and the sill itself. This final "detailing" is what frames your perfectly clean window. Whether you're tackling a small bathroom window in Gilbert or a massive slider in a Chandler home, this method works every single time.
Solving Common Window Cleaning Problems
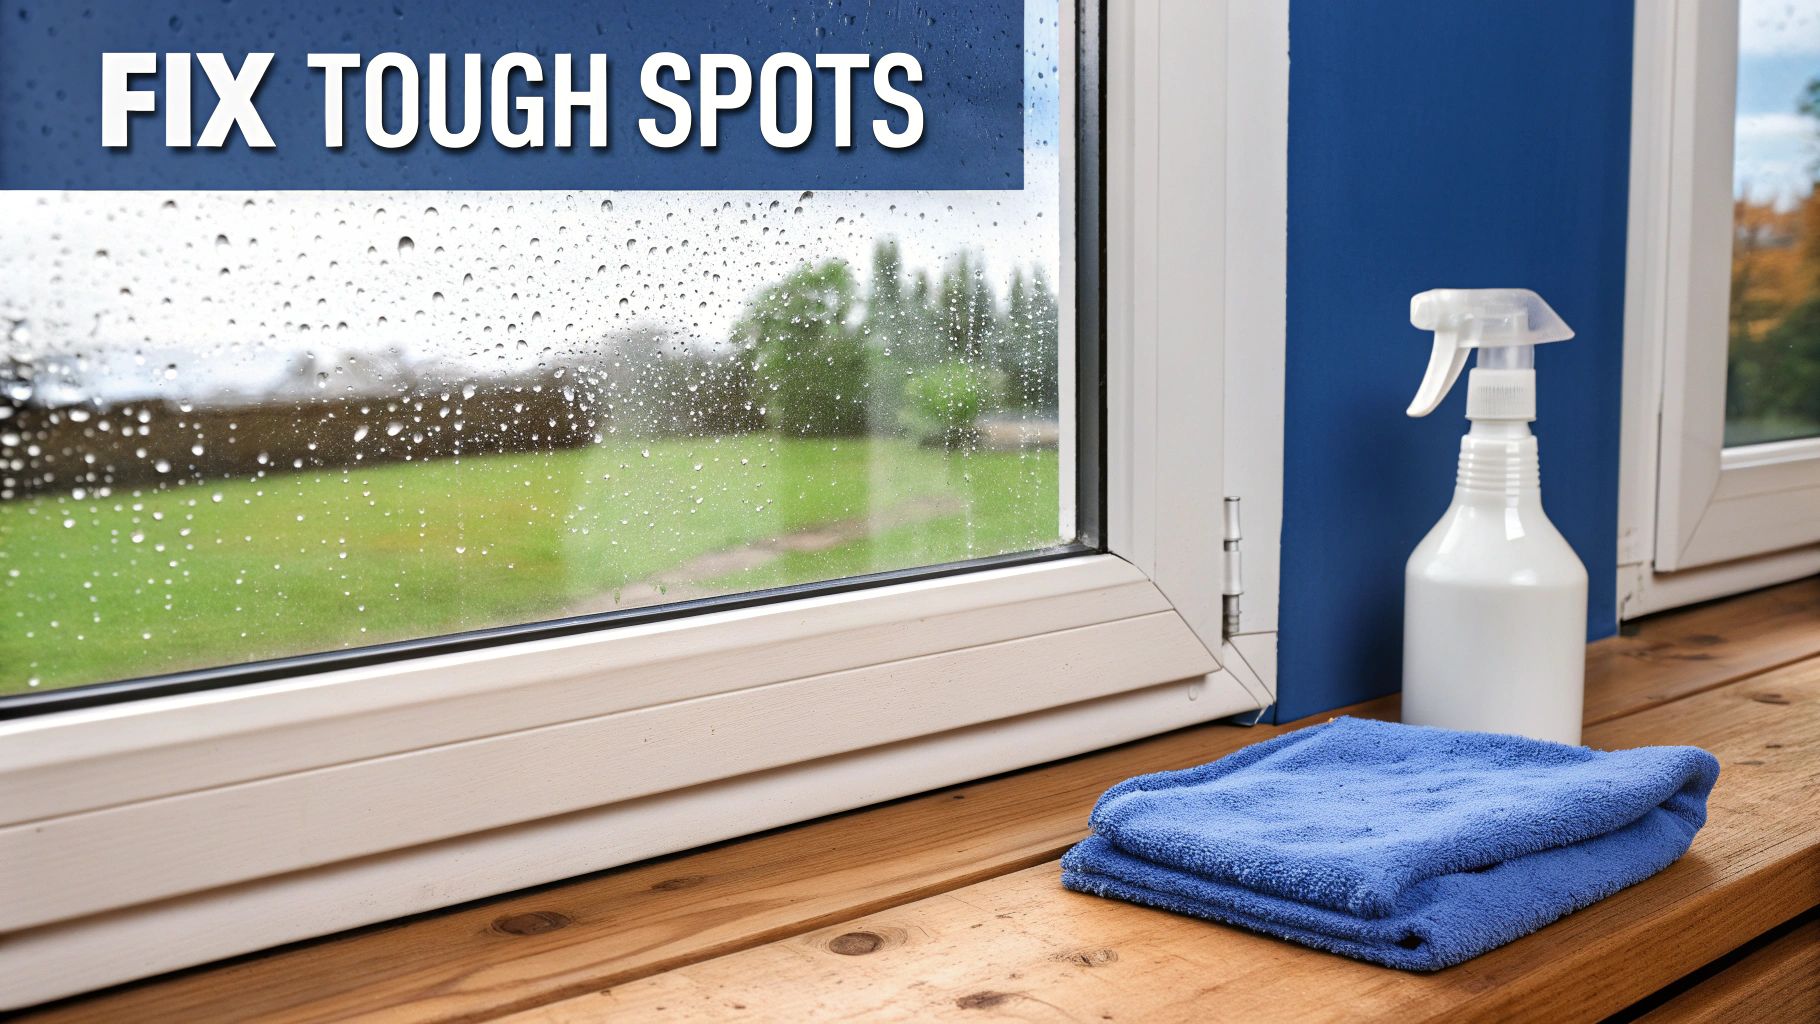
Even with a perfect squeegee technique, you'll eventually encounter a stubborn spot that won’t cooperate. This is your go-to guide for tackling the most common issues we see on windows right here in the Phoenix area. Whether it's greasy film on a kitchen window or those notorious hard water stains, you need the right solution for the right problem.
Knowing how to handle these challenges is what makes the difference between a frustrating afternoon and a quick, satisfying fix. The trick is to identify the issue correctly and grab the right tool for the job, all without damaging the glass.
Tackling Hard Water Stains
Here in Arizona, hard water is the undisputed enemy of clear glass. Those cloudy, chalky spots are mineral deposits left behind when water evaporates. If left for too long, they can etch the glass permanently, so it’s best to deal with them as soon as you spot them.
For most light or moderate stains, a simple mix of equal parts white vinegar and distilled water is your first line of defense. Let that solution sit on the spots for a few minutes to break them down, then give it a scrub with a non-abrasive pad before squeegeeing it clean.
If those stains are putting up a fight, you might need a stronger approach. We've put together a full guide on how to remove stubborn hard water stains from windows that gets into more advanced, professional techniques.
For the really tough, built-up mineral deposits, a piece of #0000 steel wool can be a miracle worker. (That’s "four-aught"—the finest grade you can get.) Always use it on a wet window with plenty of your cleaning solution as a lubricant, and use gentle, circular motions. Critically, test it on a small, out-of-the-way corner first to make sure it doesn't scratch your particular type of glass.
Removing Paint, Sap, and Sticker Gunk
Whether it’s from a recent paint job or a window near a sappy tree, you’re bound to find specks of paint or sticky residue. And we all know kids love stickers, but the gunk they leave behind is a real pain. For these kinds of tough, stuck-on messes, a professional's best friend is a simple razor blade.
A single-edge razor blade in a holder is all you need. The most important rule here is to only use the blade on wet glass. Spray the area down with your cleaning solution; the water acts as a lubricant and helps prevent scratches. Hold the blade at a low, 30-degree angle to the glass and gently push forward to lift the debris. Never drag it backward, and never use a dull blade.
For sticky residue from tape or stickers, a bit of rubbing alcohol or a citrus-based cleaner on a microfiber cloth will usually dissolve the adhesive. Once the gunk is gone, just give the window a final clean. Similarly, old, peeling film from a previous project like installing window privacy film can leave a nasty residue that requires the same kind of attention.
Quick Fixes for Interior Window Issues
Here’s a handy guide for identifying and solving the most common problems you'll face when cleaning inside windows.
| Problem | Primary Cause | Recommended Solution |
|---|---|---|
| Greasy Film | Cooking oils, fingerprints, or indoor air pollutants. | Use your DIY vinegar solution, adding an extra drop or two of dish soap to cut the grease. |
| Hard Water Spots | Mineral deposits from evaporated tap water, common in Arizona. | Start with a vinegar solution soak; escalate to #0000 steel wool on a wet window for stubborn spots. |
| Paint Specks | Overspray from a recent interior or exterior painting project. | Use a new razor blade on a wet window, holding it at a low angle to gently scrape the specks off. |
| Sticker Residue | Leftover adhesive from old stickers, tape, or labels. | Apply rubbing alcohol or a citrus-based cleaner to a cloth and rub until the residue dissolves. |
With these tips in your back pocket, you'll be ready for pretty much anything your interior windows can throw at you, helping you get that perfect, crystal-clear finish every time.
When to Call a Professional Window Cleaner
While there’s real satisfaction in mastering how to clean your own interior windows, some jobs are better left to the pros. Knowing when to put down the squeegee and pick up the phone can save you time, prevent accidental damage, and most importantly, keep you safe.
At South Mountain Window Cleaning, we handle the jobs that go beyond a typical Saturday DIY project, from residential homes to commercial buildings and high-rises.
Think about those second-story windows that are just out of reach, or the massive panes of glass in your Paradise Valley great room. Skylights are another classic example—they require special ladders and a different skill set. These situations are our bread and butter, but they can be a real safety risk for homeowners. Our trained and insured technicians handle these challenges every single day.
Situations That Demand Professional Expertise
It's not always about height. Some window cleaning challenges need professional-grade tools and years of experience to solve without accidentally damaging your glass. Recognizing these situations is key to protecting the investment you've made in your home.
Here are a few clear signs it’s time to call us:
- Hard-to-Reach Windows: Any window that needs more than a simple step stool is a potential hazard. We see it all the time with vaulted ceilings, skylights, and the second or third-story glass common in many Phoenix and Scottsdale homes. Our team uses commercial-grade equipment to get the job done safely and efficiently.
- Serious Hard Water Staining: You can probably tackle light mineral spots on your own. But when hard water stains are severe and have been sitting for a while, they can actually etch into the glass. Removing them often requires specific polishing compounds and techniques to avoid permanent scratches.
- Post-Construction or Renovation Clean-up: New construction is messy. It can leave behind a frustrating film of silicone, paint overspray, and stubborn sticker residue on your brand-new windows. Trying to scrape that off without a pro-grade razor and the right technique can easily lead to a scratched-up mess.
When you hire a professional service, you’re not just paying for clean windows. You're investing in safety, efficiency, and a guaranteed result. Our teams are fully licensed, bonded, and insured, which gives you complete peace of mind.
The Value of Your Time and a Perfect Finish
If you're a busy homeowner in communities like Gilbert or Tempe, your time is your most valuable asset. A full interior and exterior window cleaning can easily consume an entire weekend. Hiring a professional service gets that time back and guarantees a flawless, streak-free result that’s tough to replicate on your own.
Ultimately, understanding what professional window cleaning includes helps you decide when it's the right move for your home. If you're staring up at a challenging job or you just want the best possible results without the hassle, give South Mountain Window Cleaning a call.
Got Questions? We’ve Got Answers.
Over the years, we’ve heard just about every window cleaning question imaginable from our clients here in the Phoenix area. Here are a few of the most common ones we get, along with some quick tips to help you get that professional-looking shine.
How Often Should I Really Clean My Inside Windows in Arizona?
For most homes here in the Valley, giving your interior windows a good cleaning twice a year is a solid baseline. It keeps the dust and grime from building up and lets that beautiful Arizona sun shine through.
That said, if you have a busy household with kids, pets leaving nose prints everywhere, or if you live near a construction zone, you might find yourself needing to do it quarterly. It really makes a difference not just for clarity, but for your indoor air quality too.
Can I Use My Window Solution on the Frames and Sills?
Yes, you usually can! Our gentle DIY solution is perfectly safe for most modern vinyl and painted wood frames.
The big exception is natural, unpainted wood. For that, you’ll definitely want to grab a cleaner made specifically for wood to avoid damaging the finish. No matter the material, the most critical step is to wipe the frames and sills completely dry when you're done. This prevents any chance of water damage, spots, or warping down the line.
I’m Using a Squeegee, So Why Am I Still Getting Streaks?
Ah, the dreaded streaks. It’s the number one frustration we hear about. From our experience, it almost always comes down to one of three things:
- You're working in direct sunlight. The Arizona sun is no joke, and it can dry your cleaning solution onto the glass before you have a chance to squeegee it off, leaving streaks behind. Always try to work in the shade.
- Your squeegee blade is worn out. A tiny nick or a worn-down edge on the rubber blade is all it takes to leave lines. Blades are cheap—replace them often!
- You’re not wiping the blade. This is the secret pro tip! You absolutely have to wipe the squeegee blade clean with a cloth between each and every pass. If you don't, you're just pulling dirty water back across the clean glass.
A streak-free pane is just the beginning of a truly clean window. Once your glass is sparkling, the overall cleanliness often extends to the window treatments themselves. You may wonder how to effectively clean Venetian blinds to complete the look.
For those hard-to-reach windows or when you just want a guaranteed perfect result without the hassle, the professionals at South Mountain Window Cleaning have you covered. We provide expert residential, commercial, and high-rise window washing services throughout Phoenix, Scottsdale, Paradise Valley, Chandler, Tempe, and Gilbert. Give us a call for a free quote scheduled today at https://www.southmountainwindowcleaning.com.