

You pull a box of holiday lights out of storage, plug in a strand, and half of it stays dark. Then you reseat a bulb, wiggle the wire, try a second outlet, and somehow make it worse. That’s usually the moment people start thinking the whole string belongs in the trash.
A good bulb tester for christmas tree lights changes that fast. The right tool helps you stop guessing, isolate the fault, and decide whether the strand is worth fixing. For homeowners in Phoenix, Scottsdale, Paradise Valley, Chandler, Tempe, and Gilbert, that matters even more because lights often spend the off-season in hot garages, dusty sheds, and storage bins that are rough on plugs, sockets, and insulation.
Most light problems are fixable. The trick is knowing what failed, using the right tester for the type of strand you have, and recognizing when a simple repair turns into a safety issue.
The Real Reason Your Christmas Lights Go Out
Most frustrating Christmas light failures come down to one thing. The strand isn’t acting randomly. It’s following the way it was wired.
Older incandescent mini lights are commonly wired in series, which means the electrical path runs through bulb after bulb. If that path breaks, an entire section can go dark. That’s why one small problem can make a long section of tree lights or roofline lights look dead even when most of the bulbs still look fine.
Why the shunt matters
Inside many mini incandescent bulbs, there’s a tiny shunt. Its job is simple. If the filament fails, the shunt is supposed to keep the circuit continuous so the rest of the string can stay on. That idea became much more common with shunt-protected mini lights in the 1980s, which were designed to solve the one-bulb-out, all-out problem. But shunt failures are a primary cause of sectional outages, which is exactly why testers that can fix defective shunts are so useful, as noted in this history of Christmas lights from Christmas Designers.
If the shunt doesn’t do its job, the strand behaves like the circuit is open. You get a dead section and a lot of wasted time if you start pulling bulbs at random.
Practical rule: If a whole section is out, don’t assume every bulb in that section is bad. One failed bulb, one loose bulb, or one bad shunt can be enough.
Incandescent strands and LED strands don’t fail the same way
Homeowners frequently waste time. They use the right repair method on the wrong type of lights.
With many older incandescent sets, a bulb tester can help you find a failed bulb or restore a stubborn shunt. With many modern LED sets, one bad bulb often won’t black out the whole strand in the same way. LEDs changed reliability dramatically, but they also changed troubleshooting. A tester designed for mini incandescent lights may not help much on LED strings.
A quick way to understand is:
- Older incandescent mini lights often fail by section and respond well to classic bulb testers.
- Modern LED strings usually need a different troubleshooting approach.
- Pre-lit trees can be more complicated because the wiring is harder to access and sections can be buried deep in branches.
What professionals look for first
Before testing bulbs, look at the failure pattern.
- One section dark: usually points to a bulb, shunt, fuse, or connection issue.
- Entire strand dark: often means the plug, fuse, outlet, or a major break in continuity.
- Intermittent flicker: usually means a loose bulb, worn socket, or wire damage.
That pattern tells you which tester to grab and whether the strand is worth your time. A professional installer doesn’t start with random replacements. The job goes faster when you diagnose the wiring logic first.
Your Essential Holiday Light Repair Toolkit
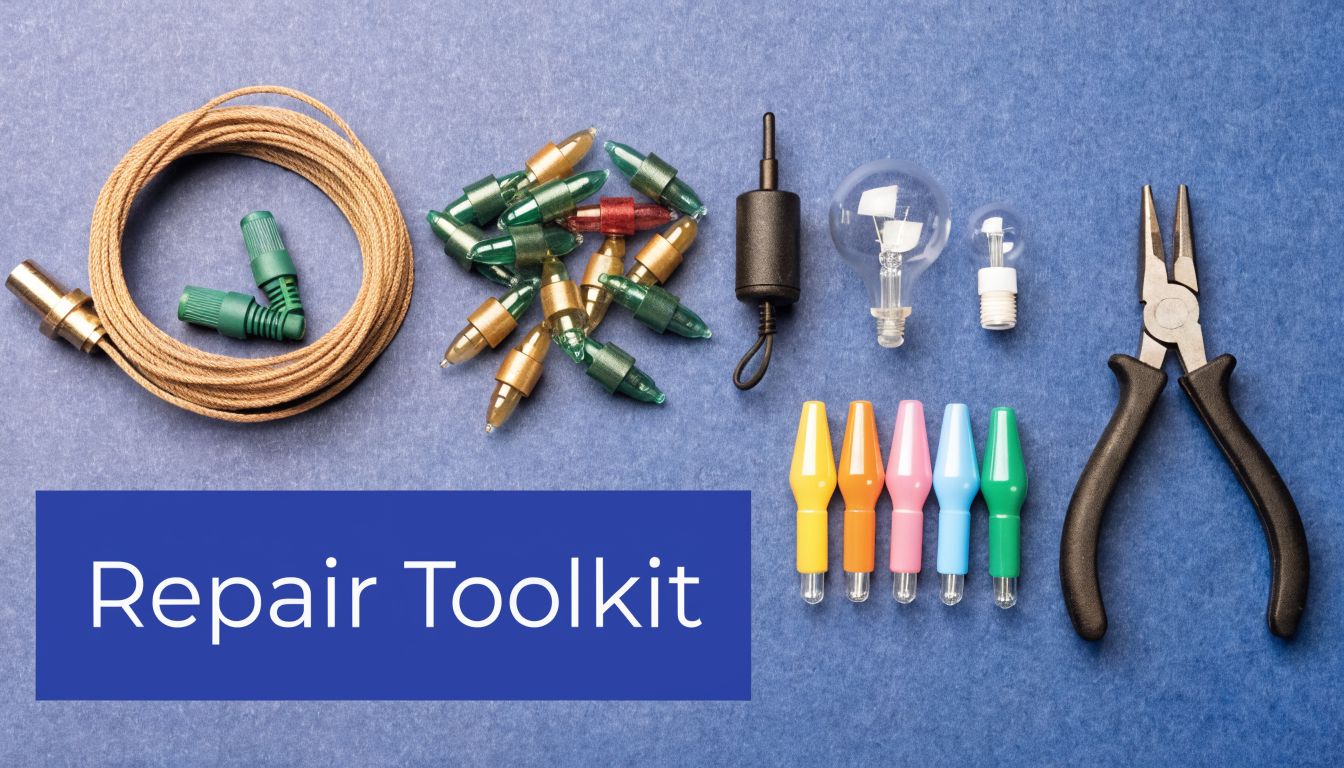
A repair goes smoothly when the tools match the problem. A lot of holiday light frustration comes from trying to do precision work with no system. If you keep a small dedicated kit, most common repairs become manageable.
The tester itself
There are two practical categories for a bulb tester for christmas tree lights.
Basic probe testers
These are best for older incandescent strings when you want to narrow down a single bad bulb efficiently. They’re simple, direct, and useful if you’re comfortable following a method instead of just pressing a button.
A probe-style tester rewards patience and a repeatable process. It’s not flashy, but it works well on the strands it was designed for.
All-in-one testers
A tool like the LightKeeper Pro does more than identify a dead section. It can scan the strand, test bulbs and fuses, and in some cases send a pulse that helps restore a faulty shunt on mini incandescent sets.
That makes it a strong choice for homeowners with several older strands, pre-lit garlands, or boxes of mini lights they don’t want to replace.
If you put up lights once a year and only own a couple of strands, a basic tester may be enough. If you’re maintaining multiple trees, roofline lights, or old storage bins full of mini sets, an all-in-one tool saves a lot of aggravation.
What else belongs in the kit
Don’t stop at the tester. Keep these with it:
- Matching replacement bulbs so you’re not mixing the wrong type into the strand
- Replacement fuses that match the plug’s rating
- Needle-nose pliers for careful bulb removal
- A working reference strand or known-good bulb for comparison
- A small container or zip bag so spare parts don’t disappear into the storage tote
Arizona-specific prep
In the Valley, storage conditions matter. Heat can dry out plastic, and dust gets everywhere. Before you even start testing, wipe down plugs, inspect sockets, and look for brittle insulation. A strand that sat in a hot garage all summer may have more than a bulb issue.
If the wire jacket looks cracked or the socket feels loose and chalky, no tester is going to turn that into a safe strand.
How to Pinpoint a Bad Bulb in Minutes
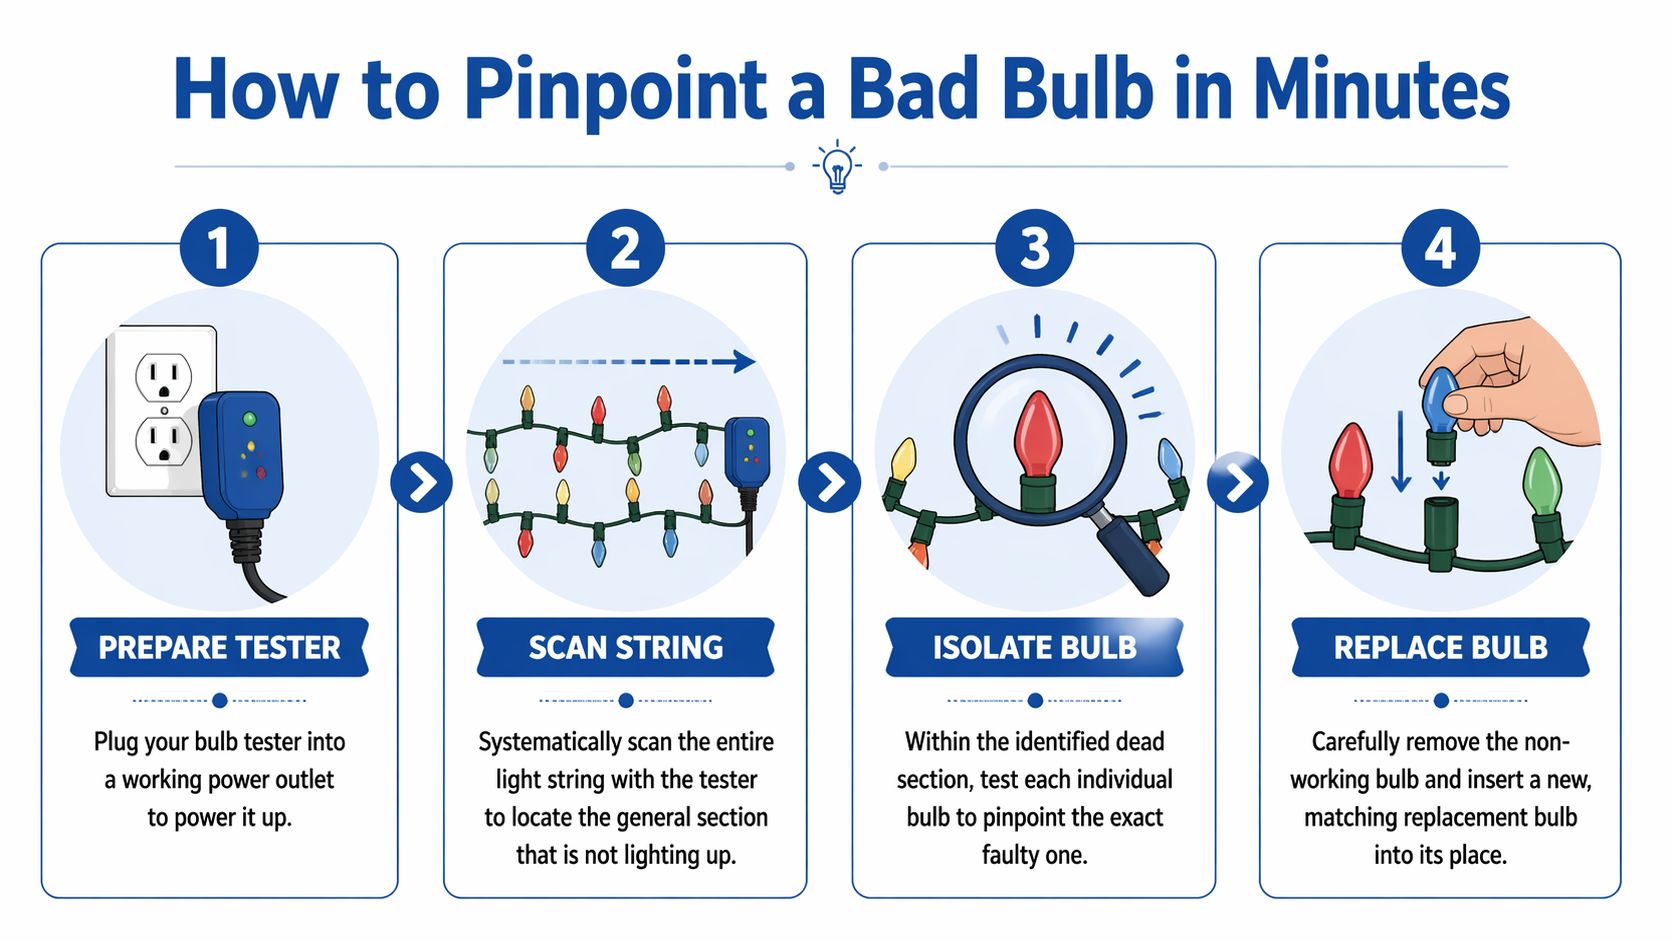
The fastest repairs follow a method. There are two practical workflows. One uses a simple probe and logic. The other uses an advanced tester that scans for voltage and can help with stuck shunts on miniature incandescent strings.
Start with the visual guide below, then use the method that matches your tool and your lights.
Using a simple probe with a divide-and-conquer method
This is the smart way to troubleshoot a traditional incandescent series-wired string. Instead of checking bulbs one by one from end to end, you keep cutting the search area in half.
According to EDN, a divide-and-conquer binary search can locate a single bad bulb in a 50-bulb string in as few as 7 steps, compared to potentially testing up to 48 bulbs sequentially using a simple probe method, as shown in this EDN Christmas light tester guide.
Here’s the workflow:
- Plug in the tester and the light string. You need the strand energized for this method.
- Probe the first bulb position. Note which indicator responds.
- Jump to the midpoint. On a 50-bulb string, that means around bulb 25.
- Compare the reading. If it matches the first reading, the fault is farther down the string. If it changes, the fault is in the earlier half.
- Keep halving the problem. Move to the midpoint of the suspect section and test again.
- Narrow to the bad bulb. Once the readings change across two neighboring positions, you’ve isolated the fault area.
- Replace or reseat the bulb. Then retest the strand.
This method is efficient because it treats troubleshooting like a search problem, not a scavenger hunt.
When a strand is older but otherwise in decent shape, this approach is much faster than pulling bulbs at random and hoping you get lucky.
A video can also help if you want to see the process in action.
Using a LightKeeper Pro style tester
This workflow is more practical for homeowners who want a guided tool rather than a manual search method. It’s designed for miniature incandescent and icicle strings, not LEDs.
The repair sequence is straightforward:
- Start with a visual check. Look for loose bulbs, dark filaments, and obvious socket issues.
- Check the fuses early. A dead strand can be a fuse problem before it’s a bulb problem.
- Run the non-contact scan along the strand. The tester beeps or lights where current is present and goes quiet where the fault begins.
- Focus on the silent area. That’s usually where the failed bulb or shunt problem lives.
- Use the shunt-fix trigger if your tester has one. On tools like the LightKeeper Pro, that pulse can restore a defective shunt on miniature incandescent lights.
- Test the suspect bulb separately. If it fails, replace it with the correct match.
Repair guides and user data around this style of tester report that loose bulbs are the most common failure, accounting for up to 70% of issues, and blown fuses cause about 10% of outages, based on the LightKeeper Pro methodology demonstrated in this repair video guide.
What doesn’t work well
A lot of homeowners hit a wall because they assume every strand behaves like an older mini-light set.
Keep these trade-offs in mind:
- Probe and shunt-fix testers are best on incandescent mini lights
- LED strings may not respond properly to old-school testers
- Multiple faults on one strand make diagnosis slower
- Visible wire damage is a replacement issue, not a bulb-testing issue
If your first repair doesn’t restore the strand, stop and reassess. Good troubleshooting is fast because it stays methodical.
Quick Troubleshooting for Common Light Problems
Before you test every bulb, run a short diagnostic pass. That’s how pros avoid wasting time on the wrong problem. Most failures aren’t mysterious. They usually come from a handful of repeat issues.
Fast checks worth doing first
If the strand is out, inspect these in order:
- Loose bulb. This is often the first thing to check because a bulb that’s backed out slightly can interrupt the circuit.
- Fuse in the plug. Tiny plug fuses are easy to overlook and can shut down the entire string.
- Bad outlet or tripped reset. Test the power source before blaming the strand.
- Loose connection between strands. A partially seated connection can mimic a bad section.
- Frayed or pinched wire. If you see physical damage, stop testing and retire the strand.
For homeowners decorating rooflines, columns, and entryways, a broader setup guide for Christmas lights on homes can help you think through layout and connection points before small issues multiply.
Christmas Light Troubleshooting Checklist
| Symptom | Potential Cause | Quick Fix |
|---|---|---|
| Entire strand dark | Blown fuse, bad outlet, unplugged connection | Test outlet, inspect plug, replace matching fuse |
| Half or section dark | Loose bulb, failed bulb, bad shunt | Reseat bulbs, use tester, replace suspect bulb |
| Flickering section | Loose bulb or worn socket | Press bulbs in firmly and retest |
| Works briefly, then fails | Damaged wire or unstable connection | Inspect closely and replace strand if wiring looks compromised |
| One bulb dark but others lit | Single bulb failure on certain setups | Replace with a matching bulb |
User guides for LightKeeper-style testers report that loose bulbs account for up to 70% of issues and blown fuses cause about 10% of outages, which is why those two checks belong at the top of the list.
Holiday Lighting Safety Best Practices
A working strand isn’t automatically a safe strand. That’s the difference between getting lights on for tonight and setting up a display that won’t create trouble later.
In Arizona, holiday lights often come out of storage after months of heat exposure. Plastic gets brittle. Insulation can dry out. Dust collects inside plugs and around sockets. If a strand looks questionable before testing, trust that instinct.
What should happen before any repair
Inspect the strand in bright light and run your hand along the wire slowly. You’re looking for cuts, crushed sections, loose sockets, discoloration, or exposed conductors. If you find those, replacement is safer than repair.
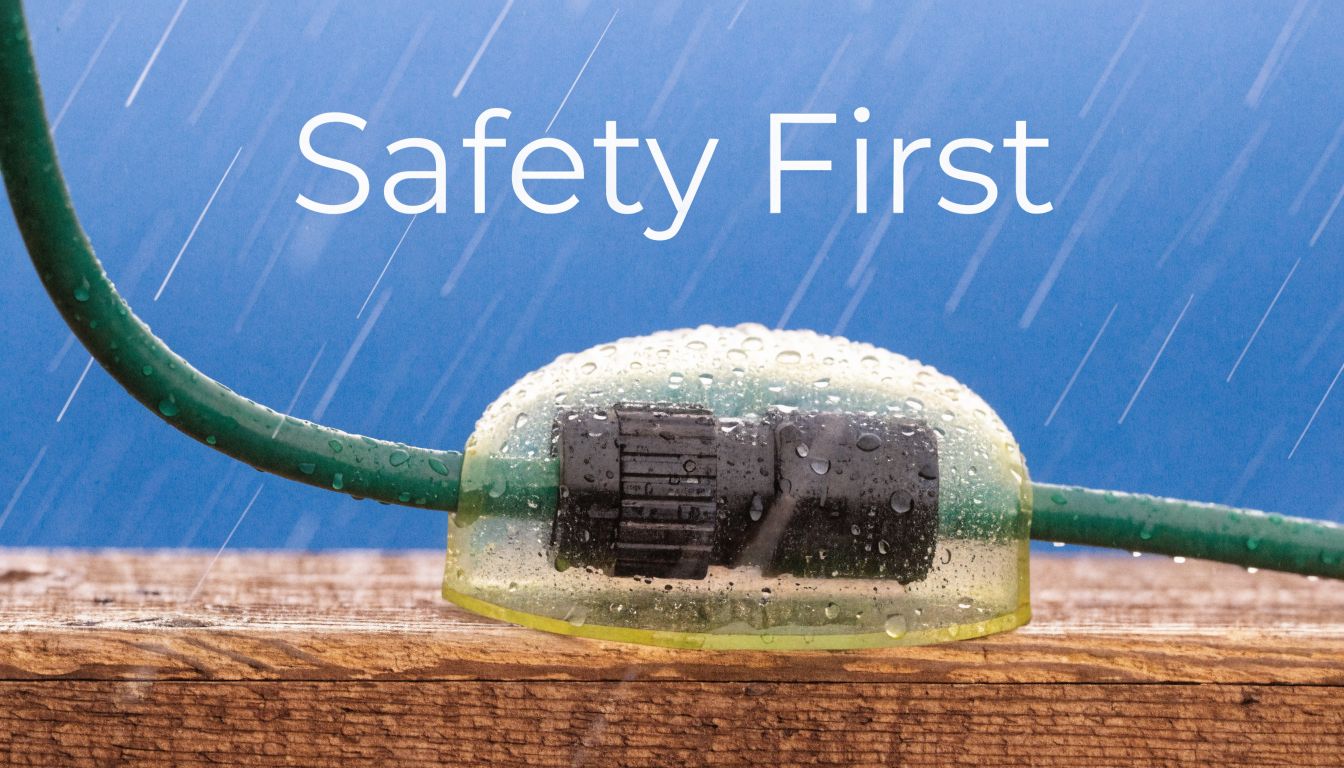
Also match the location to the product. Indoor strands shouldn’t go outside. Outdoor connections need weather protection, stable support, and sensible routing so plugs don’t end up sitting in pooled water or irrigation runoff.
A bulb tester can help you diagnose continuity problems. It can’t make damaged wiring safe.
Safe habits that prevent bigger problems
Use a simple professional standard:
- Inspect first before plugging anything in
- Unplug before removing or replacing bulbs
- Keep replacement bulbs and fuses matched to the original strand
- Don’t overload one outlet or extension path
- Keep cords off sharp edges and away from doors that can pinch them
- Use steady ladder practices and avoid overreaching
If you’re planning a larger exterior display, it’s worth reviewing examples of solid Holiday Lighting design and installation practices. Not for decoration ideas alone, but for how clean layouts, protected connections, and organized routing make a display easier to maintain and safer to troubleshoot.
Where DIY should stop
DIY repair is fine when you’re dealing with a tree strand at waist height or a simple garland on the mantel. It stops being casual when you’re on a ladder, working around rooflines, or trying to diagnose repeated outages in outdoor runs exposed to weather.
That’s where professionals separate themselves. The safest installer isn’t the person who can force one more season out of a bad strand. It’s the person who knows when the strand has already told you it’s done.
For setup help specific to homes and businesses, a practical reference on Christmas light setup can help you think through safer placement and installation planning.
When to Call a Professional Lighting Installer
A bulb tester is a useful homeowner tool. It just isn’t the answer to every lighting problem.
Small repairs make sense when the job stays small. A single bad strand on an indoor tree is usually a reasonable DIY fix. A couple of mini-light sections on a wreath or garland can also be worth troubleshooting, especially if the wiring is in good shape and the bulbs are accessible.
Good DIY jobs
These are usually manageable:
- One or two faulty indoor strands
- A simple incandescent mini-light section
- A clearly loose bulb or easy fuse replacement
- A low-height display you can reach safely from the ground
The key is access. If you can inspect it properly, test it methodically, and replace a bulb without creating a safety problem, DIY is often fine.
Jobs that turn into time sinks
Complex displays fail in more than one place. Pre-lit trees can hide wiring deep inside branches. Roofline strands can involve multiple connected runs. Commercial properties add scale, timing pressure, and liability.
Holiday lighting has been getting more elaborate for a long time. The first electrically illuminated Christmas tree in 1882 used 80 hand-wired bulbs, and by 1895 President Grover Cleveland’s White House tree used over 100 bulbs, a sign of how quickly displays became more complex, according to this history of electric Christmas lights.
If your issue involves height, repeated failures, outdoor power concerns, or wiring damage, it’s smart to stop treating it like a bulb problem. In situations where holiday lighting trouble points to a deeper electrical issue, homeowners should rely on qualified help, much like the kind of professional electrical repair services used when safety and proper diagnosis matter more than trial and error.
The real cost of a difficult holiday light repair isn’t only the strand. It’s the time on the ladder, the repeat troubleshooting, and the risk of pushing damaged wiring too far.
A simple decision filter
Call a professional installer when any of these are true:
- The lights are on a roofline, upper story, or tall tree
- The same section keeps failing after bulb replacement
- You’re dealing with a pre-lit tree with hidden wiring
- You see cracked insulation, scorched sockets, or damaged plugs
- The display covers enough area that troubleshooting turns into a half-day project
If you’re weighing convenience, safety, and appearance together, this guide on finding professional Christmas light installation services near me is a useful place to start.
Frequently Asked Christmas Light Repair Questions
A few questions come up every season, especially when homeowners are trying to decide whether to keep repairing or replace the strand.
FAQ Section
| Question | Answer |
|---|---|
| Can I use the same tester on incandescent and LED Christmas lights? | Not always. Many classic Christmas light testers are built for miniature incandescent strings and shunt-related problems. LEDs often need a different troubleshooting approach. |
| Why does half the strand go out instead of the whole thing? | Many sets are divided into sections. A failure in one section can darken that portion while the rest stays on. |
| Is a bad bulb always burned out? | No. A loose bulb is often the real issue, so reseating bulbs should be part of your first pass. |
| Should I keep fixing an old strand every year? | Only if the wire, sockets, and plug are still in good condition. If the strand has visible wear, recurring failures, or brittle insulation, replacement is usually the safer move. |
| When should I hire a holiday lighting company instead? | If the display is elevated, large, hard to access, or keeps failing after basic repairs, bring in professionals. This guide on choosing a holiday lighting company helps clarify what to look for. |
If you’d rather skip the testing, ladder work, and mid-season repairs, South Mountain Window Cleaning, LLC can help with professional holiday lighting installation for homes and commercial properties across the Valley. It’s the easiest way to get a clean, polished display without burning time on tangled strands and stubborn outages.