
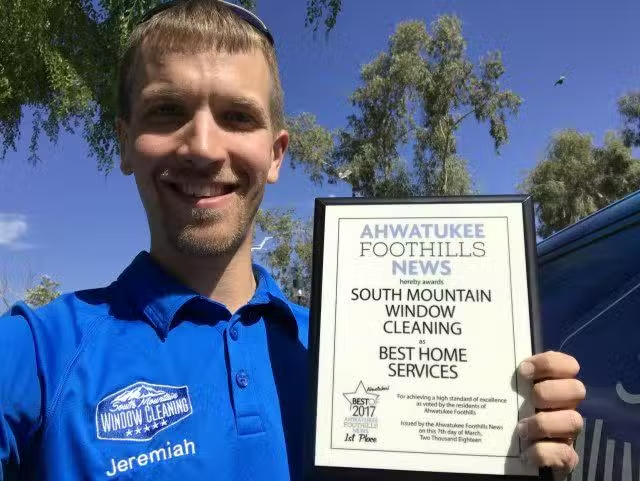
To get that sparkling, "just-like-new" look for your home's exterior, you can't just pick one cleaning method and call it a day. The real secret is using a smart combination of pressure washing and soft washing. It’s all about knowing which tool to use for which job, letting you tackle tough grime on durable spots while treating more delicate siding with a gentle touch. At South Mountain Window Cleaning, we specialize in providing the perfect cleaning solution for homes across Phoenix, Scottsdale, and Paradise Valley.
Choosing the Right Cleaning Method for Your Home
Think of it this way: you wouldn't use a hammer to fix a watch. The same logic applies here. You need the right amount of power for the right surface.
- Pressure washing is your heavy hitter. It's perfect for blasting away years of caked-on desert dust from tough surfaces like brick and concrete driveways in Chandler or Tempe.
- Soft washing, on the other hand, is the more finessed approach. It relies on low pressure and specialized, eco-friendly detergents to safely clean materials like wood, vinyl, and stucco without causing damage.
- Anytime you're cleaning, protecting your landscaping is a must. We always start by pre-soaking the soil and covering delicate plants to keep them safe from any cleaning solutions.
- For areas around windows, light fixtures, and fragile trim, soft washing is the only way to go. High pressure in these spots is just asking for trouble.
To make it even clearer, let's break down how these two methods stack up against each other.
Pressure Washing vs Soft Washing Comparison
Here’s a side-by-side look at how pressure and soft washing compare on the key things that matter: cleaning power, safety for your siding, cost, and where you'd typically use them.
| Feature | Pressure Washing | Soft Washing |
|---|---|---|
| Cleaning Power | High-intensity spray removes deep-set grime | Gentle action lifts surface dirt without etching |
| Siding Safety | Risk of damage on older wood or cracked stucco | Safe for fragile materials and painted surfaces |
| Cost | Equipment rental or pro service costs $100-$300 | Lower DIY expense on detergent and standard hose use |
| Typical Use Cases | Patios, driveways, masonry walls | Vinyl siding, wood trim, windowsills |
Looking at them together, it's easy to see they're both fantastic tools, but for very different applications. One isn't "better" than the other; they're partners in getting your home completely clean.
The most reliable exterior cleaning combines high-pressure power for the tough stuff and low-pressure detergents for the delicate surfaces. It's a perfect balance.
This two-pronged approach isn't just a local trend; it's the standard for pros everywhere. Pressure washing is a massive industry, with the global exterior building cleaning market valued at around $12.5 billion in 2024. It's projected to climb to $20.3 billion by 2033, with the U.S. accounting for a huge 67.3 percent of the North American market. You can dig into more of these stats on exterior building cleaning market growth on Cognitivemarketresearch.com.
Here in the Valley, we see the need for this all the time. Just recently, we worked on a beautiful stucco-clad home near South Mountain that absolutely needed a low-pressure soft wash to avoid damaging its delicate finish. The very next day, a brick façade in Scottsdale handled quick, high-pressure passes beautifully, and the results were stunning.
Real-World Scenarios
- A home with wood siding in Gilbert was struggling with green algae on the shaded north side. A soft wash was the only way to remove it without stripping the paint or damaging the wood.
- In Tempe, we were able to cut through layers of desert dust on a home's concrete foundation using a power washer, all without harming the surrounding palm trees.
These quick snapshots show why matching the pressure to the material is the absolute key to getting great, lasting results without causing headaches.
Quick Safety Tips
Before you start any project, safety and preparation are everything.
- Always pre-soak mulch beds and cover your shrubs with plastic sheeting. This simple step drastically reduces the chance of chemical runoff harming your plants.
- Use adjustable nozzles so you can dial back the pressure instantly, especially around painted surfaces or older trim.
- Take a few minutes to tape off windows and light fixtures. It's a small hassle that prevents soap and bleach from getting where they don't belong.
With this quick guide in mind, you're ready to tackle the full how-to process we'll get into next.
How to Choose Your Method
It really comes down to this: pressure washing is for hard, durable surfaces that can take a beating. Soft washing is your go-to for siding that might chip or for cleaning mold and mildew that loves to grow in our shady spots.
- A DIY pressure washing job on an average-sized home will likely take you 2–4 hours.
- Soft washing might take a bit longer, maybe 4–6 hours, but that extra time dramatically reduces the risk of accidentally damaging your siding.
Up next, we'll break down exactly how to assess your siding and get the precise mix for your cleaning solutions.
Here at South Mountain Window Cleaning, we apply this dual approach across Phoenix, Scottsdale, and the surrounding areas. We make sure every single home gets the exact pressure level and cleaning method it needs. You can trust our insured, licensed technicians to deliver flawless results every time.
Figure Out Your Siding and Pick a Cleaning Method
Before you even think about firing up a pressure washer, the most important thing you can do is figure out what you're working with. A solid cleaning job starts with a good, hard look at your siding. Different materials react completely differently to pressure and chemicals. What works wonders on a brick home in Tempe could absolutely wreck a stucco house over in Paradise Valley.
So, start with a simple walk-around. Get up close to the walls and really look for any existing issues that a high-pressure blast could make a whole lot worse.
- Peeling or Chipped Paint: This is a huge red flag. High pressure will just tear more paint off, leaving you with a much bigger project than you started with.
- Cracks in Stucco or Mortar: Forcing high-pressure water into cracks is a recipe for disaster. You can push moisture deep behind the siding, which can lead to mold and rot you won't see until it's too late.
- Loose Siding Panels: Give your vinyl siding a check. See any warped or loose panels? A powerful spray can get right under there and pop them off completely.
Siding Materials and How to Clean Them
Here in Arizona, the intense sun and constant dust throw some unique challenges at our homes. The material of your house is the number one factor in deciding whether you should grab the pressure washer or go for a gentler soft wash.
Stucco
You see stucco all over Phoenix and Scottsdale for a reason, but it's porous and can be pretty brittle. Too much pressure can easily etch the surface or even blast off chunks of the finish. For stucco, a soft wash is almost always the right call. It uses low pressure and the right cleaning solution to kill mildew and lift dirt without damaging the material itself.
Vinyl Siding
Vinyl is tough, but it's not bulletproof. If you hit it from the wrong angle with high pressure, you can force water underneath the panels. That trapped moisture is a breeding ground for mold. A low-to-medium pressure wash is usually okay, but a soft wash is even safer and works just as well on the dust and grime we get here.
Wood Siding
If you have an older home with weathered wood siding, maybe in one of Gilbert's historic areas, you need to be extra careful. Pressure washing can splinter the wood, strip paint right off, and leave permanent "wand marks" etched into the surface. A soft wash is really the only way to go.
Brick and Concrete
These are the heavyweights. Brick walls and concrete foundations can usually handle a controlled pressure wash to knock off stubborn dirt and efflorescence (those chalky white stains). But you have to check the mortar first. If it's old and crumbly, even tough materials like brick can be damaged.
Choosing the right technique isn't just about getting things clean—it's about preserving your home. Using the wrong method can quickly turn a weekend chore into a very expensive repair job. Let the material and its current condition be your guide.
Don't Forget About Your Environment
Where your house sits makes a difference, too. A north-facing wall in a shady Chandler neighborhood is a prime spot for green algae, which needs a good cleaning solution to kill it at the root. On the other hand, a west-facing wall that gets baked by the sun all day might just have a thick layer of dust that a simple low-pressure rinse can handle.
This kind of specialized approach is becoming the norm everywhere. The external facade cleaning market was valued at a whopping $1.5 billion in 2023 and is expected to climb to $2.5 billion by 2031. That growth comes from understanding that different climates and materials need different techniques, from managing desert dust to keeping buildings looking sharp.
When it comes down to it, the choice is pretty simple. Assess your siding, look for damage, and think about what kind of grime you're trying to remove. If you're ever in doubt, always start with the gentlest method first—a soft wash. For trickier jobs or surfaces you're just not sure about, it can be really helpful to learn more about professional power washing services in Phoenix, Arizona.
Gearing Up With the Right Equipment and Cleaning Solutions
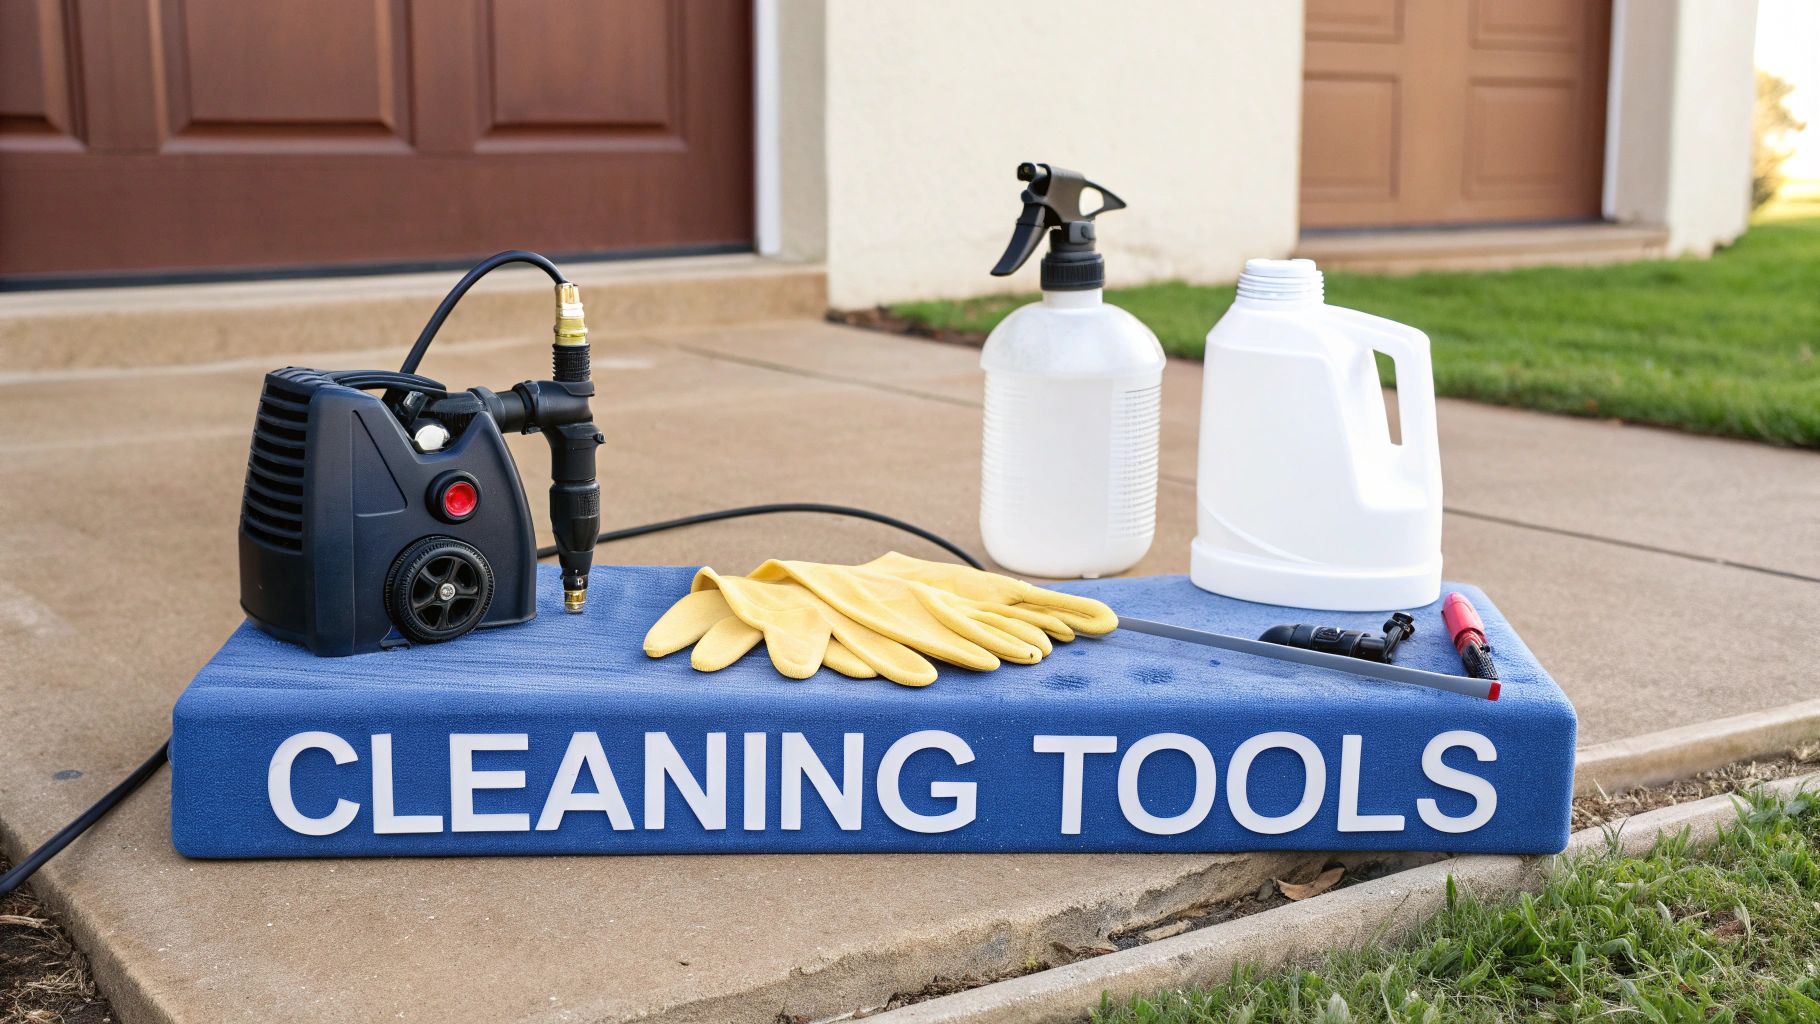
Alright, you've figured out the best approach for your siding. Now it's time to gather your tools. Getting everything lined up before you start is the key to turning a potential weekend-long slog into an efficient, satisfying project. A proper setup is half the battle.
The big-ticket item here is the pressure washer. But grabbing just any model off the shelf won't do. You'll need to decide between gas and electric, and the choice really depends on the job at hand.
- Electric Pressure Washers: These are your go-to for most residential siding. They're lighter, much quieter, and generally put out between 1,300 to 1,900 PSI. That's plenty of power for vinyl siding without being overkill.
- Gas-Powered Pressure Washers: These are the heavy hitters, pushing 2,000 to 4,000 PSI. They're fantastic for blasting grime off tough surfaces like driveways and brick patios, but you have to be extremely careful. That much power can chew up softer siding in a heartbeat.
Choosing Your Nozzles and Attachments
Honestly, the real skill in pressure washing comes down to the nozzle tip. Using the wrong one is the fastest way I've seen homeowners cause expensive damage. The tips are color-coded for a reason—the smaller the angle, the more concentrated and powerful the spray.
- Red (0°): Just don't. Seriously. This tip can etch concrete, so imagine what it will do to your siding. Set it aside and forget about it for this job.
- Yellow (15°): This one has its place for tough, stubborn stains on hard surfaces, but you need to keep your distance. Use it with a lot of respect and caution.
- Green (25°): This is your workhorse. For most siding jobs, the 25-degree green tip provides the perfect balance of cleaning power and wide coverage. It’s what we use most of the time.
- White (40°): The gentlest of the bunch. It’s ideal for rinsing delicate areas, like around windows or on painted wood trim.
- Black (Soap Nozzle): This low-pressure tip is designed specifically for applying your cleaning solution. It "pulls" the detergent from your machine and sprays it on gently without diluting it too much.
If you have a two-story home, an extension wand is non-negotiable. It keeps you safely on the ground instead of teetering on a ladder, which is a major safety win. And while you're focused on home maintenance, don't forget other areas. Keeping things like solar panels clean is just as important for efficiency. We've actually got a whole guide on how to clean solar panels if you're interested.
Mixing Up a DIY Cleaning Solution
You don't need to spend a fortune on fancy, harsh chemicals, especially for the typical dust, algae, and mildew we see here in Arizona. A simple homemade solution works wonders. Checking out some effective DIY cleaning solutions for vinyl siding is a great way to save a few bucks.
Here’s a reliable recipe we often recommend for a basic soft wash:
- Start with one gallon of water.
- Add one quart of regular household bleach to kill off that stubborn mold and mildew.
- Mix in about 1/4 cup of a surfactant, like dish soap. This helps the solution stick to the wall and lift the dirt.
Always do your mixing in a well-ventilated space. And a crucial safety tip: never, ever mix bleach with any cleaner containing ammonia. This creates a dangerous toxic gas. It's always a good idea to test your mix on a hidden spot first to make sure it agrees with your siding.
Your safety is the top priority. A few minutes spent putting on the right gear can save you from a world of hurt. Don't ever cut corners on Personal Protective Equipment (PPE).
Don't Forget Your Personal Safety Gear
This part is not optional. You're dealing with pressurized water and cleaning chemicals, and you need to protect yourself.
- Safety Goggles: An absolute must. Keep cleaning solutions and flying grit out of your eyes.
- Gloves: Grab a pair of waterproof, chemical-resistant gloves to protect your skin.
- Non-Slip Boots: Things are going to get wet and slick. Sturdy, closed-toe boots with good grip are essential to prevent a nasty fall.
- Manage Your Hoses: Keep your work area tidy. Run power cords and hoses around the edges of where you'll be walking to avoid creating a trip hazard.
Prepare Your Home For Exterior Washing
You’ve got your cleaning method figured out and your gear is ready to go. It's really tempting to just fire up the washer and get started, but trust me on this one—taking a few minutes to prep is the single best thing you can do to protect your property. A little bit of proactive work now can save you from a world of preventable headaches later.
Think of prep work as creating a safe zone around your house. It’s all about making sure the water and cleaning solutions only hit the siding, keeping your plants, electronics, and the inside of your home safe and dry. It's the step that separates an amateur job from a professional-quality result.
Secure Utilities and Electronics
Water and electricity are a seriously bad mix. Before a single drop of water flies, your first job is to walk the perimeter of your home and protect every single electrical hazard.
Take a slow lap around your house and keep an eye out for these items:
- Electrical Outlets: Don't just slap any tape on them. Use a high-quality, waterproof tape and make sure you get a tight seal all the way around each outlet cover.
- Light Fixtures: For any decorative or hanging lights, your best bet is to securely tape a plastic bag completely around them. It's simple, but it works.
- Security Cameras and Doorbells: These are more sensitive than they look. Carefully tape over the lenses and other components of your cameras and smart doorbells. Water intrusion can easily fry the electronics inside.
- HVAC Unit: This is a big one. Go to your breaker box and shut off the power to your air conditioning unit. The last thing you want is for that powerful fan to suck in a mist of water or cleaning solution. That's a recipe for a very expensive repair.
A few dollars spent on waterproof tape and some plastic sheeting is nothing compared to replacing a shorted-out security camera or a fancy porch light. This isn't the step to skip.
Protect Landscaping and Outdoor Items
Next up are your prized rose bushes, the vegetable garden, and your patio furniture. Even the mild, eco-friendly cleaning solutions can be tough on delicate plants, and a high-pressure stream can absolutely shred leaves and flowers in a second.
Here's how to keep everything safe before you start spraying:
- Move What You Can: Get everything moveable away from the house. We're talking patio furniture, grills, potted plants, yard art, the kids' toys—all of it.
- Cover What You Can't: For your established garden beds, shrubs, and smaller trees, use lightweight plastic sheeting. Just drape it over the plants and use a few rocks or landscape pins to hold it down so it doesn't blow away.
- Pre-Soak the Soil: Give the soil in any garden beds right up against the house a really good watering. When the ground is already saturated, it's far less likely to absorb any chemical runoff, which helps protect the roots of your plants.
Seal Doors and Windows
Even a well-built home can have weak spots. The force from a pressure washer is surprisingly good at finding its way past old or worn-out weatherstripping around windows and doors.
Take a second to check these spots. If you can see daylight or feel a draft around your windows and doors, it’s a smart move to lay down some old towels on the inside sills. This is an easy trick that can save your interior floors and walls from water damage. For any windows you know are a bit leaky, a quick layer of painter's tape around the exterior frame adds another line of defense. This is especially true for older homes you see around Paradise Valley or historic parts of Gilbert, where the original fixtures might not be as watertight as they used to be.
Time to Wash: The Right Way to Do It
With all your prep work done and gear ready to go, it's finally time for the main event. Getting the actual washing technique right is what separates a beautiful, uniform finish from a streaky, blotchy mess. It's about more than just spraying water—a methodical approach is your best defense against common DIY mistakes like missed spots or, worse, damaged siding.
First things first, get your cleaning solution mixed based on the ratios you decided on earlier. Once it's in your pressure washer's detergent tank, you're ready to start applying. And this is where a pro tip comes in that catches most homeowners by surprise.
Start From the Bottom and Work Your Way Up
It might sound counterintuitive, but you always want to apply your soap from the bottom of the wall and work your way up. Why? This simple trick prevents what we call "clean streaks" or "rivers." If you start from the top, the soapy water will run down the dirty siding below, creating clean lines that are almost impossible to get rid of later, even after you've washed the whole wall.
I recommend tackling the house in manageable sections, maybe about ten feet wide at a time. This is especially important under that intense Arizona sun, as it keeps the soap from drying on the surface before you can rinse it. Use steady, overlapping strokes to make sure you get even coverage.
Let that solution sit and do its work for 5-10 minutes. You'll actually see the grime start to loosen and change color. That's your cue that the detergents are breaking down all that dirt, algae, and mildew.
This infographic breaks down the essential prep work you need to do before a single drop of water hits your house.
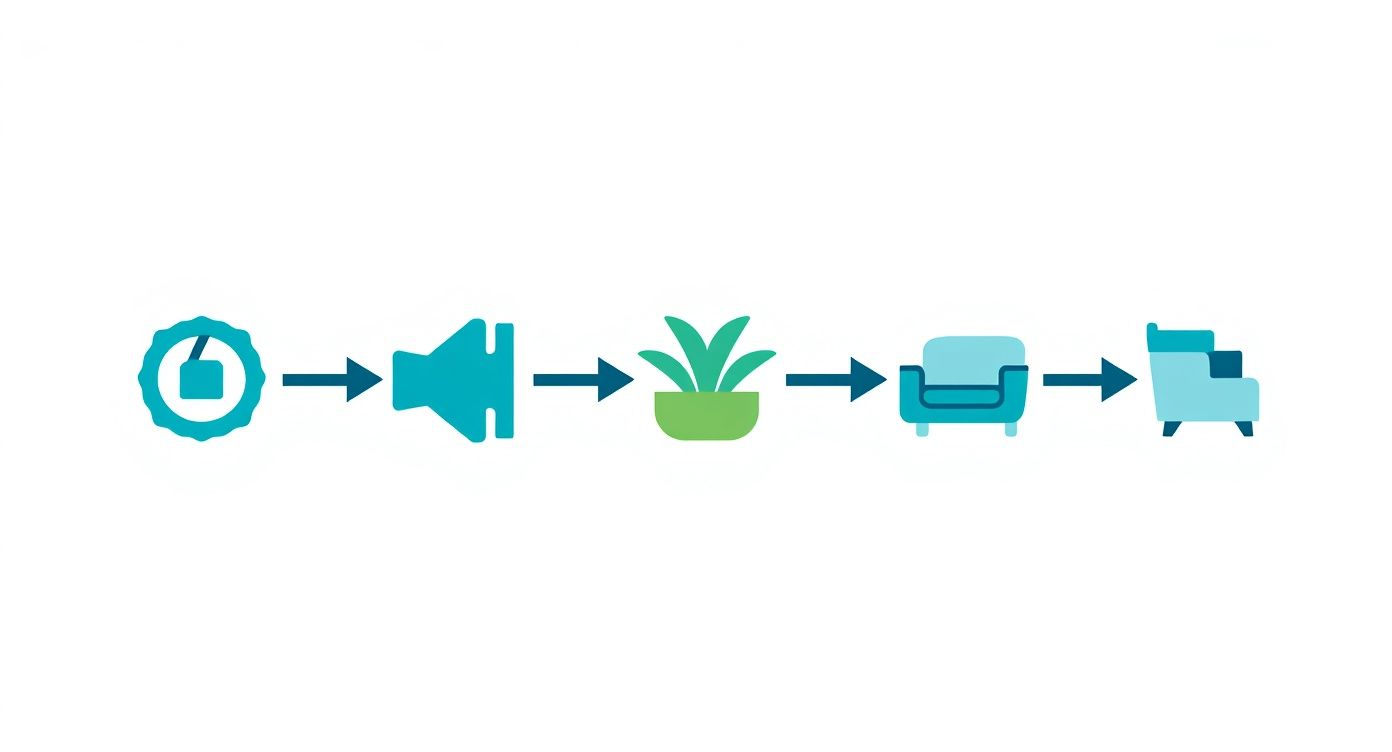
As you can see, covering plants, securing outlets, and moving furniture aren't just suggestions—they're the foundation of a job done safely and correctly.
Perfecting Your Wand Technique
After the solution has had time to dwell, switch out your soaping nozzle for a rinsing one (a 25- or 40-degree tip is usually perfect for siding). Now, you're going to reverse the process: rinse from the top down. This lets gravity do the work for you, pulling all the soap and loosened grime down and off the wall without leaving soapy residue behind.
How you handle the wand is everything. It's the difference between a professional-looking clean and permanent damage.
- Keep a 45-degree angle between the spray and the siding. Never spray head-on at a 90-degree angle; that's how you force water behind vinyl panels.
- Maintain a distance of about 12-18 inches from the wall. Getting too close is what carves those ugly "wand marks" into wood and vinyl siding.
- Use a smooth, sweeping motion. Move your whole arm, not just your wrist, to make long, overlapping passes for a consistent, blotch-free finish.
Dealing With Trouble Spots
As you move around your house, you're bound to run into stubborn spots that need a little extra muscle. For example, the north-facing wall of a home in Chandler is almost always a magnet for thick green algae. For spots like that, you might need to move the nozzle a touch closer or let the solution dwell for a few extra minutes before rinsing.
The same goes for rust stains under a hose spigot or oil spots near the garage. These often require a second, more targeted application of a specialized cleaner before the final rinse. Knowing how to adapt your approach to these unique issues is a huge part of providing a top-tier pressure washing service in Ahwatukee and across the valley.
The ultimate goal is a uniform, streak-free surface. Don't skip the final quality check. Walk the entire perimeter from different angles while the siding is still damp to catch any soap residue or missed patches.
The Final Walk-Through
When you think you're done, do one last lap around the house. Look for any "holidays" (industry slang for missed spots) or any lingering soapy sheen. If you see anything, a quick rinse with plain water is all it takes to fix it. This final check is what ensures that when your home dries, it looks flawless from every angle. A job isn't finished until it looks like a pro did it.
When To Hire A Professional Service
Tackling exterior cleaning on your own can feel rewarding, but there are moments when expertise makes all the difference. Calling in pros protects your home’s value, keeps you safe, and guarantees a truly spotless result. Specialized training, commercial equipment, and full insurance coverage are often non-negotiable.
Size matters. Gazing up at a three-story exterior and wrestling a pressure washer on a ladder is more than inefficient—it’s risky. Likewise, vintage siding or historic stucco demands a gentle touch that typical DIY gear simply can’t deliver.
Signs You Should Call A Pro
Deep-set stains and delicate materials often outclass home-owner solutions. Whether it’s chalky efflorescence clinging to brick or rusty streaks on metal, the right mix of eco-friendly, commercial-grade cleaners and soft-wash techniques is crucial.
• Multi-Story Properties: Easy access to second or third floors requires lifts, harnesses, and trained operators. Our team is equipped to handle residential, commercial, and high-rise buildings safely.
• Historic or Fragile Siding: Professional teams know how to handle aged wood, cracked stucco, and other sensitive surfaces with a low-pressure soft wash.
• Persistent Stains: Rust, moss, algae, and efflorescence frequently need more than a garden-hose approach.
• Time Constraints: What might stretch into a weekend project can be wrapped up by a crew in just a few hours.
Handing the job over to a licensed and insured company like South Mountain Window Cleaning protects your biggest investment. It's not just about cleaning; it's about risk management.
A recent Paradise Valley house taught us a hard lesson. An eager homeowner pressure-washed their stucco and wound up pushing water beneath it, sparking costly moisture damage. Our crew brought in professional moisture meters, switched to a controlled soft wash, and restored the walls without making things worse. It’s a classic example of how a DIY project can turn into a repair nightmare.
When budgeting, check out the average power washing prices to avoid surprises.
Vetting a local Phoenix-area team is straightforward: confirm they’re licensed, bonded, and fully insured. Read recent reviews from Scottsdale, Gilbert, Tempe, and beyond. For a deeper dive into the benefits of professional exterior cleaning, see our guide on when you should hire a professional to pressure wash your property.
Common Questions We Get Asked
Even when you've got a plan, a few questions always come up once you get started. Here are the answers to some of the most common things we hear from homeowners around Phoenix who are tackling this project.
How Much Water Am I Actually Going to Use?
Probably less than you think. A standard pressure washer runs at about 2-4 gallons per minute (GPM). That’s often less water than your garden hose puts out in the same amount of time.
The real savings comes from efficiency. You get the job done much faster with a pressure washer, so you end up conserving water in the long run. For a typical single-story home, you'll likely use just a few hundred gallons for the whole project.
Are These Cleaning Mixes Safe for My Plants and Pets?
They are, but only if you handle them correctly. Before you spray a single drop of cleaner, go around and pre-soak all your plants, shrubs, and the surrounding soil with fresh water. This is a crucial step.
The best way to protect your landscaping is to give it a good drink of plain water first. When the ground is already saturated, plants and soil won't soak up any of the diluted cleaning solution that runs off.
After you're done, give everything another thorough rinse with clean water. As for pets, just keep them inside during the job and until every surface has had a chance to dry completely.
How Long Does This Usually Take?
If you're doing it yourself, set aside 4-6 hours for an average-sized home. That includes all your prep work and the final cleanup.
A professional crew can knock out the same job in 2-3 hours. We have more powerful gear and have done this hundreds of times, so we can move a lot faster. Keep in mind that heavy grime or a more complex house layout can add to the timeline.
What Causes Those Ugly Streaks and Marks?
Streaks are almost always a result of bad technique. We see the same mistakes over and over again:
- Using a super-narrow nozzle tip (that red 0-degree tip is a big no-no for siding).
- Standing way too close to the wall with the spray wand.
- Spraying your soap from the top and letting it run down, instead of applying from the bottom up.
- Letting the cleaning solution dry on the siding before you get a chance to rinse it.
The secret is a steady hand. Keep a consistent distance from the wall and use smooth, overlapping sweeps to clean without leaving any tell-tale marks.
If going the DIY route feels a bit overwhelming, or you'd rather just have a guaranteed perfect result without lifting a finger, South Mountain Window Cleaning is here to help. Our licensed and insured team serves Phoenix, Scottsdale, Paradise Valley, and the entire Valley, delivering professional results you can count on. Visit us online to get your free, no-obligation quote today!