
You've rinsed the orange streak beneath a downspout, tried dish soap, and watched it dry almost exactly as it looked before. Or the bottom of your stucco wall keeps turning brown wherever the sprinklers hit, even though you've cleaned it before.
Learning how to remove rust stains from stucco starts with finding what's feeding the stain. On Valley properties, the right fix might be a targeted rust remover, a slow poultice treatment, or redirecting irrigation before spending anything on chemicals.
Find the Source Before You Scrub
A rust stain that returns after cleaning usually has an active source. Iron-bearing water can leave orange, red, or brown deposits in stucco's porous finish, while corroding metal can send rust down the wall. Soap may remove greasy dirt, but it rarely removes these metallic deposits.
Masonry conservation favors the gentlest cleaning method that can address the stain. Some metallic stains may require a poultice and a compatible solvent, rather than harder scrubbing. The right treatment depends on where the iron is coming from and how far it has penetrated the finish.
Match the Pattern to the Source
Read the stain from its starting point. A fan shape near the base often points to sprinkler overspray; a narrow streak below a fastener suggests corroding hardware. Check nearby fixtures, roof drainage, joints, and irrigation before choosing a cleaner.
Stain pattern, likely source and first move
| Stain Pattern | Likely Source | First Move |
|---|---|---|
| Fan-shaped stain rising from the base of the wall | Sprinkler overspray with iron-bearing water | Redirect or shorten sprinkler heads, then clean |
| Narrow vertical streak below a fastener, railing or fixture | Corroding metal hardware | Replace with stainless or coated parts, or properly prepare and coat the existing metal |
| Stain beside a gutter, downspout or flashing | Metal runoff from trim or flashing | Repair flashing and extend downspouts away from the wall |
| Stain that returns weeks after cleaning | Possible corrosion within or behind the stucco | Schedule a moisture or embedded-metal inspection |
| Light, uneven haze with no clear shape | Dissolved iron in water or dust | Low-pressure rinse and a test patch first |
Treat these patterns as clues, not proof. A loose downspout bracket can resemble flashing runoff, and dusty irrigation splash can look like light rust. If the stain keeps returning, inspect for moisture or embedded metal before repeating the cleaning.
Correct the Wetting Before Cleaning
On Arizona properties, sprinkler overspray is a common source to check. Run the affected zone and watch the wall, including areas reached by windblown spray. Adjust the heads or watering direction so the wall stops getting wet.
For exposed hardware, use corrosion-resistant replacements that suit the surrounding metal. Replacing a screw alone may not solve the problem if water still collects behind its mounting plate. Review practical guidance on rust prevention for metal when addressing the hardware.
Practical rule: Stop the iron-bearing water or metal runoff first, then treat the stain it leaves behind.
Rust Removal Methods and Dwell Times Compared
Say a homeowner finds an orange streak below a downspout and starts with dish soap. The dirt washes away, but the orange line remains because the cleaner hasn't addressed the metallic stain.
The next choice depends on stain depth and finish compatibility. A thin surface deposit may respond to a masonry-labeled rust remover; iron drawn into open pores may need an absorbent paste that holds the treatment against the wall.
Rust removal methods on stucco compared
| Method | Best For | Dwell Time | Main Risk |
|---|---|---|---|
| Gentle rinse and soft natural-bristle brush | Light haze or fresh streaks | Immediate rinse, judge after drying | Lowest risk, often too weak for rust |
| Oxalic-acid rust remover labeled for masonry or stucco | Fresh surface stains on sealed or painted stucco, with coating approval | Per manufacturer label, surface kept wet | Bleaching or texture change if overused |
| Sodium citrate, glycerin and powdered whiting poultice | Older stains drawn into pores | About one week, re-wet or replace as it dries, according to the University of Georgia Extension procedure reproduced in this EPA-hosted document | Slow and labor-intensive, low etch risk when compatible |
| Diluted masonry cleaner | Rust mixed with dirt and grime | Short, rinsed off within minutes when permitted by the label | Doesn't remove set rust on its own |
| Muriatic acid | Not recommended for routine use | Not applicable | Etches cement, alters color, attacks nearby metal |
Choose Compatibility Before Speed
Painted or sealed stucco isn't automatically protected from acid. A remover may leave the underlying cement intact but dull the paint, soften a coating, or create a pale outline around the treated area.
Read the product's approved-surface list, not just the words “rust remover” on the front. A cleaner intended for tools, plumbing fixtures, or bare concrete isn't necessarily suitable for a colored stucco finish.
A poultice trades speed for controlled contact and extraction. It's more work to apply, maintain, and remove, but repeated surface spraying can waste product without reaching the deeper deposit.
For a closer look at these trade-offs, compare rust removal methods by surface and stain type rather than selecting the strongest acid available.
Success means the rust is gone and the original color and texture remain. A clean-looking pale patch isn't a successful result.
Testing, Pressure Limits and Runoff Rules
Keep water pressure under 100 psi as a conservative working limit; the Redlands preservation guidelines recommend generally limiting water cleaning to no more than 100 psi. Stucco is softer than brick, and painted, textured, cracked, or aged finishes deserve particular caution.
Avoid pinpoint spray even at reduced pressure. A concentrated stream can cut texture or push water into hairline cracks, so use a broad, gentle rinse rather than trying to erase the stain with the nozzle.
Protect People and Contain Wastewater
Wear chemical-resistant gloves, splash goggles, and clothing that covers exposed skin. Work with ventilation, keep pets away, protect plants and irrigation components, and never mix cleaning chemicals.
Maricopa County's pressure-washing fact sheet states that pressure-washing wastewater may not enter the storm-drain system. Cleaner residue and contaminants removed from the wall make containment part of the job.
- Remove dry debris: Sweep or vacuum before adding water.
- Block escape routes: Protect nearby storm inlets with appropriate mats or sandbag barriers.
- Collect at the wall: Use a tarp channel, temporary berm, and wet vacuum; a bucket beneath a downspout only works if that's the spot where the washwater exits.
- Minimize volume: Use the least water and detergent that achieves a thorough rinse, then arrange appropriate wastewater disposal.
The equipment choices for power washing stucco should support gentle application and recovery, not maximum output.
Make the Test Patch a Decision
Choose a hidden spot with the same finish as the stained area. Treat it, rinse it, and leave it overnight, longer if it's still damp, before comparing it with untreated stucco.
If the test patch changes color or texture, stop.
How to Remove Rust Stains from Stucco Step by Step
Prepare the collection equipment, brush, protective coverings, and rinse hose before opening the cleaner. In Valley heat, work on a shaded, cool wall so you can control drying instead of chasing evaporating product.
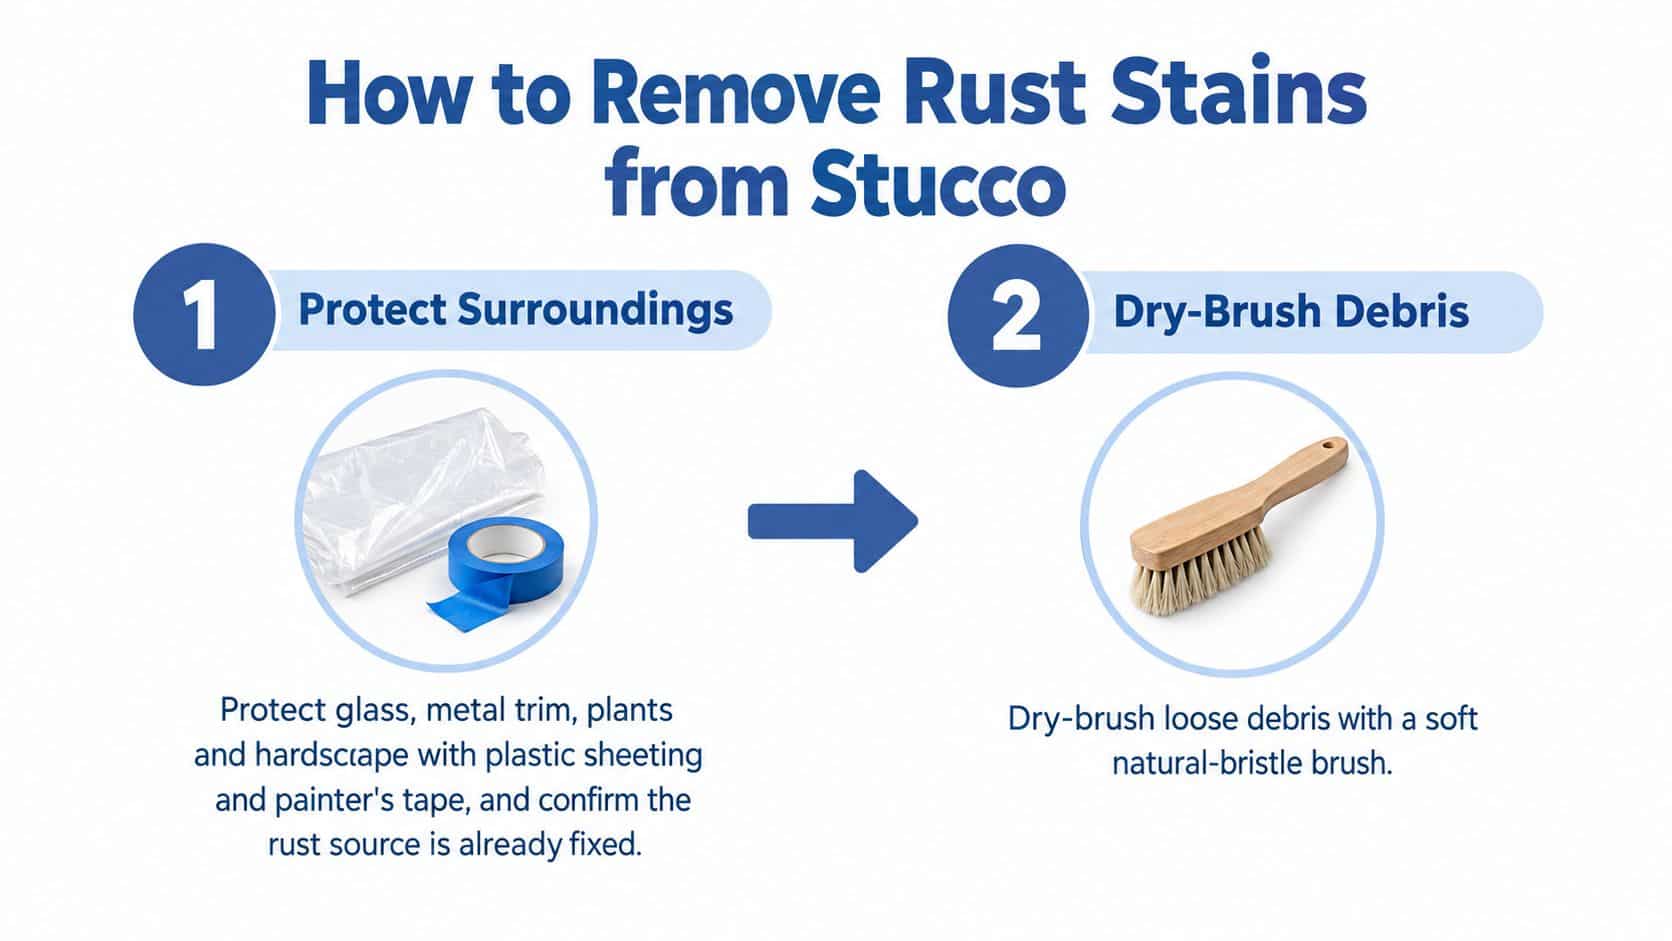
The opening preparation steps are shown below.
Prepare and Apply
Protect the surroundings and confirm the source is fixed. Cover glass, metal trim, plants, and hardscape with plastic sheeting, using painter's tape only on surfaces that can tolerate it. Arrange the coverings to direct drips into collection equipment, and don't leave plants enclosed beneath plastic in hot sun.
Dry-brush loose debris. Use a soft natural-bristle brush to remove dust, cobwebs, and loose deposits without grinding them into the finish. Skip wire brushes and sanding, which can leave metal particles behind or flatten the stucco texture.
Select the mildest compatible treatment and test it. The MPI stucco-surface-preparation specification identifies an oxalic-acid solution under MPI RSP-12 for rust-stain removal, but that doesn't make every oxalic-acid product suitable for every coating. Let the hidden test area dry before approving the treatment for the visible wall.
Pre-wet only as the treatment requires. Where directed, dampen the surrounding porous stucco so splashes are less readily absorbed. Don't saturate the whole assembly or leave running water that dilutes the cleaner before it can work.
Apply to the stain rather than the entire elevation. Brush liquid remover on evenly without flooding it; apply a poultice as a thick, consistent paste with full contact against the texture. Cover the poultice with plastic when its procedure calls for slowed evaporation, but don't assume liquid acid cleaners should be covered.
Control Contact and Finish Gently
Manage the dwell instead of guessing. Keep a liquid treatment wet for its specified contact period, without allowing it to bake onto the wall. For a poultice, follow its particular wetting and drying sequence, removing the dried material only when the procedure calls for it rather than treating every paste like a quick-rinse cleaner.
Agitate lightly with a nonmetallic brush. Use small circles to loosen treated deposits, keeping pressure light enough that the bristles don't scour the finish. If the brush starts picking up paint or stucco grains, stop instead of trying to scrub through the remaining orange.
Rinse thoroughly and recover the runoff. Work downward with low-pressure water, checking that residue isn't collecting on ledges or lower wall sections. Rinsing harder before the chemistry has worked is a common mistake: it adds surface wear without solving the stain.
Wait for complete drying before deciding what's next. Compare the treated area with the surrounding wall in even light, checking both color and texture. If the stain has lightened without damage, repeat a controlled application rather than increasing acid strength or stretching the dwell beyond the approved procedure.
Repairing the Finish After the Stain Is Gone
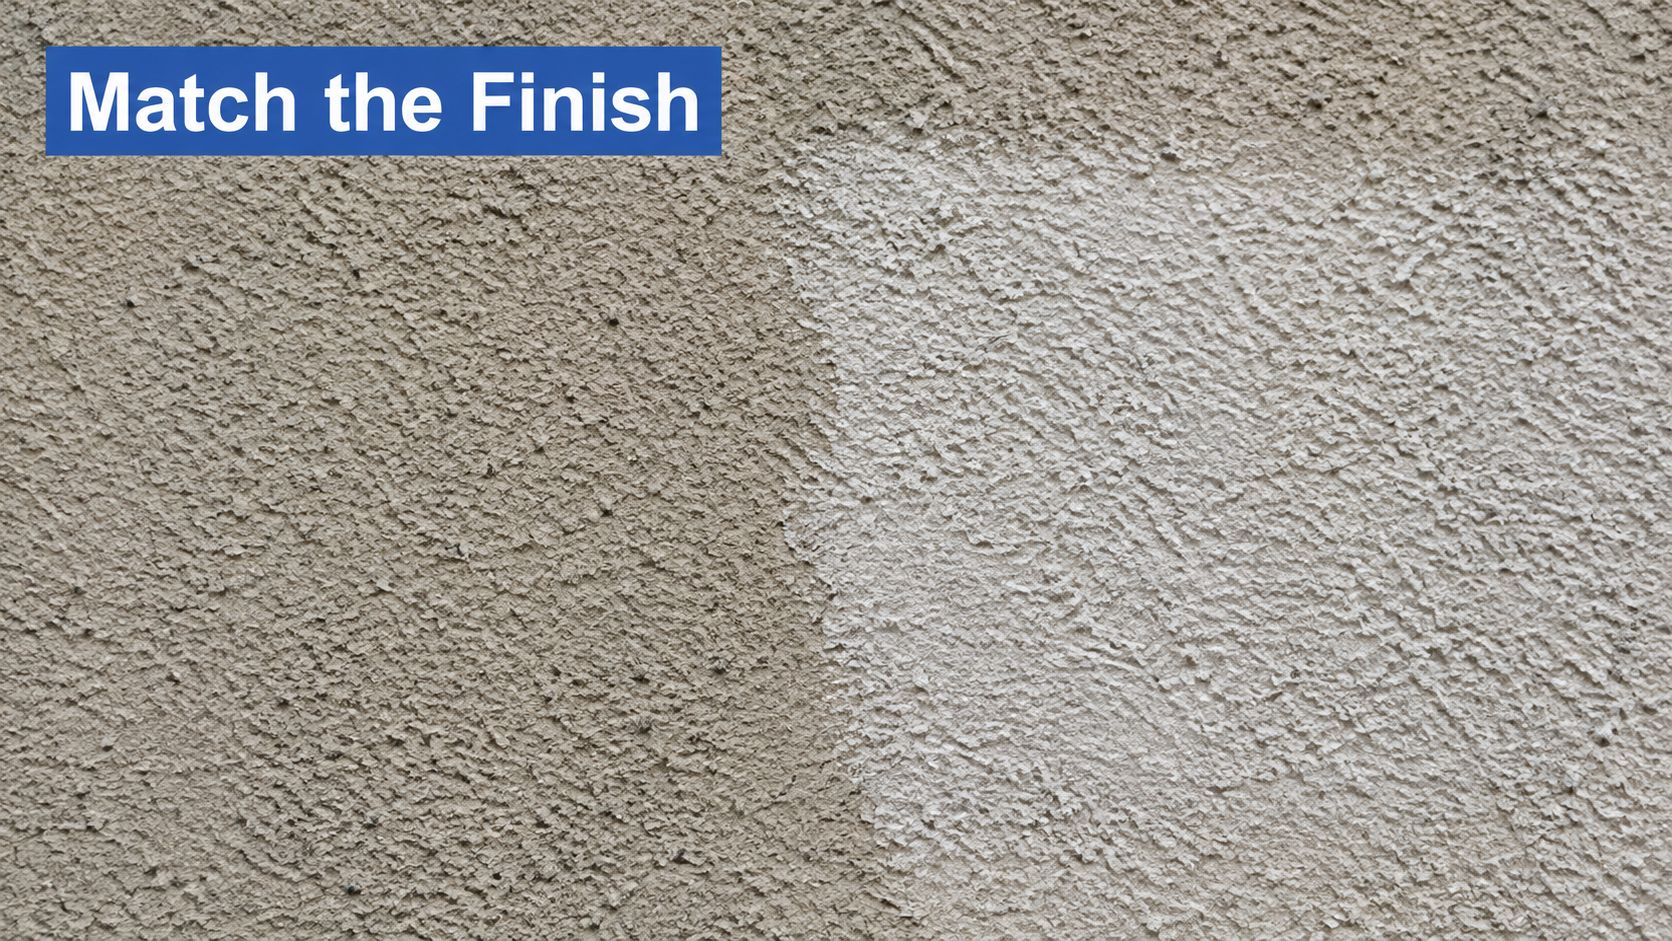
Once the wall is fully dry, look for residual orange shadowing, a lighter ring, or a smooth patch where the cleaner worked. Wet stucco can hide those differences, so don't approve a repair or paint match while the surface is damp.
Compare texture as well as color when checking the result.
Separate Shadowing From Finish Damage
Light shadowing may soften as the surface weathers over the following weeks, but don't promise that a bleached ring will blend away. Persistent discoloration after careful treatment can also mean iron is migrating from inside the wall.
For a small, superficial patch of damage, remove unsound material and rough-cut the edges without disturbing sound surrounding stucco. Apply a compatible patching mix, match the texture with a float or damp sponge, and allow it to cure fully before using a compatible breathable masonry paint or tinted finish coat.
Don't seal over active rust. Damage involving lath, flashing, or the wall's moisture barrier needs more than a cosmetic patch.
For additional visual context on the finish work, watch the video below.
Keep a Useful Maintenance Record
- Protect exposed metal: Replace vulnerable steel fasteners with compatible stainless or coated parts, and properly paint or wrap exposed trim without trapping water.
- Maintain drainage: Clear gutters and confirm downspouts discharge away from the wall.
- Document changes: Photograph the same area before and after treatment, after irrigation adjustments, and after the first heavy rain.
Commercial property records should also identify the product, concentration, contact time, rinse method, and any remaining shadowing. Those details help the next technician avoid repeating a treatment that already failed.
Decide Whether to Clean Yourself or Call a Pro
A small, reachable stain on sound stucco may be suitable for DIY cleaning. Hire help when the job requires unsafe access, the finish is failing, or the discoloration appears to be coming through the wall. Cleaning without finding the source often leaves the stain to return.
Signs the Job Needs More Than Cleaning
- Rapid recurrence: The stain returns within weeks after treatment and correction of the apparent surface source.
- Unsound stucco: Cracks, bulges, loose material, or hollow-sounding areas appear near the stain.
- Embedded rust patterns: Lines follow corners, panel edges, or paths within the wall.
- Unsafe access: Cleaning requires multi-story access or high-rise equipment.
- Failed compatibility test: The cleaner changes the finish's color or texture.
If a stain persists or keeps coming back, have an architect or building-conservation professional evaluate the wall. A building-envelope problem calls for a repair specialist, not just a contractor who offers stronger washing. Repainting may also require careful surface preparation and safe access. Read SuperiorPRO on DIY stucco painting before deciding whether to take on that work yourself.
Choose the Appropriate Local Help
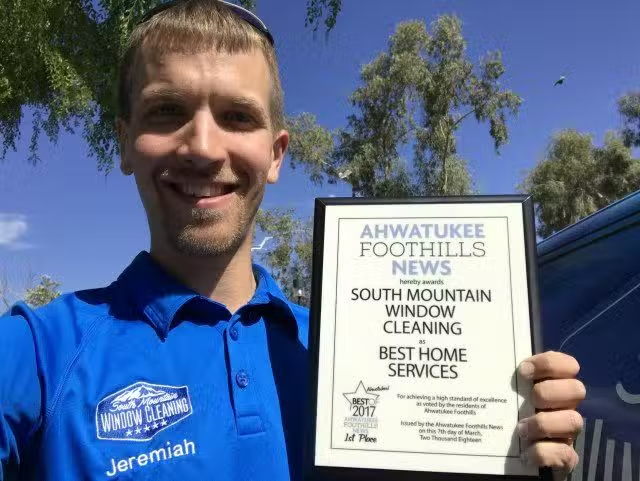
For homes and businesses in Phoenix, Scottsdale, Paradise Valley, Chandler, Tempe, Gilbert, and other Valley communities, South Mountain Window Cleaning, LLC provides window cleaning, rust removal, and power washing of building exteriors. The company is licensed, bonded, and insured, and carries a $2 million insurance policy for business clients. You can review its local rust removal services and request a free quote online or by phone.
Match the help to the cause. An exterior cleaner can address an accessible surface stain, while recurring rust or damaged stucco calls for a building or stucco specialist. Before booking, photograph the stain and note whether it aligns with sprinkler overspray, corroding hardware, or a damp area. That pattern can help identify the source and prevent another cleaning from treating only the symptom.