
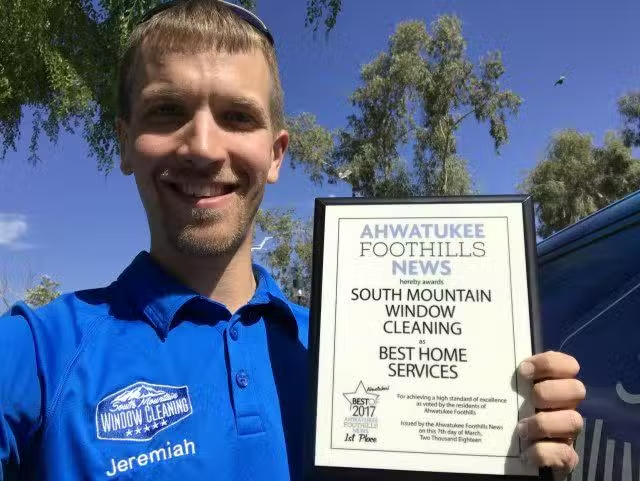
South Mountain Window Cleaning provides residential, commercial, and high-rise window washing services across Phoenix, Scottsdale, Paradise Valley, Chandler, Tempe, and Gilbert, AZ. Whether you're tackling everyday dust or deep-set stains, our expert team brings professional-grade techniques to ensure your indoor windows shine brighter than ever.
It takes more than just a quick spray and a wipe to get your indoor windows truly clean. For that crystal-clear, streak-free finish, you need the right tools—like microfiber cloths—a solid cleaning solution, and a technique that actually works. The secret? Dust first, wash with just enough solution, and then dry everything completely.
Why Your Indoor Windows Never Seem to Stay Clean
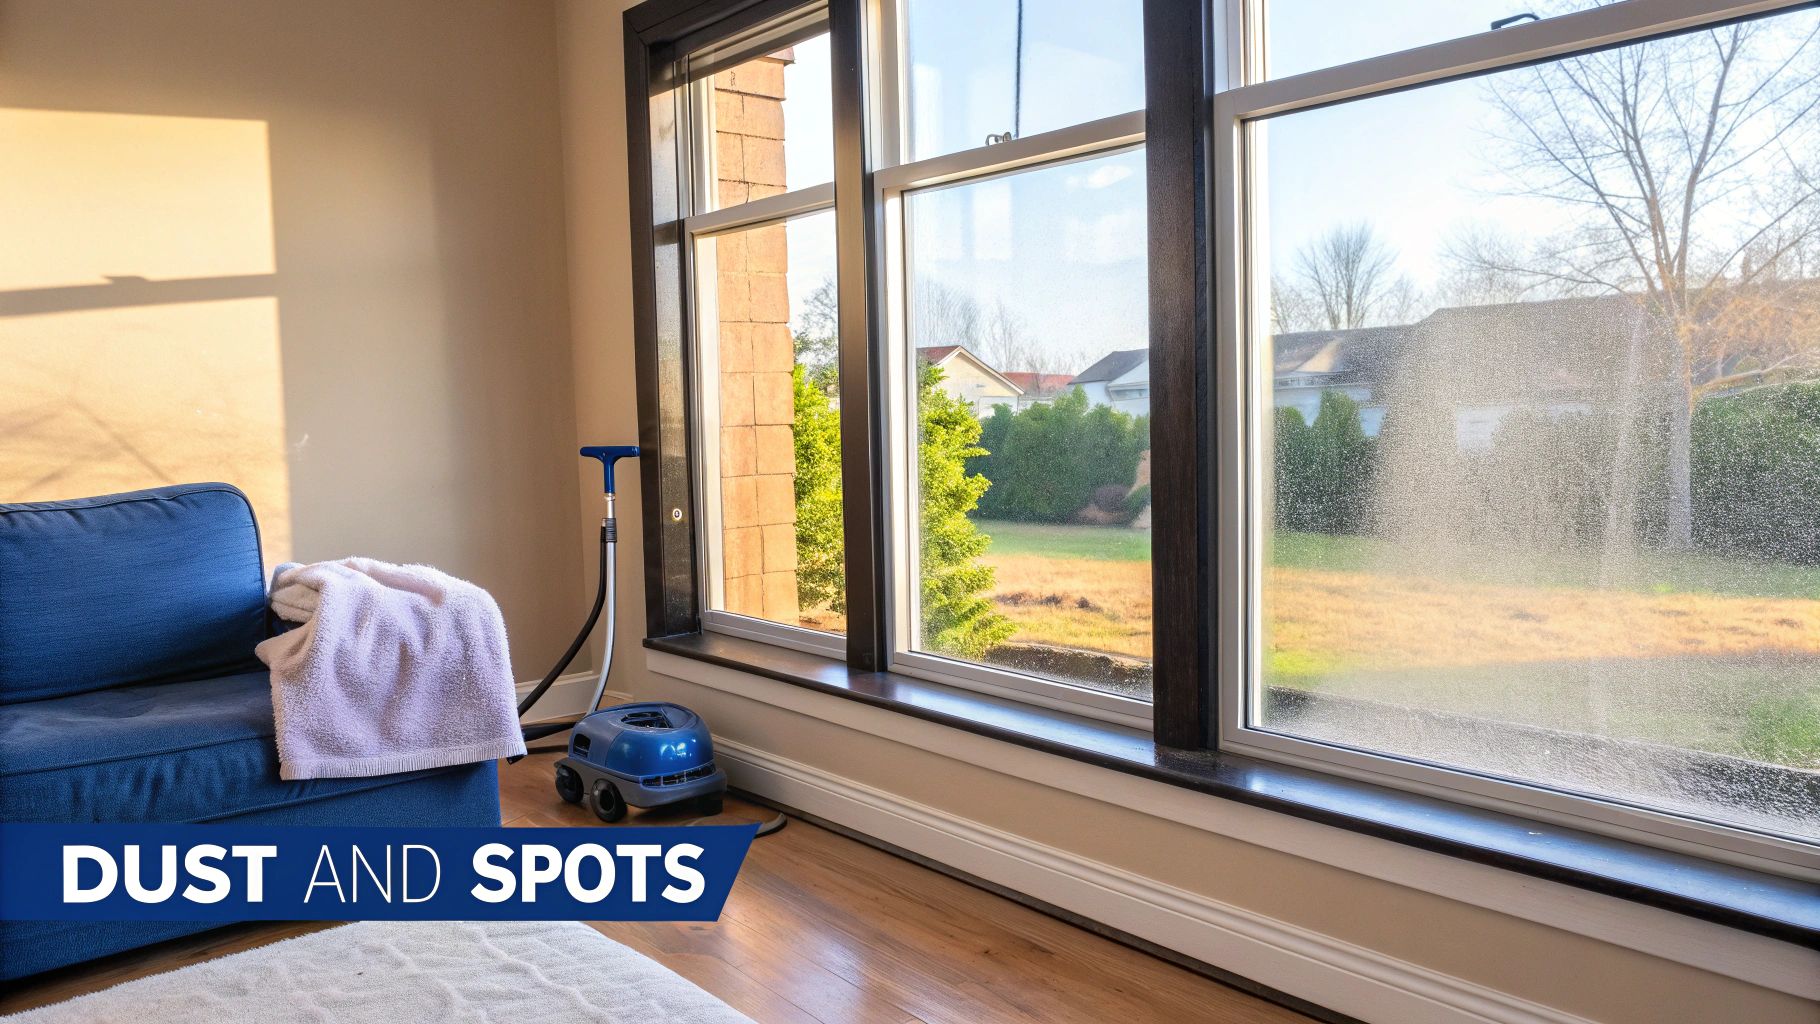
Let's be real—keeping indoor windows spotless in Arizona can feel like a full-time job. That fine layer of dust that seems to settle everywhere from Phoenix to Paradise Valley, mixed with the hard water spots our local supply is famous for, can make a bright room feel dim in no time.
This is about more than just looks. Grimy windows block a surprising amount of natural light, which can make your whole home feel less welcoming. Even more, they become a collection point for dust and allergens, which can tank your home's air quality.
The Unique Challenges of Arizona Windows
In our dry, dusty climate, indoor pollutants build up fast. Things like pollen, dust, and those stubborn hard water spots can accumulate twice as quickly inside your home, potentially dragging down your indoor air quality by 15-20%.
One of the easiest, most powerful fixes is switching to microfiber cloths. They trap 98% more dust than paper towels and won't leave annoying lint behind. For those tough mineral deposits we see all over Chandler and Gilbert, a simple 1:10 vinegar-to-water mix can cut through them by about 70%. You can check out more stats and professional window cleaning solutions for a deeper dive.
Of course, a professional service like South Mountain Window Cleaning is your best bet for a guaranteed, long-lasting clean. But for everyday upkeep, knowing the fundamentals of indoor window care is a total game-changer.
This guide isn't about generic tips. We're giving you the exact techniques and insider knowledge the pros use to tackle the unique challenges of our dusty climate. Our goal is to help you get a lasting, streak-free shine you can actually be proud of.
This is more than just learning how to clean your windows; it's about mastering a process that keeps them looking great for longer, even under that intense Arizona sun.
Getting Your Window Cleaning Kit Together
Forget the waxy paper towels and that bottle of mystery blue spray. If you want a truly professional, streak-free shine on your indoor windows, it all starts with having the right tools for the job. This isn't about buying a bunch of expensive, complicated gear; it’s about using the simple, effective equipment that the pros rely on every single day.
When you have the right kit, window cleaning stops feeling like a frustrating chore and becomes a surprisingly satisfying task. With just a few key items, you can get the same flawless results you'd expect from a professional service, right in your own home. You'll work faster, smarter, and end up with a crystal-clear view that actually lasts.
The Tools You Absolutely Need for a Flawless Finish
Your essential toolkit is simpler than you think. It really just comes down to a few core items that work together to cut through grime and leave nothing but sparkling glass behind.
- A Quality Squeegee: This is your most important weapon. Look for one with a firm, sharp rubber blade that sits evenly against the glass. A 10- or 12-inch squeegee is the perfect size for most residential windows.
- Microfiber Cloths: You’ll want at least two kinds. A super-absorbent, waffle-weave cloth is perfect for the initial scrubbing. Then, you'll need a flat-weave, glass-polishing cloth for detailing the edges and catching any drips without leaving behind annoying lint.
- A Bucket or Spray Bottle: A simple 3-gallon bucket is great for mixing your cleaning solution and rinsing your scrubber. For smaller, individual panes, a spray bottle is perfect for applying the solution directly without making a huge mess.
The demand for good equipment is growing, with the global window cleaning market projected to hit $2.8 billion by 2026. For indoor work, the undisputed star is the squeegee. When used correctly, it can eliminate up to 95% of water streaks, which is why we rely on it.
To get a better sense of how the industry approaches this, you can dig into some fascinating window cleaning trends and statistics.
Before we get to the cleaning solution, let's break down the essential toolkit.
Your Essential Window Cleaning Toolkit
You don't need to spend a fortune to get professional-grade results. Here’s a look at what the pros use and some fantastic, budget-friendly alternatives that get the job done right.
| Tool | Professional Choice | Effective DIY Alternative | Why It Matters |
|---|---|---|---|
| Squeegee | Sorbo or Ettore Brass Squeegee | Unger Stainless Steel Squeegee | A sharp, high-quality rubber blade is non-negotiable for a streak-free finish. |
| Scrubber | Ettore ProGrip T-Bar with Microfiber Sleeve | A separate, dedicated microfiber cloth | You need something that holds plenty of soapy water to loosen dirt effectively. |
| Cloths | "Huck" Surgical Towels & Polishing Cloths | High-quality microfiber cloths (waffle & flat weave) | Lint is the enemy. Good cloths absorb water without leaving fibers behind. |
| Bucket | Ettore 6-Gallon Rectangular Bucket | Any standard 3-5 gallon hardware store bucket | A rectangular bucket fits your squeegee and scrubber perfectly, minimizing drips. |
Ultimately, investing in a decent squeegee and a few good microfiber towels will make the biggest difference in your results.
The Pro-Grade DIY Cleaning Solution
Most store-bought window cleaners are packed with soaps and chemicals that leave behind a sticky, hazy film. That film is a magnet for dust and fingerprints. The real secret to a professional clean is a simple, homemade solution that cuts through grime without leaving anything behind.
Pro Tip: Mix a gallon of distilled water with about two teaspoons of white vinegar and one single, small drop of basic dish soap (like original Dawn).
The distilled water is the key here—it has no minerals, so it can't leave behind hard water spots. The vinegar is fantastic for cutting through grease and grime, and that tiny drop of soap provides just enough lubrication for your squeegee to glide smoothly across the glass.
This simple mix is powerful enough for the kind of dust we see all over Phoenix and Scottsdale, but it's gentle enough for any interior glass. For a deeper dive into what we use on the job, check out our guide on professional window cleaning tools and solutions.
Now that your kit is ready, you're prepared to clean your windows like a pro.
Mastering the Pro Squeegee and Towel Methods
Okay, you’ve got your professional kit ready to go. Now it’s time to put those tools to work. Cleaning your indoor windows like a pro isn't just about wiping down the glass—it's about learning the techniques that give you that flawless, long-lasting clarity. We'll walk through the two main methods the pros swear by, broken down so you can get it right every time.
First things first, a little prep work makes a huge difference. Before you even think about spraying your solution, grab a dry microfiber cloth or a soft-bristled brush. Quickly dust the window frames, sills, and tracks. This simple step prevents you from turning all that loose dust and debris into a muddy mess later on.
It’s also a smart move to lay an old towel down on the floor or windowsill to catch any drips and keep your surfaces protected.
The Professional Squeegee Method
For those big panes of glass—like picture windows or sliding glass doors—the squeegee is your best friend. It’s hands-down the fastest way to get a perfectly clear, streak-free finish, but it's all about the technique. You need to work quickly but with a steady hand, making sure the blade maintains constant contact with the glass.
Start by applying your cleaning solution with a scrubber or a separate microfiber cloth. Get the entire pane wet, then you're ready to pull.
- Create a Dry Edge: Take a clean microfiber cloth and wipe a thin, one-inch strip down one side of the window. This "dry zone" gives your squeegee a clean place to start and stops it from dragging dirty water back across the clean glass.
- Angle and Apply Pressure: Place the squeegee in the top corner of your dry zone, tilting it slightly at about a 30-degree angle. The corner of the blade should point in the direction you're pulling. Apply gentle, even pressure—don't force it.
- Pull Smoothly: In one continuous, fluid motion, pull the squeegee straight down from top to bottom. Make sure you overlap each stroke by about an inch. This ensures you don't leave any missed spots or lines behind.
- Wipe the Blade: This is the step you absolutely cannot skip. After every single pull, wipe the rubber blade clean with a dry microfiber cloth. If you don't, you're just going to smear dirty water all over the next section.
The classic "S-stroke" or "fan method" is what you see seasoned pros do to clean windows in one continuous motion without lifting the squeegee. It definitely takes some practice to get the hang of, but mastering this is the ultimate way to clean large windows quickly and flawlessly.
Once you’ve squeegeed the entire pane, grab a clean, dry polishing cloth to detail the edges and wipe up any solution that’s pooled on the windowsill. This final touch is what really separates a DIY job from a professional one.
The Two-Towel Method for Smaller Panes
When you’re dealing with smaller, divided-light windows (think French panes) or just doing a quick touch-up, a squeegee can feel awkward and oversized. That's where the simple but incredibly effective Two-Towel Method shines. It's designed to prevent you from just pushing dirt around with a damp cloth.
The idea is simple: one towel is for cleaning, and the other is for drying and polishing. Keeping them separate is the key to a streak-free finish.
- The Cleaning Towel: Lightly dampen a clean, high-quality microfiber cloth with your cleaning solution. You don't want it sopping wet, just damp enough to cut through the grime. Use this cloth to wipe down the glass, always working from top to bottom.
- The Polishing Towel: Immediately—before the solution has a chance to dry—follow up with a second, completely dry microfiber cloth. A flat-weave or "glass" cloth is perfect for this. Use this towel to buff the window dry, erasing any leftover moisture before it can turn into a streak.
This method is so effective because you're physically removing the dirty cleaning solution with the dry towel instead of trying to do everything with a single, increasingly damp cloth. It’s an essential technique for any homeowner aiming for that professional shine. If you want even more tips from the pros, you can learn more about cleaning windows without streaks in our detailed guide.
Cleaning Beyond the Glass: Tracks, Sills, and Frames
A perfectly clean pane of glass sitting in a dusty, grimy frame just makes the dirt stand out more. If you really want to master cleaning indoor windows, you have to look beyond the glass itself.
Here in the Phoenix and Tempe areas, window tracks, sills, and frames are magnets for dust and debris. Cleaning them is what takes your work from just "okay" to a truly professional standard.
It’s not just about looks, either. Neglecting these parts can mess with how your windows work. Tracks clogged with dirt and grit can make windows a real pain to open and close. Over time, all that buildup can even damage the sliding mechanism.
Clearing Out Clogged Window Tracks
First things first: get rid of all the loose debris. Grab a vacuum with a brush attachment and give the window tracks a thorough once-over. This will suck up most of the dust, dead bugs, and loose dirt that’s settled in there.
For the stubborn grime that’s left behind, a stiff brush is your best friend—an old toothbrush works perfectly. Use it to dig into the corners and crevices of the track and dislodge anything that’s stuck.
A final wipe with a damp microfiber cloth will lift any remaining dirt. You’ll be left with a clean, clear track and a window that glides smoothly.
Key Takeaway: A clean track is essential for a window's longevity and smooth operation. Vacuuming first prevents you from turning dry dust into a muddy mess when you introduce a cleaning solution.
This visual guide breaks down the core steps of a professional window cleaning job, from initial prep to the final polish.
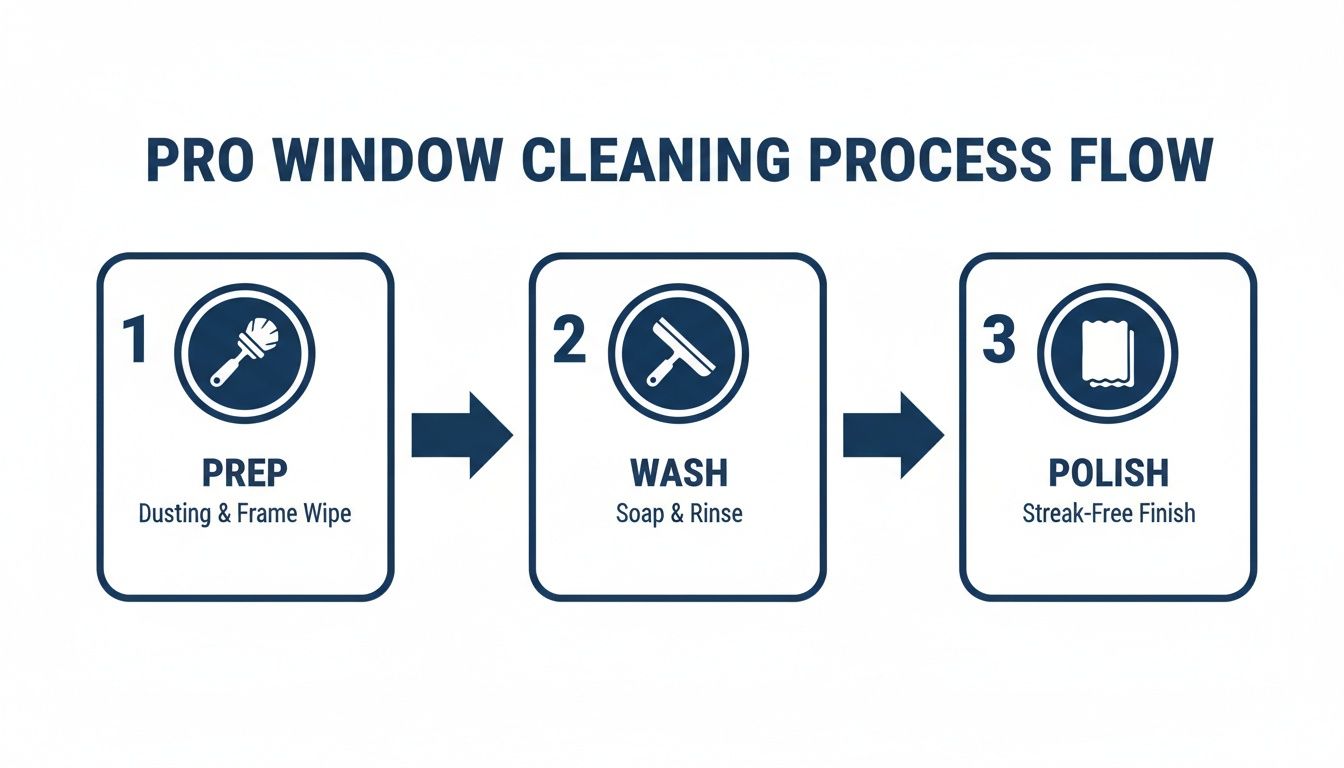
As you can see, a thorough prep—like cleaning out the tracks—is the foundation you need before you can get that flawless, streak-free finish on the glass.
Wiping Down Sills and Frames
Window sills and frames can be made of anything from painted wood to modern vinyl, and they all need a gentle touch.
Use your all-purpose cleaning solution on a microfiber cloth, not sprayed directly onto the surface. Wiping them down this way prevents liquid from seeping into joints or damaging the finish.
While you're at it, don't forget the other parts of the window that collect grime. To get everything looking brand new, learn how to properly clean Venetian blinds and complete the look.
Finally, don't skip the window screens. It's a crucial step for better visibility and airflow. A gentle wash removes that layer of dust that obscures your view and stops fresh air from coming in. For a complete walkthrough, check out our guide on https://www.southmountainwindowcleaning.com/how-to-clean-window-screens/. This detailed approach ensures every single part of your window is immaculate.
Tackling Stubborn Spots and Achieving a Flawless Finish
Even when you’ve mastered your squeegee technique, you're going to hit a wall with stubborn spots that a simple wash just won't touch. This is especially true here in Arizona, where our notoriously hard water loves to leave behind those tough mineral deposits.
Knowing how to handle these issues is what separates a quick wipe-down from a truly professional clean. We’re talking about everything from dried paint splatters after a renovation to the sticky ghost of an old decal. Each problem needs its own specific approach to avoid scratching the glass.
Removing Difficult Residue Safely
Before you grab the most aggressive tool you can find, remember to always start with the gentlest method. A little patience often goes a long way.
- For Sticky Residue: A simple plastic scraper or even an old credit card is surprisingly effective at lifting tape or sticker gunk. Just wet the area with your cleaning solution first to soften it up.
- For Dried Paint: Tiny flecks of latex paint can often be handled with a fresh, sharp razor blade held at a 45-degree angle. This requires a steady hand and extreme care. For a safer alternative, especially on tougher spots, you can gently use ultra-fine #0000 steel wool on wet, soapy glass to buff away the problem without scratching.
Of course, the most common frustration in the Phoenix area is hard water stains. Those require their own set of specialized techniques. For a deep dive, check out our dedicated guide on how to remove hard water stains from windows.
The biggest mistake we see is people applying too much pressure or using the wrong tool for the job. Always make sure the glass is well-lubricated with your soapy solution before you try to scrape or scrub anything. This is your best defense against scratches.
Getting that perfect, streak-free shine is an art, especially when you're up against things like mineral deposits. While it's geared toward boats, some articles on achieving a streak-free shine on glass offer some really useful perspectives on the chemistry of it.
The Final Polish for a Perfect View
Once all the tough spots are gone, you're on the home stretch. But the job isn't done until you've double-checked your work from every possible angle.
Step back from the window. Look at it from the far left, then the far right. Crouch down and look up at it. You’d be amazed at how sunlight hitting the glass from a new direction will suddenly reveal a tiny smudge or streak you completely missed. This final inspection is what makes the difference.
For that finishing touch, grab a clean, bone-dry microfiber polishing cloth and give the entire pane one last buff. This little step erases any leftover microscopic imperfections and is the secret to that crystal-clear, professional shine.
When to Call a Professional Window Cleaner
Knowing how to clean your own windows is a great skill to have, but knowing your limits is even better. Let's be honest, there are times when the DIY route isn't just a hassle—it can be downright dangerous. Figuring out when to hand the squeegee over to a pro is key to keeping your home looking great and, more importantly, keeping yourself safe.
Sometimes, the job is just too big or too risky. If you're looking up at second-story windows, skylights, or windows set in a vaulted ceiling, the risk of a fall is very real. A professional crew comes prepared. They have the right ladders, safety gear, training, and insurance to handle those heights without a second thought.
When Expertise Makes the Difference
Beyond just safety, some window problems are just plain stubborn. That chalky, white hard water damage that’s been baked onto the glass for years? Your bottle of vinegar solution probably isn't going to cut it. Professionals have access to specialized compounds and pure-water cleaning systems that can often restore glass you thought was a lost cause.
For homeowners here in Phoenix, Scottsdale, Paradise Valley, Chandler, Tempe, and Gilbert, hiring a pro isn't about giving up. It's about making a smart choice for the jobs that are too tough, too time-consuming, or too tricky to handle yourself.
Think about these situations:
- You're Out of Time: Life is busy. You simply don't have a free afternoon (or a whole day) to tackle every single window in the house.
- You Have Specialty Glass: Got tinted, historic, or delicate windows? Using the wrong cleaning method or solution can cause permanent damage. It's not worth the risk.
- You Need Guaranteed Results: Maybe you're hosting a party, selling your home, or you just want that perfect, flawless finish without any of the frustration.
When you bring in a professional service like South Mountain Window Cleaning, you’re really investing in peace of mind. Our trained technicians show up with the right tools and the experience to get the job done safely, efficiently, and leave your windows looking better than you thought possible.
Your Top Indoor Window Cleaning Questions, Answered
Over the years, we've heard just about every question you can imagine from homeowners across the Valley. When it comes to getting those indoor windows spotless, a few questions pop up time after time. Here are some quick, no-nonsense answers based on our experience.
How Often Should I Clean My Indoor Windows in Arizona?
Here in the Phoenix area, with our unique brand of dust, a good rule of thumb is to tackle your indoor windows every 2-3 months. That’s usually enough to keep them looking fresh.
Of course, life happens. You might need to clean them a bit more often.
- Bump it up to monthly if you have furry friends leaving nose art on the glass, live near a busy street, or have any smokers in the house.
- Plan for a deep clean twice a year at a minimum. We recommend hitting them once after the spring pollen chaos dies down and again after the summer monsoons stir everything up.
Can I Use Newspaper to Dry My Windows?
That's an old-school trick that we hear a lot, but honestly, it’s not worth the hassle anymore. The ink used in modern newspapers is a recipe for disaster, often leaving behind black smudges and a weird film on your glass and frames.
Save yourself the headache. A quality microfiber cloth is your best friend here. It’ll give you that professional, streak-free shine without any of the inky mess.
Why Do My Windows Still Look Hazy After Cleaning?
That frustrating haze is almost always a sign of residue left behind. It typically comes from one of two things: putting way too much soap in your cleaning mix or using our hard Arizona tap water.
The fix is surprisingly simple. Switch to distilled water, use just a single, tiny drop of dish soap, and always start with a perfectly clean squeegee blade or microfiber towel. This little routine stops that mineral and soap buildup in its tracks.
When the DIY approach just isn't cutting it, or you're dealing with tricky high windows, the team at South Mountain Window Cleaning is ready to help. We deliver a guaranteed streak-free shine for homes across Phoenix and Scottsdale. Schedule your free, no-obligation quote online today!