
Cleaning your windows from the inside seems simple, right? The secret is all in the technique: a good squeegee, a basic cleaning solution, and a specific top-to-bottom motion is what separates a sparkling, clear pane from a streaky mess. This is how you avoid the smudges and lint that paper towels and all-purpose sprays always seem to leave behind.
Your Guide to Flawless Indoor Windows
Dirty windows can make even the cleanest house feel a bit gloomy. As Phoenix's trusted experts at South Mountain Window Cleaning, we know how frustrating it is to battle streaks and smudges, especially with our local dust and intense sun. A clear view doesn't just look nice—it connects you to the outdoors and floods your home with that beautiful Arizona light, making every room feel bigger and more alive.
This guide is designed to cut through the confusion and show you the exact methods we use for a guaranteed streak-free shine. You don't need a truck full of fancy equipment. In fact, some of the best results come from simple tools used the right way.
The Real Impact of Clean Windows
It's about more than just looks. Clean windows can genuinely lift your mood, make a room feel more spacious, and even help you catch potential issues with window seals or frames before they become big problems. More and more homeowners are realizing just how much of a difference it makes.
This isn't just a local trend. The global glass cleaner market was valued at around USD 3.8 billion and is expected to nearly double. Why? People are more aware than ever of how a clean indoor environment contributes to a healthier, happier home. This growth shows just how much a crystal-clear view matters. You can see more stats on the cleaning industry's growth on bizplanr.ai.
At South Mountain Window Cleaning, we’ve seen firsthand how professionally cleaned windows transform a home, not just in Phoenix but across Scottsdale, Paradise Valley, and Chandler. It’s about more than glass; it’s about making your home feel as comfortable and welcoming as it can be.
What This Guide Will Cover
We're going to walk you through assembling a simple but highly effective toolkit, mixing your own eco-friendly cleaner that actually works, and mastering the squeegee techniques that the pros use. We’ll also show you how to handle those stubborn spots and keep that perfect view year-round, even in demanding areas like Gilbert and Tempe.
By the end, you'll know how to clean your indoor windows efficiently and get that professional finish on your own. Let's get every window in your home looking like a perfect frame for the world outside.
Assembling Your Window Cleaning Toolkit
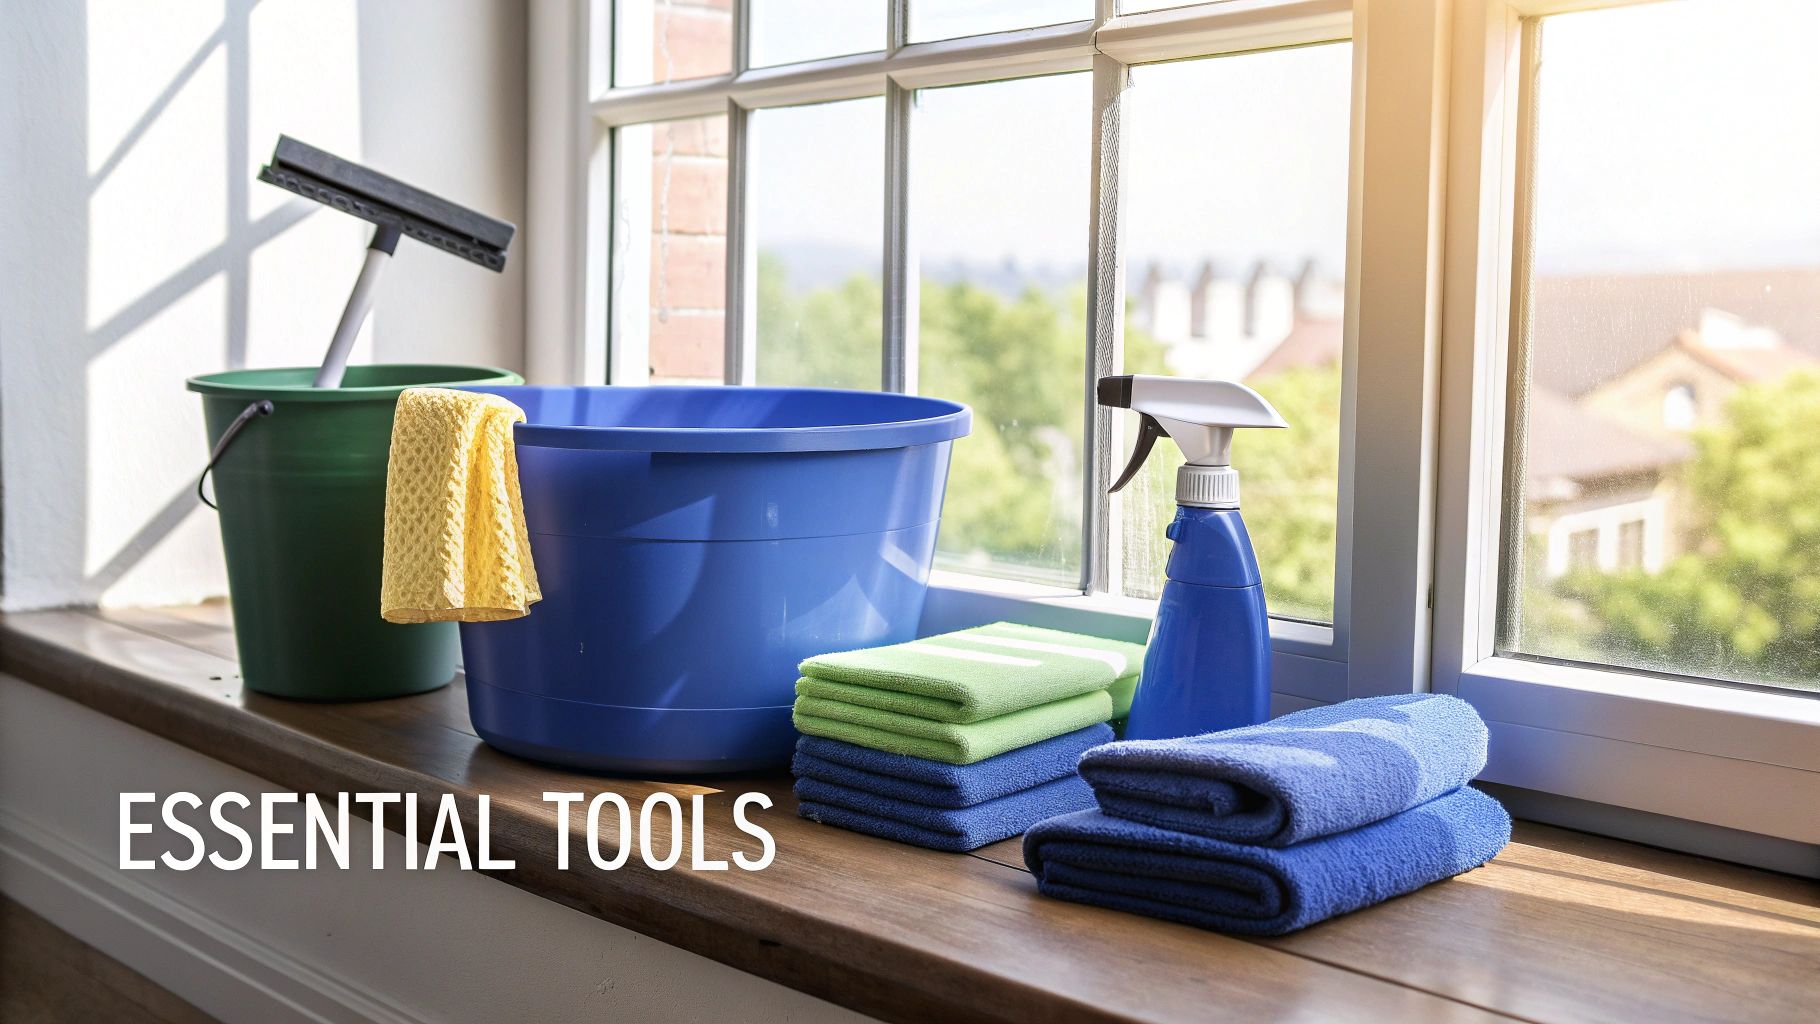
A professional finish starts with having the right gear. Forget those flimsy paper towels that leave lint behind and mystery sprays that seem to create more haze than they remove. The tools the pros really use are simple, effective, and surprisingly easy to get your hands on. Putting together a proper kit is the very first step to getting that flawless, streak-free result you're after.
At South Mountain Window Cleaning, we rely on a core set of equipment to deliver sparkling results for our residential, commercial, and high-rise clients across Phoenix and Scottsdale. The good news? You don’t need a truck full of gear, just the essentials that get the job done right.
The Foundation: Your Squeegee and Scrubber
The heart of any good window cleaning kit is a high-quality squeegee. Seriously, this is not the place to cut corners. A cheap squeegee with a stiff, hardened rubber blade will just skip and chatter across the glass, leaving behind a mess of frustrating lines and watermarks.
You'll want to invest in a professional-grade squeegee with a sharp, pliable rubber blade. They often come in brass or stainless steel, and that little bit of extra weight actually makes them much easier to control. For most homes in areas like Paradise Valley or Chandler, a 10- or 12-inch squeegee is the perfect all-around size. It's big enough for standard windows but nimble enough for smaller panes.
The squeegee's partner in crime is the T-bar scrubber. It’s basically a T-shaped handle with a removable, super-absorbent cover. This tool is designed to hold a ton of cleaning solution and scrub away grime without any risk of scratching the glass. It lays down the perfect, even coat of soapy water, prepping the surface for a smooth squeegee pass.
Microfiber Cloths: The Unsung Heroes
Paper towels are your enemy when it comes to cleaning windows. They just disintegrate when they get wet and leave a trail of fuzzy lint that clings to the glass. Do yourself a favor and stock up on high-quality microfiber cloths instead.
You’ll want at least two different types for a truly pro-level job:
- A "waffle weave" or highly absorbent cloth: This one is for sopping up any big drips or doing an initial wipe-down.
- A flat weave or "glass" cloth: This is your detailing towel. You'll use it to meticulously wipe the edges of the pane and dry your squeegee blade between each stroke. This is key for a perfectly clean finish.
The secret to a streak-free window isn't just about your technique; it's also about what you leave behind—or rather, what you don't. A clean squeegee blade and a lint-free detailing cloth are non-negotiable for that crystal-clear result.
The Two-Bucket Method and Floor Protection
One of the biggest mistakes we see people make is trying to clean with dirty water. When you keep dipping your scrubber back into a single bucket of murky water, you’re just spreading dirt from one window to the next. That’s why we always, always use a two-bucket system.
- Bucket 1 (The Cleaning Solution): This bucket holds your soapy water mixture.
- Bucket 2 (The Rinse Water): This bucket is filled with nothing but clean water for rinsing your scrubber.
And before you even think about starting, protect your home! Always lay down an old towel or a drop cloth on the windowsill and the floor directly beneath the window. It’s a simple step that catches drips and prevents any potential water damage to your wood sills, baseboards, or flooring. It ensures the only thing you leave behind is a sparkling view.
You can learn even more about what professional window cleaners use in our detailed guide.
Mixing Your Own Powerful Cleaning Solutions
You really don't need a cabinet overflowing with harsh chemicals to get that professional, streak-free shine on your indoor windows. Honestly, some of the most effective cleaning solutions can be mixed right in your kitchen using simple, eco-friendly ingredients you probably already have on hand.
Making the switch from store-bought sprays isn't just about saving money; it gives you total control over what you're using in your home. It’s also the secret to tackling the unique cleaning challenges we see here in the Valley. Whether it's that constant layer of dust or the stubborn film left by our hard water, a simple DIY mix is often more effective than its chemical-heavy counterparts.
The Classic Vinegar and Water Go-To Recipe
This is the timeless recipe that window cleaning pros and homeowners have sworn by for ages, and for good reason—it flat-out works. White vinegar is a fantastic natural degreaser, and its mild acidity is perfect for cutting through grime, haze, and those inevitable fingerprints.
The real magic is in the ratio and, critically, the type of water you use. For a standard, effective mix, just follow this simple formula:
- Combine one part distilled white vinegar with one part distilled water in a clean spray bottle.
- Give the bottle a gentle shake to mix the two ingredients thoroughly before you start spraying.
So, why distilled water? Here in places like Phoenix, Scottsdale, and Tempe, our tap water is notoriously hard. That means it’s loaded with minerals like calcium and magnesium. When that water evaporates on your glass, it leaves behind a chalky, spotty residue—the very definition of streaks. Using distilled water, which has had all those minerals removed, is an absolute game-changer for a truly spotless finish.
A common mistake is thinking more vinegar means more cleaning power. An overly acidic solution can be harsh and leave a strong smell. The 50/50 ratio provides the perfect balance for cutting grime without being overpowering.
A Gentle Alternative for Greasy Messes
If the smell of vinegar just isn’t for you, or if you're up against particularly greasy fingerprints (a common sight in homes with kids!), there's an excellent alternative. A simple solution using a mild dish soap is fantastic for breaking down that oily residue.
For this mix, you only need a tiny amount of soap. Just add two or three drops of a mild, clear dish soap (like a basic Dawn) to your spray bottle filled with distilled water. Be careful not to overdo it! Too much soap is the enemy here; excess suds will leave behind a sticky film that’s incredibly difficult to squeegee off cleanly.
When mixing your own powerful cleaning solutions, you might also consider the benefits of a non-soapy citrus cleaning solution for an equally effective, streak-free result without the suds.
Boosting Your Cleaner with a Fresh Scent
Want to add a little extra cleaning power and leave the room smelling fantastic? A few drops of essential oil can elevate your homemade solution in a big way. Lemon essential oil, in particular, is a great choice because its natural acidity gives it an extra edge in cutting through grease and grime.
Just add 5-10 drops of lemon essential oil to either your vinegar-and-water or soap-and-water mixture. Shake it well before each use to make sure the oil is dispersed throughout the solution. It not only boosts the cleaning capability but also leaves behind a light, fresh scent instead of a chemical odor.
Once you have the perfect solution mixed, the next step is learning how to clean windows without streaks using the right technique.
DIY Eco-Friendly Cleaner vs Commercial Cleaners
Making your own window cleaner is simple and effective, but how does it really stack up against the stuff you buy at the store? Let's break it down.
| Feature | DIY Eco-Friendly Solution (Vinegar/Soap) | Standard Commercial Cleaner |
|---|---|---|
| Cost | Extremely low; pennies per bottle | Moderate; $3 – $7 per bottle |
| Effectiveness | Highly effective on common grime and hard water | Effective, but can leave a chemical film |
| Ingredients | Simple, non-toxic, and known (water, vinegar) | Complex chemical formulas; often contains ammonia |
| Environmental Impact | Minimal; biodegradable ingredients | Can contain volatile organic compounds (VOCs) |
| Scent | Natural vinegar smell (dissipates) or unscented | Often strong chemical or artificial fragrance |
While commercial cleaners offer convenience, a DIY solution gives you unbeatable value and peace of mind, knowing exactly what's being sprayed around your home. For most everyday window cleaning jobs, the homemade stuff works just as well, if not better.
Mastering the Pro Squeegee Technique
This is where the magic really happens. Once you've got your tools and your cleaning solution ready, the last piece of the puzzle is nailing the squeegee method the pros use. It’s less about brute force and more about a smooth, consistent technique.
But before your squeegee even touches the glass, a little prep work makes a world of difference. The idea is to get all the surrounding gunk out of the way so it doesn't get dragged across your perfectly clean window.
First Things First: Prep the Frames and Tracks
You always want to start with the window frames and tracks. Dust, dirt, and dead bugs love to hide out here, especially in a dusty climate like Phoenix. If you skip this part, your first swipe with the squeegee will drag all that debris across the pane, creating a muddy mess you'll have to clean all over again.
A small brush or a vacuum nozzle is perfect for clearing loose dirt from the tracks. Follow that up with a damp microfiber cloth to give the entire frame and sill a good wipe-down. Now you've got a clean canvas to work on.
Applying Your Cleaning Solution
It's time to get the glass wet. Whether you're using a simple spray bottle or a professional T-bar scrubber dipped in a bucket, the goal is to get a generous, even coat of solution on the glass. You need enough liquid to let the squeegee glide smoothly, but not so much that you've got a river running down your wall.
Work from the top down, making sure every inch is covered. This is what lifts the dirt off the surface so the squeegee can whisk it all away.
This simple infographic breaks down the core components of our favorite DIY cleaning solution.
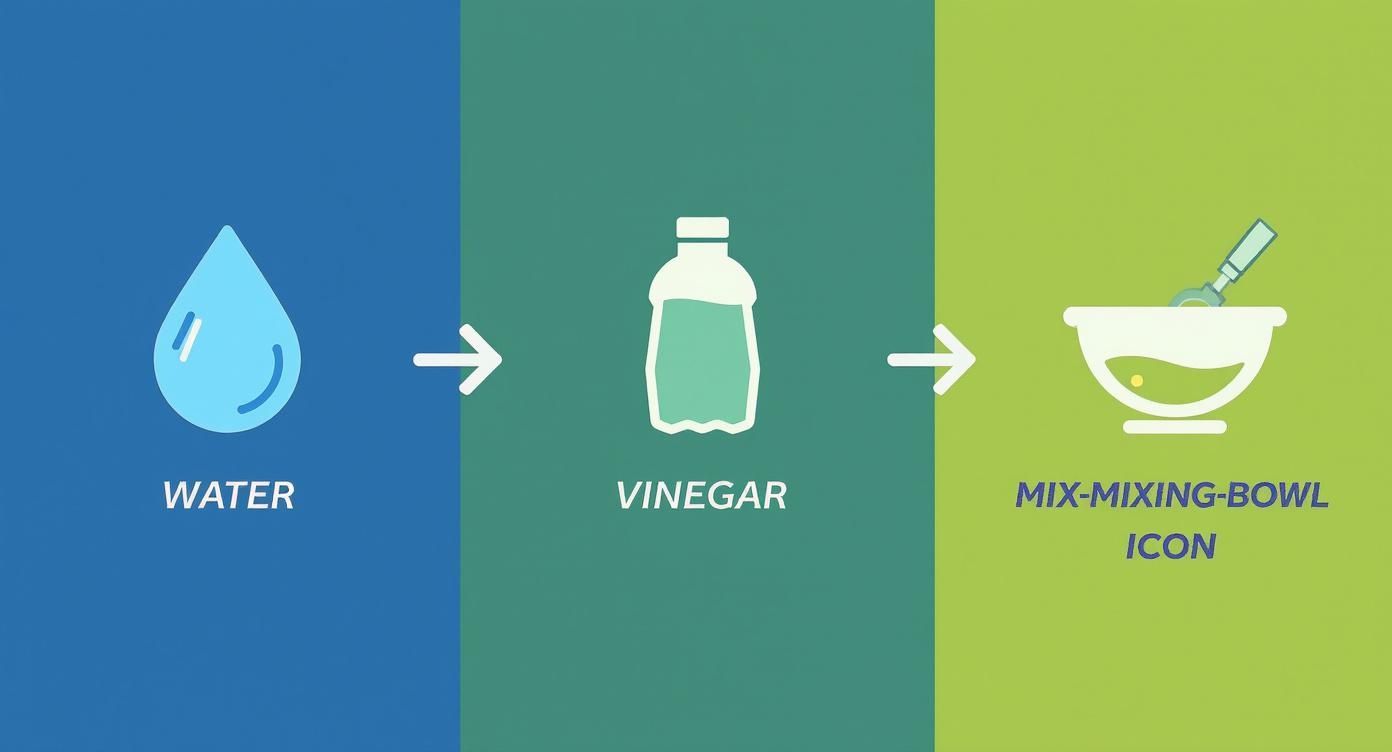
As you can see, you don't need harsh chemicals to get a professional shine. Simple distilled water and white vinegar are powerful enough to do the job right.
Executing the Perfect Squeegee Pull
This is the moment of truth. Getting that streak-free finish comes down to a couple of key techniques, and which one you use depends on the size of your window.
- For Smaller Panes: A straight top-to-bottom pull is your best friend. Start in a top corner with your squeegee blade angled slightly. Apply firm, even pressure and pull it straight down in one smooth motion. Simple and effective.
- For Larger Windows: This is where you bring out the "S-Method" (or "fanning"). It's what the pros use to cover big areas efficiently. You move the squeegee back and forth across the glass in a fluid, S-shaped pattern, working your way from top to bottom without lifting the blade. For a deeper dive, check out our guide on how to clean windows like a pro.
The golden rule of squeegeeing? Always lead with the top edge of the blade. A slight angle helps control the flow of dirty water, pushing it away from the glass you've just cleaned.
Two Details That Guarantee a Flawless Finish
Getting the pull right is a huge part of it, but two small details separate an okay job from a perfect one. Don't skip these.
- Overlap Each Stroke: Every pass you make, whether it's a straight pull or part of the S-method, should overlap the previous one by about an inch. This is how you prevent those tiny, frustrating lines of water between your strokes.
- Wipe Your Blade Clean: This is absolutely non-negotiable. After every single pull, wipe the rubber blade with a clean, dry microfiber cloth. If the blade is dirty, it's just going to leave a dirty streak behind.
When you follow these steps, you’re not just wiping down glass—you’re using a proven method that professionals rely on. There's a reason the window cleaning industry is so resilient. Even after a temporary 5.2% revenue dip, the market bounced back fast, showing just how much people value a clear view.
Finally, grab your detailing cloth and wipe any last drops of moisture from the edges and corners of the glass. This is the final touch that leaves you with that invisible, crystal-clear finish.
Solving Common Indoor Window Cleaning Problems
Even when you have the right tools and a solid game plan, you can still hit a few frustrating snags. Let's walk through some of the most common headaches we see in the field so you'll know exactly what to do when they pop up.
Sometimes the issue isn't your technique but the environment itself. Here in Arizona, that intense sun is a major culprit behind streaks and spots, forcing your hand before you're ready.
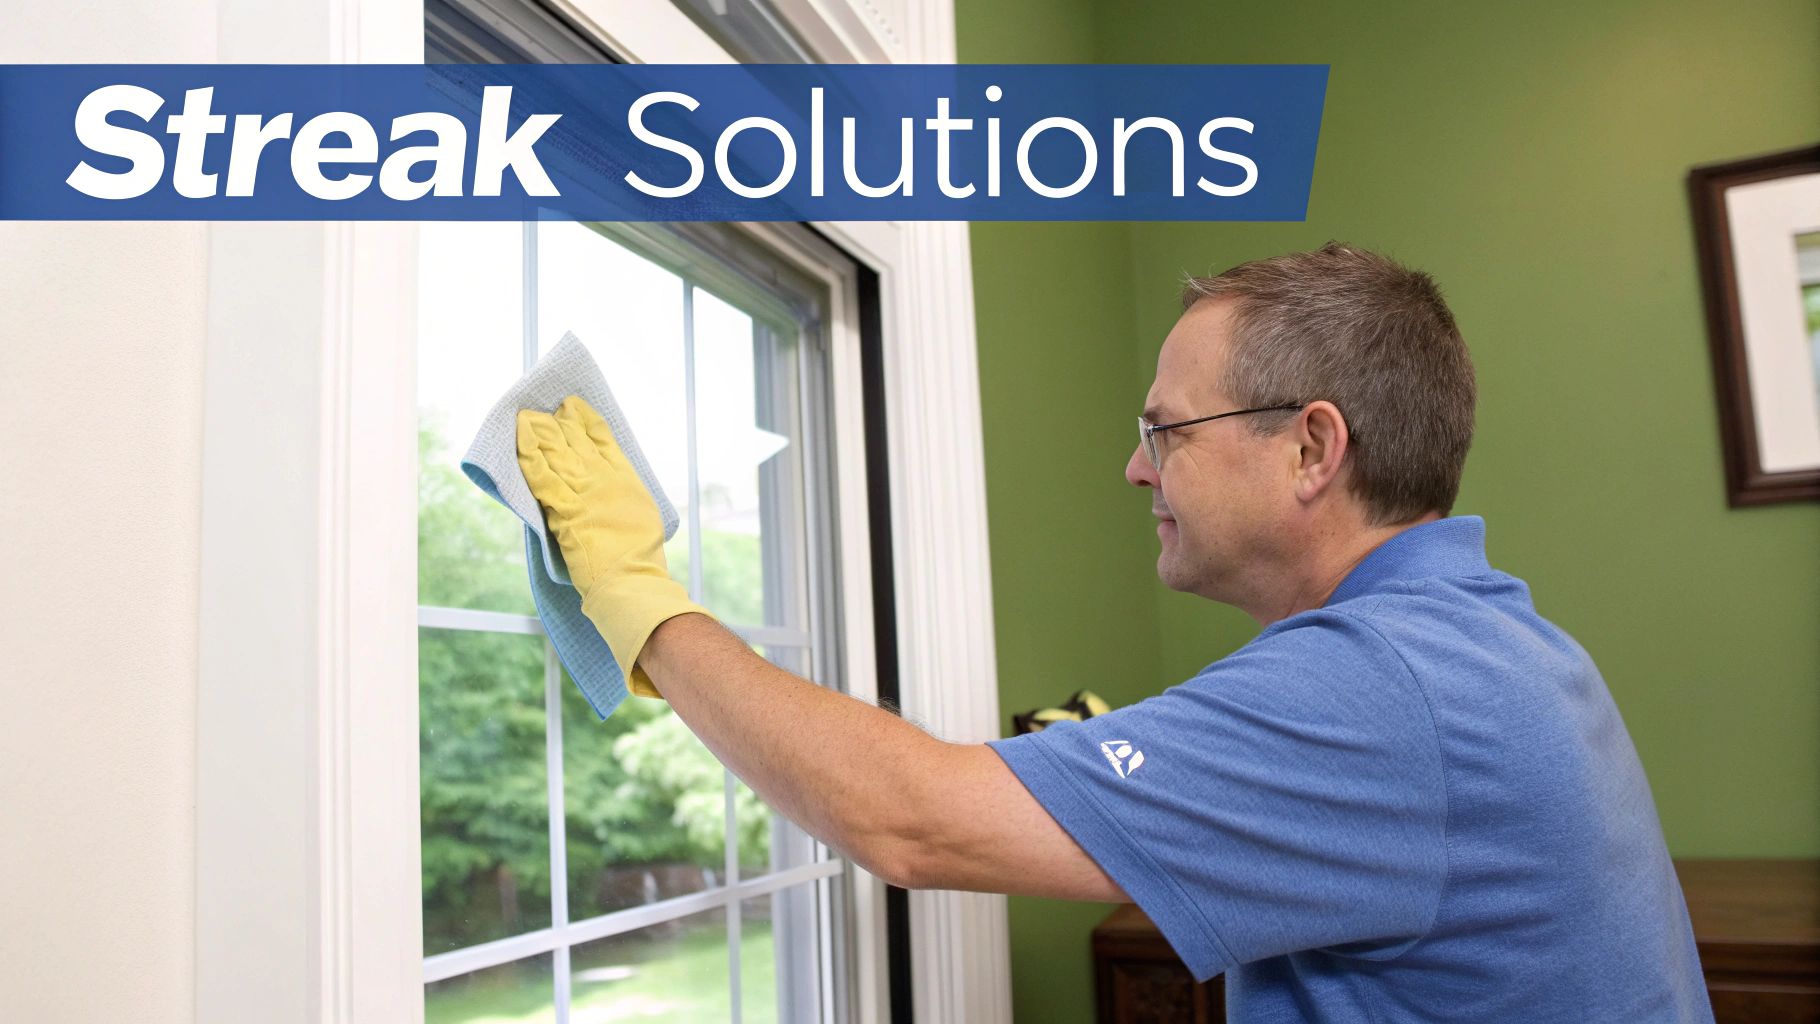
Banishing Pesky Streaks for Good
Streaks are easily the number one complaint we hear about. The good news is they usually come from just a couple of simple mistakes. Once you know why they happen, you can stop them before they start.
First and foremost, never clean windows in direct sunlight. That beautiful Phoenix sun heats the glass up fast, causing your cleaning solution to evaporate in seconds. A squeegee can't remove dried-on soap, and that's what leaves those ugly, hazy marks. Always try to work on the shady side of the house or just wait for an overcast day.
Second, take a hard look at your solution and tools. If your microfiber cloth is dirty or your bucket of water is murky, you're basically just pushing grime from one spot to another. That film creates streaks as it dries. It pays to start fresh with clean water and clean cloths every single time.
If there's one secret to streak-free glass, it's patience. Rushing the job, especially when it's warm, is a surefire way to get the very streaks you’re trying to prevent. Slow, deliberate squeegee pulls on a cool window are your best bet.
Dealing with Stubborn Gunk and Residue
Every so often, you’ll run into more than just dust and fingerprints. We're talking about things like leftover sticker adhesive, tiny paint specks from a recent DIY project, or even tree sap that's found its way inside.
For these tough spots, a new, sharp razor blade is your best friend. But you have to use it correctly to avoid scratching the glass.
- Always work on a wet surface. Never, ever scrape a dry window. That's how you get scratches. Make sure the spot is well-lubricated with your cleaning solution first.
- Keep the blade angle low. Hold the razor at a gentle, 30-degree angle to the glass.
- Push, don't pull. You want to gently push the blade forward in one direction. This lifts the gunk right off the surface.
This little trick works wonders on stubborn residue without harming the window. Just be extra careful when you're working near the window frames and seals to avoid slicing into them.
Tackling Hard Water Stains in the Phoenix Area
If you live in Scottsdale, Chandler, or anywhere in the Valley, you know the struggle with hard water stains is real. Those chalky white spots are mineral deposits left behind when water evaporates, and boy, can they be tough to get off.
Your standard vinegar mix can sometimes take care of light spotting, but for heavier buildup, you need to bring in bigger guns. You can find specialized hard water stain removers, but be sure to follow the product directions to the letter. Our team at South Mountain Window Cleaning deals with this exact problem all the time. For a full breakdown, check out our guide on how to remove hard water stains from windows.
This focus on using the right tool for the job isn't just a local thing; it's a worldwide trend. Over in the United Kingdom, for instance, the window cleaning industry has seen a steady 2.1% compound annual growth rate over the last five years. That growth is all about adopting better, safer, and more effective products to solve problems just like these. You can learn more about the growth of window cleaning services and see how the industry is evolving.
When to Call a Professional Window Cleaner
While the DIY approach is fantastic for regular upkeep, there are definitely times when knowing how to clean windows indoors just isn't enough. Certain situations really do call for the expertise, safety gear, and specialized tools of a professional team to get the job done right.
Knowing when to make that call not only guarantees a better, longer-lasting clean but also keeps you and your property safe. For most homeowners, it usually boils down to three things: safety, the scale of the job, and simply not having enough hours in the day.
When Safety Comes First
This is non-negotiable. Your personal safety should always be the top priority. If a window forces you onto a tall ladder inside, makes you balance awkwardly over a staircase, or requires a long stretch to reach a vaulted ceiling, the risk of a serious fall is just too high. These high and hard-to-reach windows are best left to the pros who have the right training and safety equipment.
At South Mountain Window Cleaning, our technicians are fully licensed, bonded, and insured. That means you're completely protected. We handle these kinds of challenging windows in homes all over Phoenix and Scottsdale every single day, delivering a perfect clean without any risk to the homeowner.
Tackling Jobs Beyond DIY Capabilities
Some window problems need a lot more than elbow grease and a bottle of vinegar solution. In fact, trying to fix them yourself can sometimes cause permanent damage to the glass.
It's a good idea to call in a professional for things like:
- Severe Hard Water Stains: Here in Arizona, that heavy mineral buildup is common. Over time, it can actually etch itself into the glass, and it takes special compounds and polishing tools to remove it without scratching.
- Post-Construction Debris: Trying to get rid of paint overspray, silicone, or stucco residue is a delicate job. Without the right tools and techniques, it's incredibly easy to scratch the glass.
- Oxidized Frames or Screens: Restoring aluminum frames that have turned chalky and dull from years of sun exposure is a restoration job that requires an experienced hand.
Don’t risk scratching up your windows by trying to scrape off stubborn gunk with a razor blade you bought at the hardware store. A professional can assess the problem and use the right method to make your glass look new again, without a single scratch.
When you're thinking about getting help, it's worth looking into the full range of professional cleaning services out there to see what your options are.
Reclaiming Your Time with Superior Results
Let’s be honest, for many busy homeowners in Paradise Valley, Chandler, and Gilbert, the biggest win is just getting your weekend back. Cleaning every single window in a house can easily eat up a whole day.
When you hire a team like South Mountain Window Cleaning, you get a much deeper, longer-lasting clean in just a fraction of the time. We use commercial-grade, pure-water systems that leave your windows absolutely spotless and protected, letting all that beautiful natural light flood back into your home.
Your Top Indoor Window Cleaning Questions Answered
Even with the best guide, a few questions always seem to come up. As a local Phoenix business, we’ve heard just about all of them, so we’ve put together answers to the most common ones we get from homeowners just like you.
How Often Should I Be Cleaning My Indoor Windows?
This is a great question. For most homes in the Valley, a solid indoor window cleaning twice a year is the sweet spot. A good schedule is once in the spring to clear away winter dust and again in the fall to tackle the grime left behind by our summer haboobs.
Of course, life happens, and some situations call for more frequent cleanings:
- Kids and Pets: If you have either, you're familiar with the constant battle against fingerprints and nose art. You'll probably want to spot-clean those high-traffic windows every month or so.
- Kitchen Windows: That hazy film on your kitchen window isn't just dust—it's grease from cooking. Giving it a good wipe-down every one to two months will keep things looking fresh.
- Smokers in the Home: Smoke residue is no joke. It leaves a sticky, yellowish film that can build up fast, so you might need to clean those windows every few months to keep them truly clear.
Help! Why Are My Windows Still Streaky After I Clean Them?
Ah, the dreaded streaks. We hear this one all the time, and it almost always boils down to one of two things: the intense Arizona sun or a dirty squeegee blade.
Trying to clean windows with direct sun beating down on them is a surefire way to get streaks. The heat makes your cleaning solution evaporate in seconds, leaving behind soap residue before you even have a chance to wipe it off. Your best bet is to always work on the shady side of the house or wait for an overcast day.
The other culprit is simpler: forgetting to wipe your squeegee blade. Make it a habit to wipe the blade with a clean microfiber cloth after every single pass. If you don't, you’re just dragging a line of dirt across your perfectly clean glass.
Can't I Just Use Paper Towels Instead of Microfiber Cloths?
We really recommend against it. Paper towels seem convenient, but they have a fatal flaw—they fall apart when they get wet, leaving a mess of lint all over your glass. That lint is what causes those frustrating little smudges you only notice after the light hits it just right.
Honestly, grabbing a small pack of quality microfiber cloths is one of the smartest investments you can make for window cleaning. They absorb a ton of water, leave zero lint behind, and you can wash and reuse them hundreds of times. They're just better for the job, and better for your wallet in the long run.
What’s the Absolute Best Time of Day to Clean Windows?
The perfect time to clean is whenever the sun isn't shining directly on the glass you're working on.
Here in Arizona, that generally means tackling your east-facing windows in the afternoon and your west-facing ones in the morning. If you happen to get a rare cloudy day, that's your golden ticket—the lack of direct sun gives you all the time you need to work without your solution drying up on you.
When the DIY approach feels like too much work, or you’d rather just enjoy your weekend, the pros at South Mountain Window Cleaning are ready to step in. We serve Phoenix, Scottsdale, Paradise Valley, and the entire Valley area with the right tools and know-how for a perfect, long-lasting shine. Get your fast, free quote today!