
Cleaning up mortar smears from brick isn't just about scrubbing away. The real secret is starting with a careful look at what you're dealing with. Gentle mechanical removal and a spot test are your best friends before you even think about using chemicals. For fresh, light messes, a stiff, non-metallic brush and some water can do the trick. But for those old, stubborn stains, you’ll likely need specialized acidic cleaners and a very careful rinsing process.
Assess Your Brick and Mortar Before You Begin
Before you grab a brush or a bottle of cleaner, take a step back. This is the most important part of the job. At South Mountain Window Cleaning, we've seen it happen too many times—someone jumps in without a plan and ends up with permanent discoloration, ugly etching, or worse. A method that works on a brand-new commercial building in Chandler could completely ruin the face of a beautiful historic brick home in Scottsdale.
First things first, get to know your brick. Is it a dense, hard, modern type, or are you working with softer, more porous historic brick? Older bricks are far more likely to get scratched or damaged by harsh chemicals.
Next, take a close look at the mortar stains. Are you dealing with small, fresh splatters from a recent DIY project? Or are they old, hardened chunks that have been baking in the Arizona sun for years? Trust us, fresh mortar is a whole lot easier to remove than fully cured mortar.
This simple flow is how we approach every single masonry cleaning job: identify the brick, diagnose the stain, and always, always test your cleaning method first.
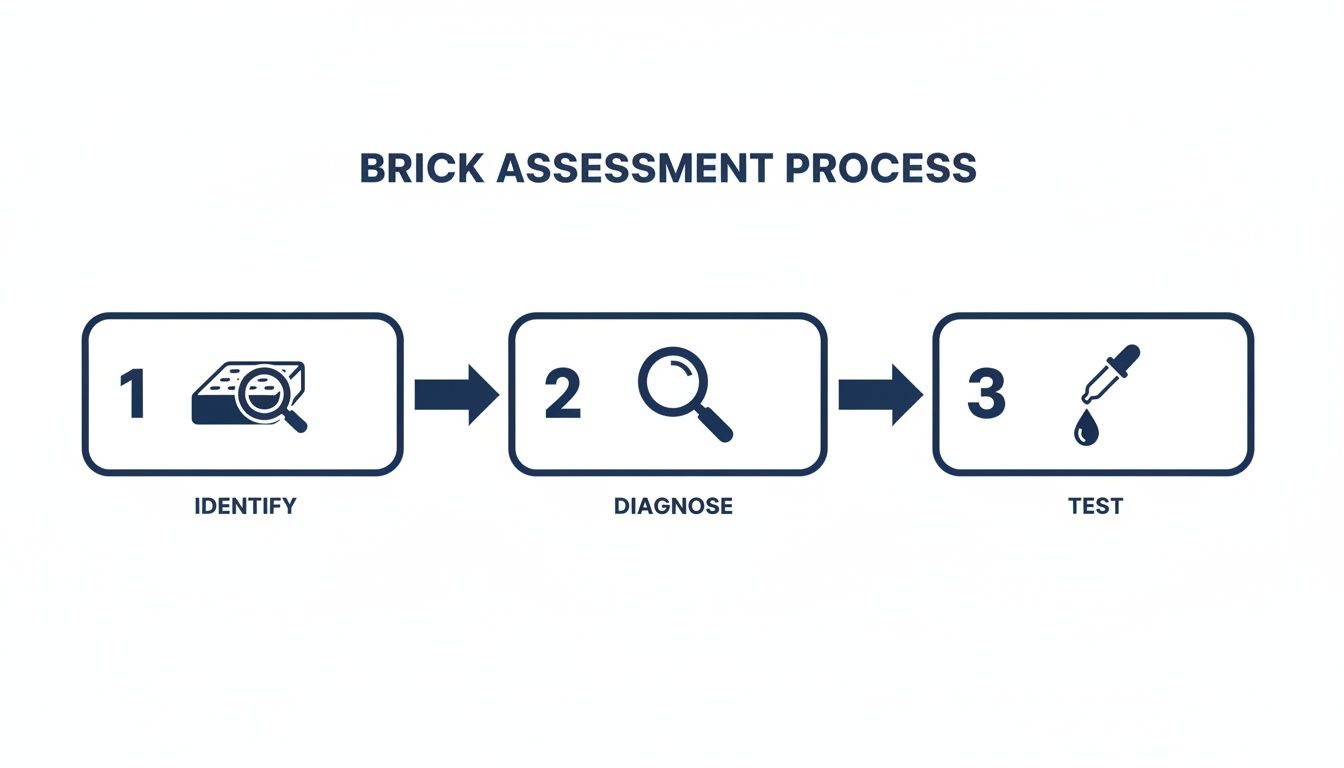
Following this sequence is your best bet for getting the results you want without accidentally harming your masonry.
The Critical Spot Test
Once you think you have a cleaning method picked out, you absolutely must test it. Find a small, hidden spot—maybe behind a planter or on a low part of the wall no one ever sees. Apply your cleaning solution or technique there.
Then, you wait. Let it dry completely, which can take up to 24 hours. Be patient.
Key Takeaway: The spot test is your safety net. It’s the only way to know for sure how your brick will react. It’ll show you if there’s any risk of discoloration, efflorescence (that chalky white powder), or surface damage before you commit to cleaning the whole wall.
While you're inspecting the brick, keep an eye out for bigger problems. Be on the lookout for signs of water damage in walls, which can point to much deeper issues with your masonry's health. Problems like that often need a pro to fix them before you should even think about cosmetic cleaning.
A good assessment is the foundation for a successful project. For more tips on larger exterior jobs, our guide on how to clean your house exterior offers some broader insights.
Gentle Removal Methods for Light Mortar Smears
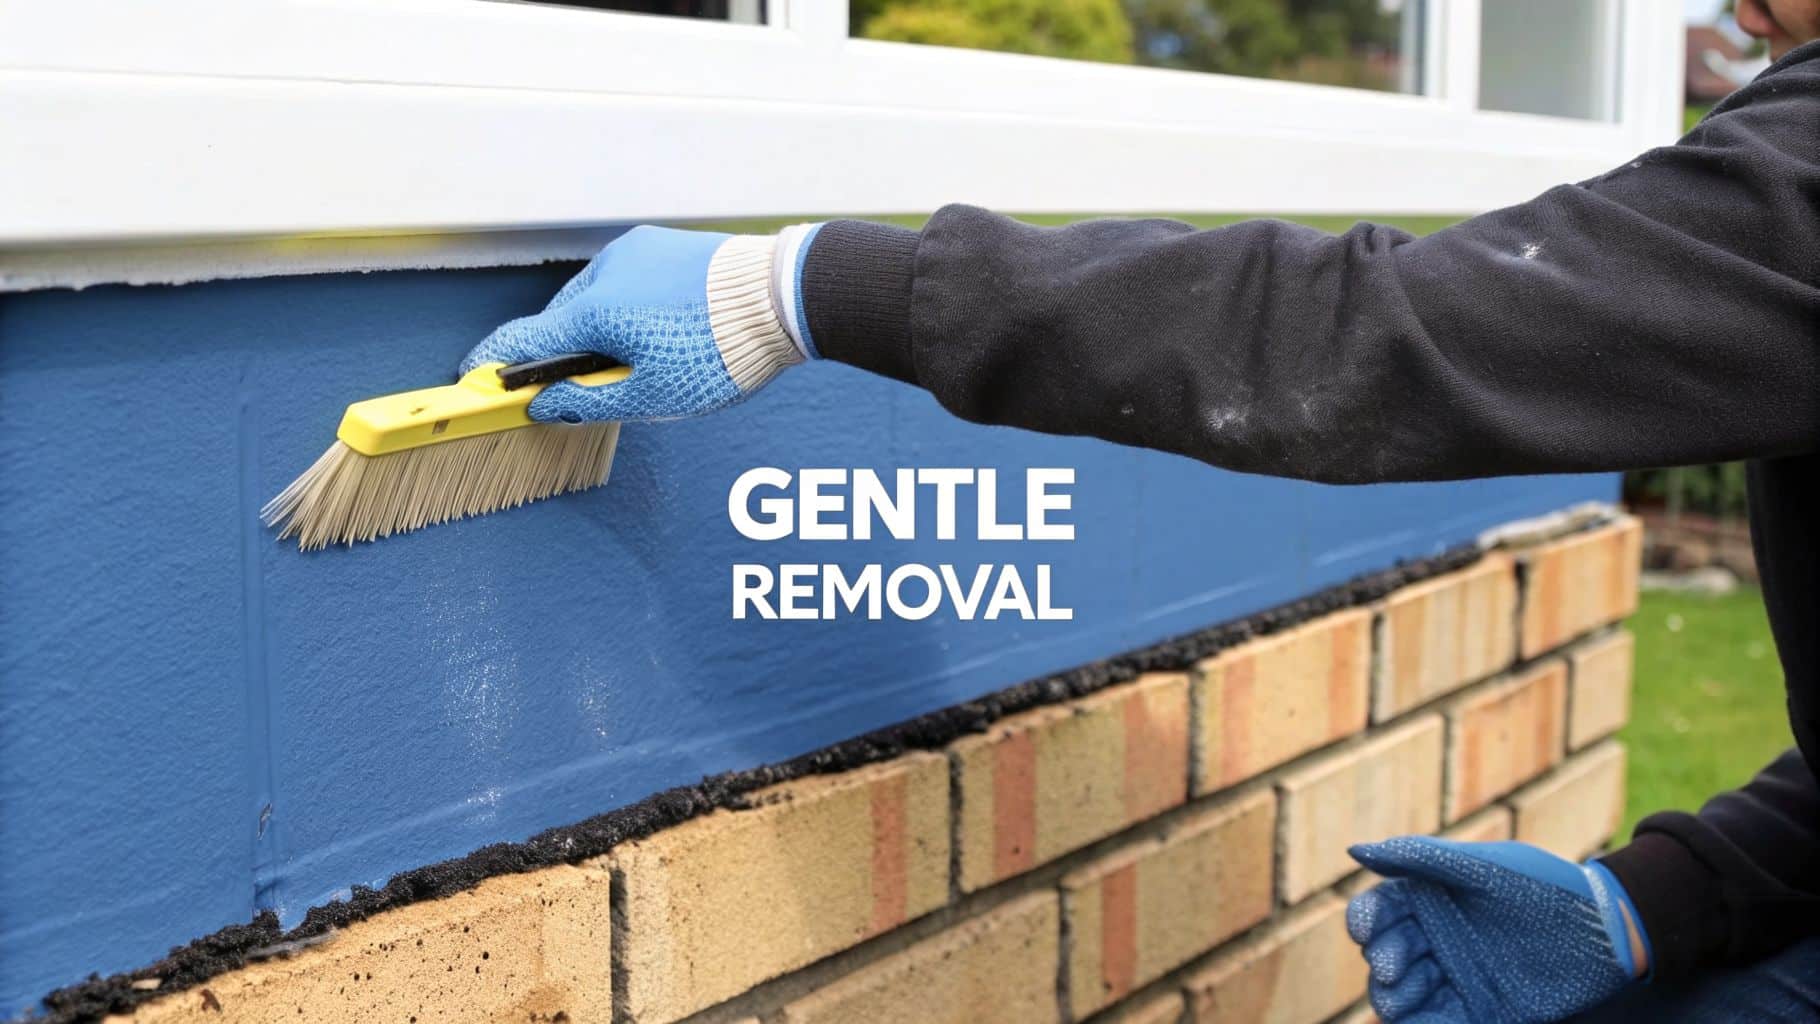
When you're looking at how to clean mortar off brick, the golden rule is to always start with the gentlest method you can. If you're just dealing with some light smears or fresh splatters, you can often get fantastic results without ever reaching for harsh chemicals.
This first approach is all about using the right tools and a bit of patience, not brute force. Your goal is simply to knock the extra mortar off without scratching or damaging the face of the brick. For this job, a stiff, non-metallic brush is your best friend.
Whatever you do, never use a wire brush. It will absolutely leave tiny metal fragments on the brick. Those bits will rust and leave behind ugly, permanent orange stains that are much worse than the original mortar smear.
Choosing the Right Mechanical Tools
Success really comes down to having the right tool for the job. Depending on how much mortar you're dealing with and how fresh it is, your toolkit should have more than just a single brush.
- Stiff Nylon-Bristle Brush: This is what you'll use most. It’s perfect for scrubbing away any loose bits and the light haze that gets left behind after the bigger chunks are gone.
- Putty Knife or Scraper: You'll want to use this to carefully chip away at any larger, but still relatively fresh, bits of mortar. The trick is to hold it at a low angle to the brick so you don't dig in.
- Wooden Stick or Paint Stirrer: For really delicate or older, historic brick, a simple piece of wood is an even safer bet. It’s just hard enough to break up soft mortar but won't scratch the brick itself.
Think about a small repointing job you just finished on your Paradise Valley home, and now you have a few little splatters on the surrounding brick. A simple wooden stick can flick off those wet spots, and a gentle scrub with a nylon brush and some water takes care of the rest once it dries a bit.
Proper Technique for Safe Removal
Your technique is every bit as important as your tools. Just scrubbing away in all directions is a surefire way to get a messy, uneven result. It pays to be methodical.
Always, always start cleaning from the top of the wall and work your way down. This simple step stops dirty water and debris from running down and messing up the areas you've already cleaned. Use steady, even pressure with whatever tool you're using.
Pro Tip: Never dry-scrub with all your might. We've found that lightly wetting the brick surface with a spray bottle before you start scrubbing helps lubricate the area. It reduces friction and really minimizes the risk of scratching while also keeping the dust down.
On a new construction cleanup in Gilbert, for example, our team often sees a light haze covering big sections of brick. By pre-wetting the wall and using systematic top-to-bottom strokes with a good brush, we can get that residue off efficiently without a single scratch on the new masonry. Patience is your best ally here; rushing the job almost always leads to damage or disappointing results.
Using Chemical Cleaners for Stubborn Stains
When scraping and scrubbing just aren't cutting it, you'll need to bring in the big guns: chemical cleaners. For those stubborn, hazy mortar smears that won’t budge, a specialized masonry cleaner is your best bet. This is where the job gets a bit more serious, but if you're careful and put safety first, you can dissolve those frustrating stains without damaging your beautiful brick.
These cleaners use a mild acid to break down the tough alkaline salts in the mortar, which makes them easy to wash away. The technology behind them has gotten pretty impressive, with some products cutting cleaning time by as much as 60% compared to just scrubbing by hand. For commercial buildings, using these cleaners can prevent 25-40% of aesthetic issues, since leftover mortar can actually lead to water getting into the walls over time. You can read more about the growth of masonry cleaners on OpenPR.com.
Safety First: Your Non-Negotiable Gear
Before you even think about opening a bottle of cleaner, you absolutely have to gear up. We're talking about acids here, and they can cause nasty burns to your skin and eyes or damage your lungs. This is one step where you cannot afford to take shortcuts.
Make sure you have this essential safety gear ready:
- Chemical-Resistant Gloves: Your regular work gloves won’t protect you. You need thick, waterproof rubber or nitrile gloves that the acid can't eat through.
- Splash-Proof Goggles: Your eyes are incredibly vulnerable. Get a pair of goggles that creates a full seal around your eyes to block any accidental splashes.
- Respirator: A simple dust mask does nothing against fumes. You need a proper respirator with cartridges rated for acid gas to keep your lungs safe.
Always try to work in an open, well-ventilated space. It’s also a great idea to have a hose or a bucket of clean water handy just in case you get any of the solution on your skin.
Applying the Cleaner the Right Way
There's a right way and a wrong way to apply these chemicals. It’s more than just spraying it on and hoping for the best. Following the process correctly gets you great results and protects your brick from damage.
First things first, completely soak the brick with plain water from your hose. This is called "pre-wetting," and it's a critical step. It stops the brick from sucking up the acidic cleaner, which could lead to ugly discoloration or long-term issues. The water fills the pores of the brick, keeping the chemical right on the surface where it needs to work.
Next, mix your cleaner exactly as the manufacturer tells you. Pay close attention to the dilution ratio—different types of brick need different strengths. Use a simple garden sprayer (on a low-pressure setting) or a synthetic-bristle brush to apply the mix. A good habit is to work from the bottom up to prevent clean streaks from running down the wall.
Pro Tip: Whatever you do, don't let the cleaner dry on the brick surface. Here in the hot Arizona sun, that can happen in just a few minutes. Always work in small, manageable sections, keeping the area damp with a light mist of water if necessary. This gives the cleaner enough "dwell time" to do its job without drying out and leaving new stains behind.
Let the cleaner sit for the recommended time, which is usually around 5-10 minutes. Then, grab a stiff nylon brush (never wire!) and give the area a gentle scrub to help loosen up the last of the mortar.
Finally, rinse everything thoroughly with lots of clean water. Work from the top down this time, washing away all traces of the cleaner and the dissolved mortar until the water runs clear. For a deeper dive into rinsing techniques, you can check out our guide on pressure washing vs. soft washing.
Pressure Washing Techniques for Mortar Removal
After your cleaning solution has broken down the mortar haze, a pressure washer is your best friend for rinsing it all away. But this is a tool that demands respect. In the wrong hands, a pressure washer can do more harm than good, easily blasting the face off your brick or carving deep lines into the mortar joints.
Believe it or not, getting the cleanup right is one of the most important parts of the job. Some industry reports estimate that improper cleanup methods contribute to 35% of new brick facade failures. When you do it correctly, you can add 25-30% to your brick's lifespan. It's all about control—using the right pressure, the right nozzle, and the right technique.
Selecting the Right Pressure and Nozzle
Not just any pressure washer setting will do for brick. One of the costliest mistakes we see is people using way too much force, thinking more power means a better clean. It doesn’t.
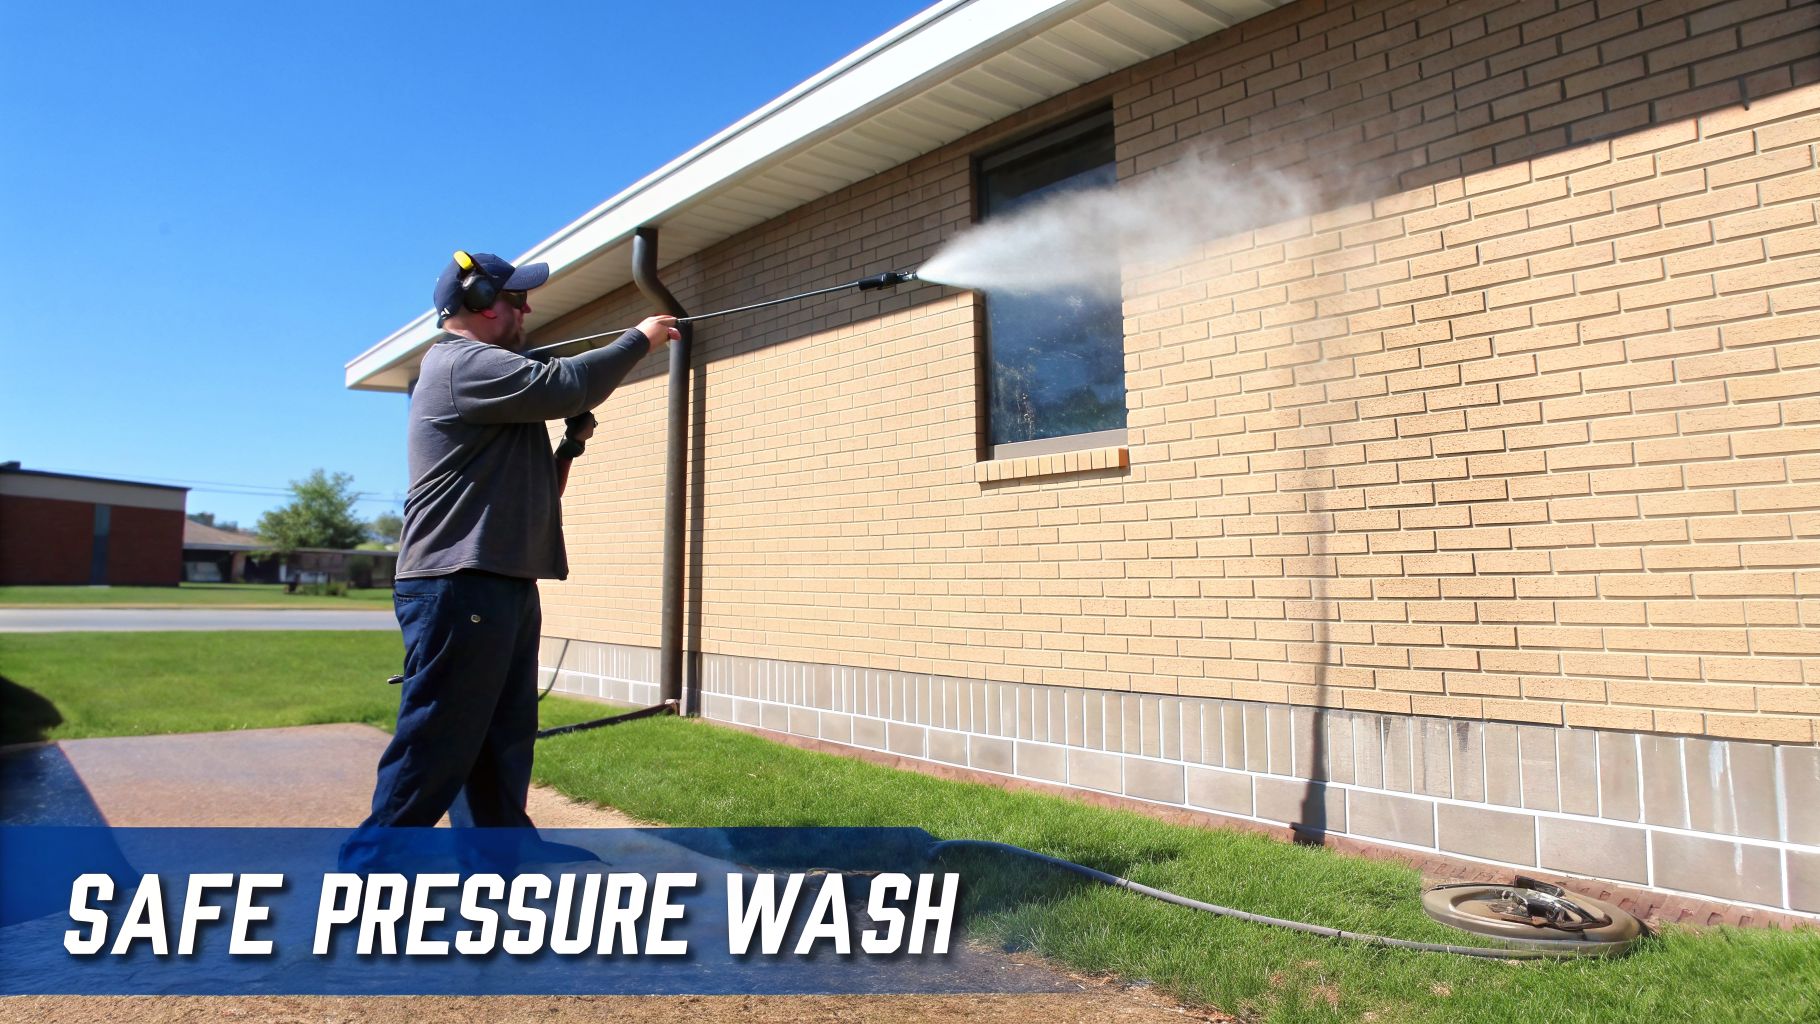
- Pressure Setting (PSI): For most residential brick, you’ll want to stay in the 1000 to 1500 PSI range. We always recommend starting on the lowest setting and only increasing it if absolutely necessary.
- Nozzle Choice: This is critical. Never use a red (zero-degree) or yellow (fifteen-degree) nozzle on brick. They concentrate the spray into a tiny, destructive point. Stick with a 25-degree (green) or 40-degree (white) fan tip. These spread the water out, giving you a safe and effective rinse.
The idea is to let the water wash away the loosened residue, not to blast it off with raw power. Think of it as a powerful rinse, not a demolition tool.
Pro Tip: Before you even point the pressure washer at the wall, grab your garden hose and give the brick a good soaking. Just like with the chemical cleaners, this pre-wets the pores of the brick. That way, it won't suck up dirty water, which helps prevent streaks and gives you a much more uniform finish.
Safe and Effective Washing Technique
How you move the wand is just as important as the settings you choose. Consistency is what separates a professional-looking job from a streaky, damaged mess.
First, always keep the nozzle tip a safe distance from the wall—at least 12-18 inches away. Any closer and you’re risking permanent etching on the brick or blowing out your mortar joints. We've seen it happen, and it’s not a pretty sight.
You’ll want to work in steady, overlapping horizontal sweeps. The golden rule is to start at the top of the wall and work your way down. This is standard procedure for any professional job, whether we’re cleaning a small brick patio or need to pressure wash a house. It ensures that dirty runoff doesn't streak down over the areas you’ve just cleaned.
Here in the Phoenix area, also be mindful of your surroundings. Make sure you protect nearby windows, doors, and especially any delicate plants or landscaping from the spray. A little prep work goes a long way in making sure the whole property looks great when you're done.
When to Hire a Professional Masonry Cleaning Service
We get it. There’s a real satisfaction in tackling a home project yourself. But when it comes to cleaning mortar off brick, sometimes the smartest move is knowing when to put down the tools and call in a pro. Some projects just aren't worth the risk of causing expensive, irreversible damage.
Knowing the difference can save you a ton of time, money, and frustration. If you're staring at extremely hard, old mortar that looks like it's been baked on for decades, the usual DIY methods probably won't cut it. The same goes for huge jobs on commercial buildings or anything that involves working up high—those introduce safety challenges best left to a licensed and insured team like ours at South Mountain Window Cleaning.
A professional assessment is invaluable when you're just not sure. We can tell you exactly what kind of brick and mortar you're dealing with, figure out the real problem, and choose the safest, most effective cleaning method to protect your property.
Situations Demanding Professional Expertise
Certain jobs pretty much always call for a professional. Trying to DIY these can go wrong fast, leading to repair bills that are way higher than what a professional cleaning would have cost in the first place.
Think about calling for backup if you have:
- Historic or Fragile Brickwork: Older bricks, like you see on beautiful historic homes in Scottsdale or Paradise Valley, are often much softer and more porous. The wrong chemical or too much pressure can permanently scar or discolor the surface. A pro knows the gentle techniques needed to preserve the brick's character and integrity.
- Large-Scale Commercial Projects: Cleaning the entire face of a commercial building in Phoenix isn't a weekend job. It demands industrial-grade equipment, deep knowledge of different building materials, and strict safety protocols. Our team at South Mountain Window Cleaning is fully equipped for these big jobs.
- Working at Heights: Any cleaning that requires scaffolding or spending a lot of time on ladders is a job for trained and certified professionals. Our technicians are experienced in working safely at height, which eliminates the risk of a serious fall.
The Value of a Guaranteed Result
Hiring a pro isn't just about avoiding disaster; it's about investing in a guaranteed, top-quality result. The U.S. masonry industry was valued at a massive $40.0 billion in 2023, which shows just how vital professionals are in keeping properties looking great and structurally sound. You can find more on the masonry industry's scale at IBISWorld.com.
Here in Arizona's climate, professional care can actually extend the life of your brick by 15-20 years—a huge return on your investment.
At South Mountain Window Cleaning, we bring the right tools and years of expertise to every job we do in Chandler, Tempe, and across the Valley. We take care of everything, from managing water runoff to protecting your windows and landscaping. For a full rundown of the benefits, take a look at our guide on why you should hire a professional to pressure wash your property. It's the best way to ensure the job is done right the first time, protecting your investment and making your curb appeal pop.
Common Questions About Cleaning Mortar Off Brick
When you're staring at messy mortar smears on your beautiful brick, a lot of questions pop up. We hear them all the time from homeowners across Phoenix, Scottsdale, and the entire Valley. Getting the right answers can save you a world of frustration—and potentially save your brick from permanent damage.
Here are the questions our team fields most often, with clear, straightforward answers based on our experience.
Can I Use a Wire Brush to Scrub Mortar Off Brick?
This is probably the most common mistake we see people make, and it’s a costly one. It seems logical to grab a tough wire brush for hardened mortar, but this almost always ends in regret.
The stiff metal bristles will absolutely scratch and scour the face of your brick, especially on softer or older styles. But the bigger problem is what they leave behind. The brush sheds tiny metal particles that get trapped in the brick’s porous surface. Over time, those particles rust, creating ugly orange and brown stains that are far more difficult to remove than the original mortar.
Our Recommendation: Stick with a stiff, non-metallic brush. A good nylon-bristle or natural fiber brush has enough grit to scrub away loosened mortar without scratching the brick or leaving behind rust-causing metal deposits.
Is Muriatic Acid Safe for Me to Use?
Muriatic acid has been a traditional go-to for masonry cleaning for decades, but it's incredibly hazardous stuff. While a pro might use it in very specific, controlled situations, we strongly advise against it for any DIY project. The risks are just too high.
Here’s what you’re up against with muriatic acid:
- Severe Chemical Burns: Even a tiny splash on your skin or in your eyes can cause a serious, painful injury.
- Toxic Fumes: Inhaling the vapors can do real damage to your respiratory system.
- Brick Damage: If you don't get the dilution, application, and neutralization steps exactly right, the acid can "burn" the brick. This causes permanent discoloration and can even weaken the surface integrity.
These days, most professionals have moved on to buffered acidic cleaners. They are formulated to be much safer for the person using them and for the masonry itself, while still being fantastic at dissolving mortar haze.
How Can I Prevent Mortar Smears in the First Place?
Honestly, the best way to clean mortar smears is to avoid making them at all. A little bit of prep and quick action during your masonry work will save you hours of difficult cleanup later on.
The number one rule is to clean up immediately. Always keep a bucket of clean water and a sponge or soft-bristle brush nearby. The moment a splash happens, wipe it off gently before it has a chance to set. For bigger projects, use painter’s tape and plastic sheeting to mask off surrounding brickwork. It’s a simple step that protects your property from those inevitable splatters.
Will Cleaning Mortar Off Old Bricks Damage Them?
Cleaning older or historic brick—the kind you see in beautiful, established neighborhoods from Paradise Valley to Tempe—is a different ballgame. You have to be extremely careful. These bricks are often much softer and more porous than modern ones and are easily damaged by aggressive cleaning.
Before you even think about starting, check for signs of fragility like crumbling surfaces (also called spalling) or powdery, deteriorating mortar joints. Hitting this kind of brick with a high-pressure washer or harsh chemicals can cause irreversible erosion.
If the job feels overwhelming, or you're dealing with delicate historic brickwork, it's a good time to call in an expert. A professional civil masonry service will know exactly how to handle it without causing damage.
When you need a guaranteed, professional result without the risk, trust the experts. South Mountain Window Cleaning has the tools and expertise to safely and effectively handle all your exterior cleaning needs, from window washing to complex masonry cleaning. Get a fast, free quote today at https://www.southmountainwindowcleaning.com.