
Your driveway is one of the first things people see when they pull up to your home. It’s a huge part of your property's first impression, just like sparkling clean windows. But here in Arizona, the intense sun and monsoon rains can take a real toll on asphalt, leaving it faded, cracked, and worn out. That's where a quality driveway sealer comes in, acting like a protective shield to keep it looking its best.
At South Mountain Window Cleaning, we believe a home's curb appeal is a complete picture. From the glass on your high-rise condo in Phoenix to the driveway of your home in Scottsdale, every detail matters. This guide will walk you through why protecting your driveway is just as important as keeping your windows spotless.
Why Driveway Care is a Smart Investment for Arizona Homeowners
Think of your driveway as the welcome mat to your property. A rich, black, smooth surface makes a powerful statement about how well you care for your home. It complements a clean exterior and makes your entire property feel polished and maintained. In contrast, a neglected, gray, and cracked driveway can detract from even the most beautiful home and pristine windows.
Applying a quality sealer is one of the most cost-effective ways to protect this asset. Here in the Valley—from Chandler to Paradise Valley—the relentless sun is your driveway's number one enemy. Without a protective coat, your asphalt is vulnerable to rapid deterioration.
A Shield Against Sun, Rain, and Spills
An unsealed driveway is constantly under attack from the elements. The main threats are:
- UV Ray Degradation: The Arizona sun bakes the essential binders out of the asphalt, making it brittle and prone to cracking. A good sealer reflects UV rays, locking in the oils that keep the pavement flexible.
- Water Intrusion: Rainwater seeps into tiny pores and cracks. When temperatures fluctuate, this moisture expands and contracts, turning small fissures into large, costly potholes.
- Chemical Spills: Oil, gasoline, and other fluids from your car can soften and dissolve the asphalt, leaving behind ugly stains and weak spots. A sealed surface prevents these chemicals from ever penetrating.
Preventative maintenance like sealing is far cheaper than extensive repairs. An unsealed driveway in our climate can degrade two to three times faster, often leading to repaving projects that can cost thousands. Keeping your driveway in top shape protects your home's value, just like our commercial window washing services help businesses in Tempe and Gilbert maintain their professional image.
A single application of a quality sealer can dramatically extend the life of your asphalt. It’s a small, proactive step that prevents the need for major repairs, safeguarding your property's value and visual appeal.
Let’s look at the specific benefits of sealing your driveway.
Quick Look at the Benefits of a Well-Maintained Driveway
| Benefit | Impact on Your Driveway | Long-Term Value |
|---|---|---|
| Blocks UV Damage | Prevents the sun from drying out and breaking down the asphalt binders. | Extends lifespan and stops premature aging. |
| Prevents Water Damage | Creates a waterproof barrier, stopping the freeze-thaw cycle that causes cracks. | Avoids costly pothole repairs and foundation issues. |
| Resists Stains | Stops oil, gas, and other chemical spills from penetrating and softening the surface. | Keeps the driveway looking clean and new. |
| Enhances Curb Appeal | Restores that deep, rich black color, making the entire property look sharper. | Boosts property value and first impressions. |
| Saves Money | Proactive sealing costs a fraction of what major asphalt repairs or replacement would. | Significantly lower maintenance and repair bills over time. |
Ultimately, it’s about protecting your investment with smart, proactive care. Just as clean windows let in the beautiful Arizona sunshine, a well-maintained driveway sets the stage for a beautiful home.
While sealing an asphalt driveway is a fantastic move, it’s always good to know your options. For example, understanding the benefits of a paver driveway can give you a different perspective on long-term materials and aesthetics.
No matter what surface you have, keeping it in top shape is a huge part of your home’s overall look. This same principle of proper maintenance applies to every exterior surface, from your pavement to your windows.
Choosing the Right Protection for Your Driveway
Walking into a home improvement store, you'll find a wall of different driveway sealers, all promising incredible results. It can be confusing, but making the right choice is crucial for getting a finish that can withstand the intense sun we see in Gilbert and Chandler.
Think of it like choosing the right cleaning solution for your windows—some are for light touch-ups, while others are heavy-duty formulas for serious grime. The same goes for sealers. The main types you’ll encounter are asphalt emulsion, acrylic, and coal tar sealers. Each offers a different level of protection and durability.
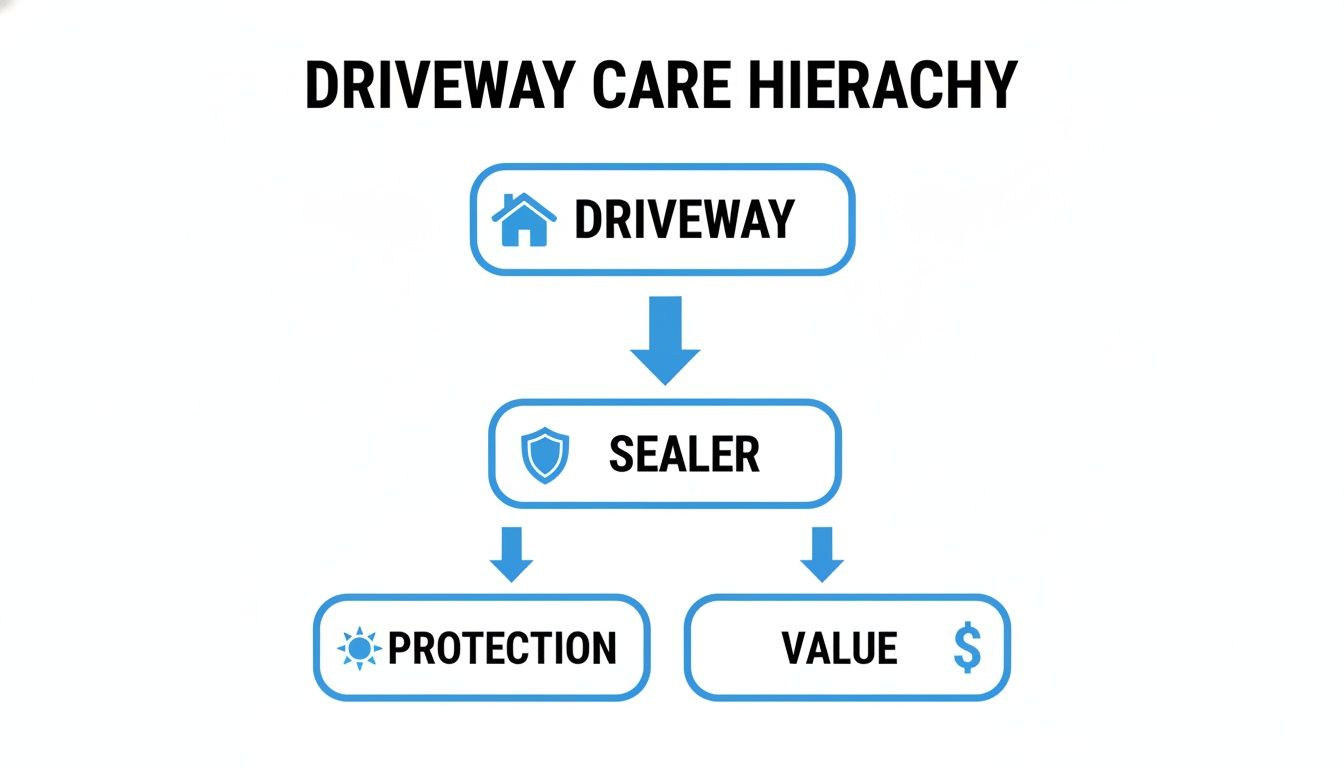
As you can see, a simple coat of sealer is a direct line to better protection and a bigger return on your investment.
Asphalt Emulsion Sealers
Asphalt emulsion sealers are the most popular choice for residential driveways, and for good reason. They are asphalt-based, meaning they are chemically compatible with your driveway. This helps them bond securely and replenish the essential binding oils that the sun bakes away.
These sealers provide a durable, flexible coat with a rich, dark black finish that dramatically improves curb appeal. They are also much more environmentally friendly, with low volatile organic compounds (VOCs), making them a safer choice for residential areas. According to a detailed market report, their popularity is well-established.
For most homeowners in the Phoenix metro, we find that asphalt emulsion sealers are an excellent choice. Their ability to expand and contract with the asphalt is a significant advantage, making them highly effective at preventing cracks caused by our extreme temperature swings.
That flexibility is a game-changer in Arizona's climate, where a driveway can go from scorching hot to cool in a matter of hours.
Acrylic Sealers
For the ultimate in durability and appearance, acrylic sealers are the premium option. These synthetic, polymer-based products are known for their incredible resistance to UV rays, chemicals, and tire marks. We often see these used on high-end homes and commercial properties where a flawless appearance is a top priority—much like the crystal-clear results we deliver with our high-rise window cleaning services.
The advantages of acrylics are clear:
- Superior Durability: They form a tough, long-lasting shell that often extends the time between applications.
- Color Retention: Acrylics hold their deep black color longer and resist fading under our intense sun.
- Quick Curing: They typically dry faster, minimizing the time you need to keep vehicles off the driveway.
This top-tier performance comes with a higher price tag. While the initial cost is greater, the extended lifespan can make them a wise long-term investment for some property owners who demand the best.
Coal Tar Sealers
Coal tar sealers were once common but are now rarely used in residential settings. Made from a byproduct of coal processing, they offer strong protection against water and petroleum spills.
However, they have fallen out of favor due to health and environmental concerns related to their high VOC emissions. Many cities have restricted or banned their use. While you might still find them in some commercial applications, they are not a recommended product for homes in communities like Phoenix or Scottsdale.
The Best Time to Protect a Driveway in Arizona
When it comes to sealing a driveway in Arizona, timing is everything. Applying sealer is a lot like washing exterior windows; you wouldn't do it in the middle of a dust storm. The same logic applies here. Getting the timing right ensures a durable, protective finish rather than a sticky, uneven mess.
The process depends on how the sealer cures. Most are water-based, hardening as the water evaporates. This requires the right ground and air temperatures to happen correctly.
Finding the Perfect Window for Sealing
For the sealer to cure properly, the temperature needs to be at least 50°F and rising. The pavement itself must be warm, and the temperature needs to remain above 50°F for a full 24 hours after application.
This makes spring and fall the ideal seasons for sealing projects across the Phoenix metro, from Scottsdale to Gilbert. These seasons offer warm, sunny days and mild nights perfect for curing. Of course, clear skies are essential. You need a rain-free forecast for at least 24-48 hours for the driveway to dry completely.
Avoiding Summer Sizzle and Winter Woes
It might seem logical to seal a driveway during a hot Arizona summer, but this is a common and costly mistake. When asphalt gets super-heated (well over 100°F), the sealer flash-dries the moment it hits the pavement, preventing it from bonding correctly.
Applying sealer in extreme Arizona summer heat causes it to dry too quickly, leading to streaks, tire marks, and a weak coating that offers little protection. The goal is a slow, even cure, not a rapid bake.
This rapid drying results in a blotchy finish that fails to protect the surface. On the other hand, sealing in the winter when temperatures dip below 50°F is equally problematic. The sealer won't cure at all, remaining tacky and washing away with the next rain.
How Often Should You Reseal Your Driveway?
Once your driveway is sealed, when should you do it again? It's tempting to think more is better, but over-sealing can cause peeling and cracking. For most residential driveways in our climate, applying a fresh coat of sealer every 2 to 3 years is the sweet spot.
Your driveway will let you know when it's time. Keep an eye out for these signs:
- Faded Color: The rich black has turned into a dull, chalky gray.
- Visible Texture: You can see the individual stones and the texture of the asphalt mix.
- Hairline Cracks: Small spiderweb cracks are forming, indicating the surface is becoming brittle.
When you notice these signs, it’s time to schedule your next sealing. This restores the protective layer before minor issues become major, expensive repairs. It's the same principle of regular maintenance we recommend for keeping your windows looking great year-round.
DIY Driveway Sealing Versus Hiring a Professional
One of the biggest decisions a homeowner faces is whether to seal their driveway themselves or call in a professional. On the surface, it seems like a choice between a weekend of labor and writing a check. The reality is more complex, involving a balance of cost, time, and the quality of the final result.
The DIY route is tempting. You see buckets of sealer at the hardware store and think it looks straightforward. However, the true cost includes more than just the sealer. A proper job requires a pressure washer, specialized crack filler, oil spot primer, brushes, a squeegee, and protective gear. These costs can add up quickly.
DIY vs. Professional Driveway Sealing: A Head-to-Head Comparison
To see the real difference, it helps to compare the two approaches directly.
| Factor | DIY Approach | Professional Service |
|---|---|---|
| Total Cost | Lower initial material cost, but requires buying/renting tools (pressure washer, etc.). Can cost a few hundred dollars. | Higher upfront cost, but it's an all-inclusive price covering labor, commercial-grade materials, and equipment. |
| Time Investment | A full weekend or more. Involves cleaning, drying, patching, more drying, and finally, application. It's a multi-day job. | A few hours. A trained crew works efficiently to complete the entire process in a single day, often in just a morning or afternoon. |
| Required Effort | High. This is a physically demanding job that involves scrubbing, heavy lifting, and careful application on your hands and knees. | Minimal. Your only job is to clear the driveway and let the team handle everything else. |
| Equipment & Materials | Consumer-grade sealer from a hardware store. Requires purchasing or renting all application and preparation tools. | Commercial-grade, high-solid sealer for better durability. Uses professional spray systems and prep equipment. |
| Final Result & Durability | Risk of uneven application (streaks, puddles), inconsistent protection, and a shorter lifespan. Messy and prone to mistakes. | A uniform, smooth finish that bonds perfectly to the asphalt. Provides superior, longer-lasting protection against the elements. |
| Risk | High risk of a botched job, which can look bad and require a costly professional fix. Potential for property damage from improper tool use. | Low risk. Professionals are insured, experienced, and guarantee their work, ensuring a flawless result without the headache. |
When you factor in your time, the physical effort, and the risk of an imperfect finish, the "savings" from a DIY job often diminish. For many homeowners, the convenience and guaranteed quality of a professional service are well worth it.
The Professional Edge: Quality and Equipment
The difference in the final result often comes down to two things: the materials used and the application method. Professionals have access to commercial-grade sealers, which are more robust than what’s available at retail. They contain a higher concentration of solids that protect your driveway from the harsh Phoenix sun, resulting in a longer-lasting, better-looking finish.
The application is just as important. A professional team uses specialized equipment, like high-pressure spray systems, to apply a thin, even coat that bonds tightly to the asphalt. Achieving this with a squeegee is difficult and often leads to an uneven, splotchy appearance and inconsistent wear.
Proper prep work is another critical factor, something we at South Mountain Window Cleaning understand deeply. To see how much the right cleaning technique matters, check out our article on pressure washing vs. soft washing.
What's the Right Call for Phoenix Homeowners?
So, should you do it yourself or hire a pro? For a small, simple driveway that’s already in excellent condition, a DIY attempt might be feasible if you have the time and patience.
However, for most larger residential driveways in communities like Paradise Valley, or for any commercial property in places like Tempe, hiring a professional is the smarter choice. The scale of the job makes the efficiency and expertise of a professional service a much better investment. A professionally maintained driveway not only looks better but also enhances safety and accessibility, boosting property value.
Hiring a professional team ensures the job is done right the first time, giving you a flawless finish and durable protection without sacrificing your weekend.
A Step-By-Step Guide to the Sealing Process
Whether you’re preparing to seal your driveway or just want to understand what the pros do, it’s important to know that achieving a deep, uniform black finish is a methodical process. Every step is crucial.
Skipping a step can compromise the entire job. Here’s a walkthrough of how a quality, long-lasting seal coat is applied.
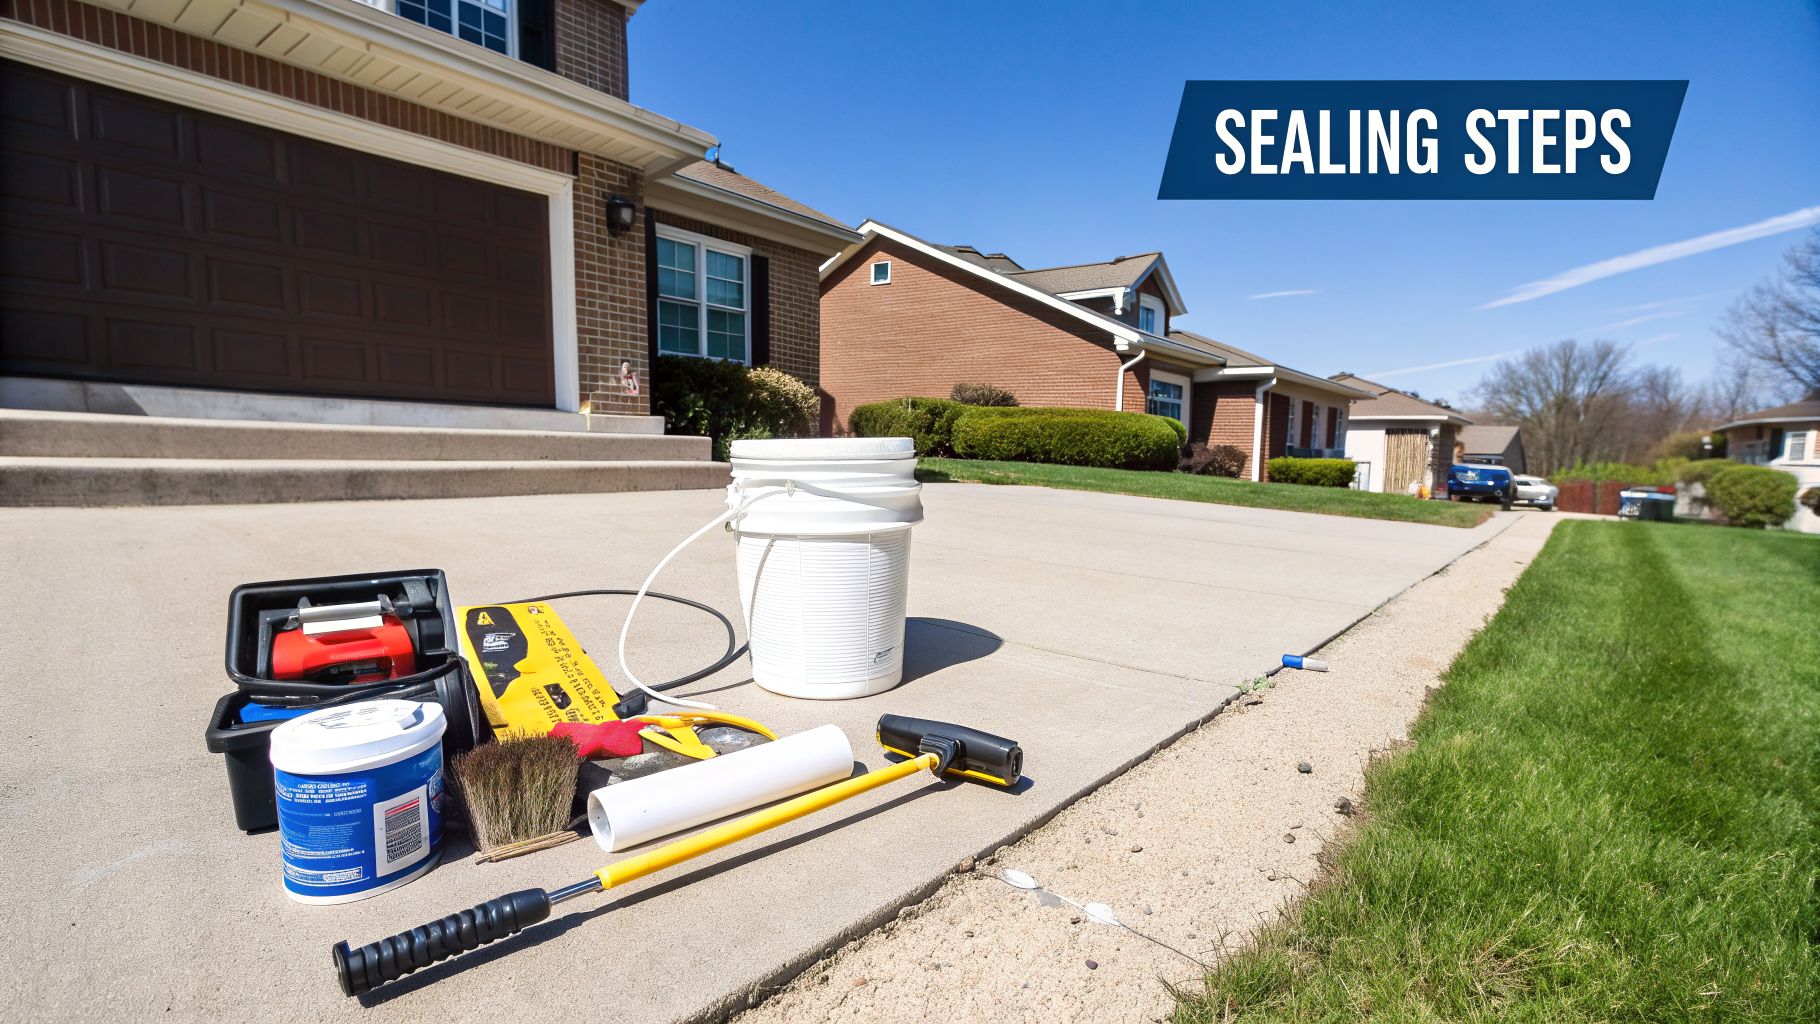
Step 1: Deep Cleaning and Preparation
This is the most critical step. Sealer will not adhere to a dirty surface. Applying it over dirt, grime, or oil will cause it to peel and flake within months, wasting your time and money.
Here in Arizona, with our fine desert dust, a thorough cleaning is non-negotiable. A quick spray with a garden hose isn't enough.
- Power Washing: Professionals use a high-powered pressure washer, often with a surface cleaner attachment, to get deep into the pores of the asphalt. This removes caked-on dirt, debris, and any old, failing sealer.
- Oil Spot Treatment: Gas and oil stains are sealer's worst enemy. They must be treated with a special primer first. This primer acts as a barrier, preventing the oil from bleeding through and damaging the new sealer from below.
A thorough deep clean is the foundation for almost any exterior project. For more tips, check out our guide on how to clean your house exterior properly.
Step 2: Repairing Cracks and Holes
Once the driveway is perfectly clean, all its imperfections will be visible. Now is the time to fix them. Sealing over damage is like putting a bandage on a broken arm—it hides the problem but doesn't solve it.
A professional will use a wire wheel or compressed air to clean out each crack, removing loose gravel and debris. Then, they’ll fill them with a flexible, rubberized crack filler. This filler expands and contracts with the pavement, keeping water out and preventing small cracks from becoming large potholes.
Step 3: Edging and Protecting Surroundings
Next comes the detail work. Everything that isn't being sealed must be protected. Black sealer is stubborn, and once it dries on a concrete walkway or garage floor, it’s very difficult to remove.
Professionals use painter's tape and heavy-duty cardboard or edging boards to create clean, sharp lines. This is what gives the job a truly professional look.
The Final Steps: Applying the Sealer and Curing
With all the prep work done, it's time to apply the sealer. The sealer must be thoroughly mixed to ensure all solids and polymers are evenly suspended.
- Cutting In: Using a thick brush, a professional carefully "cuts in" all the taped-off edges. This creates a perfect border and ensures full coverage.
- Applying Even Coats: For the main area of the driveway, a professional squeegee or spray system is used. The key is to apply a thin, even coat, working in small sections and overlapping each stroke to avoid streaks.
- Allowing Proper Curing: Finally, the driveway is roped off. It needs to remain untouched for at least 24 to 48 hours. This allows the sealer to cure and harden into a tough, protective layer. Resisting the temptation to walk or drive on it early is crucial.
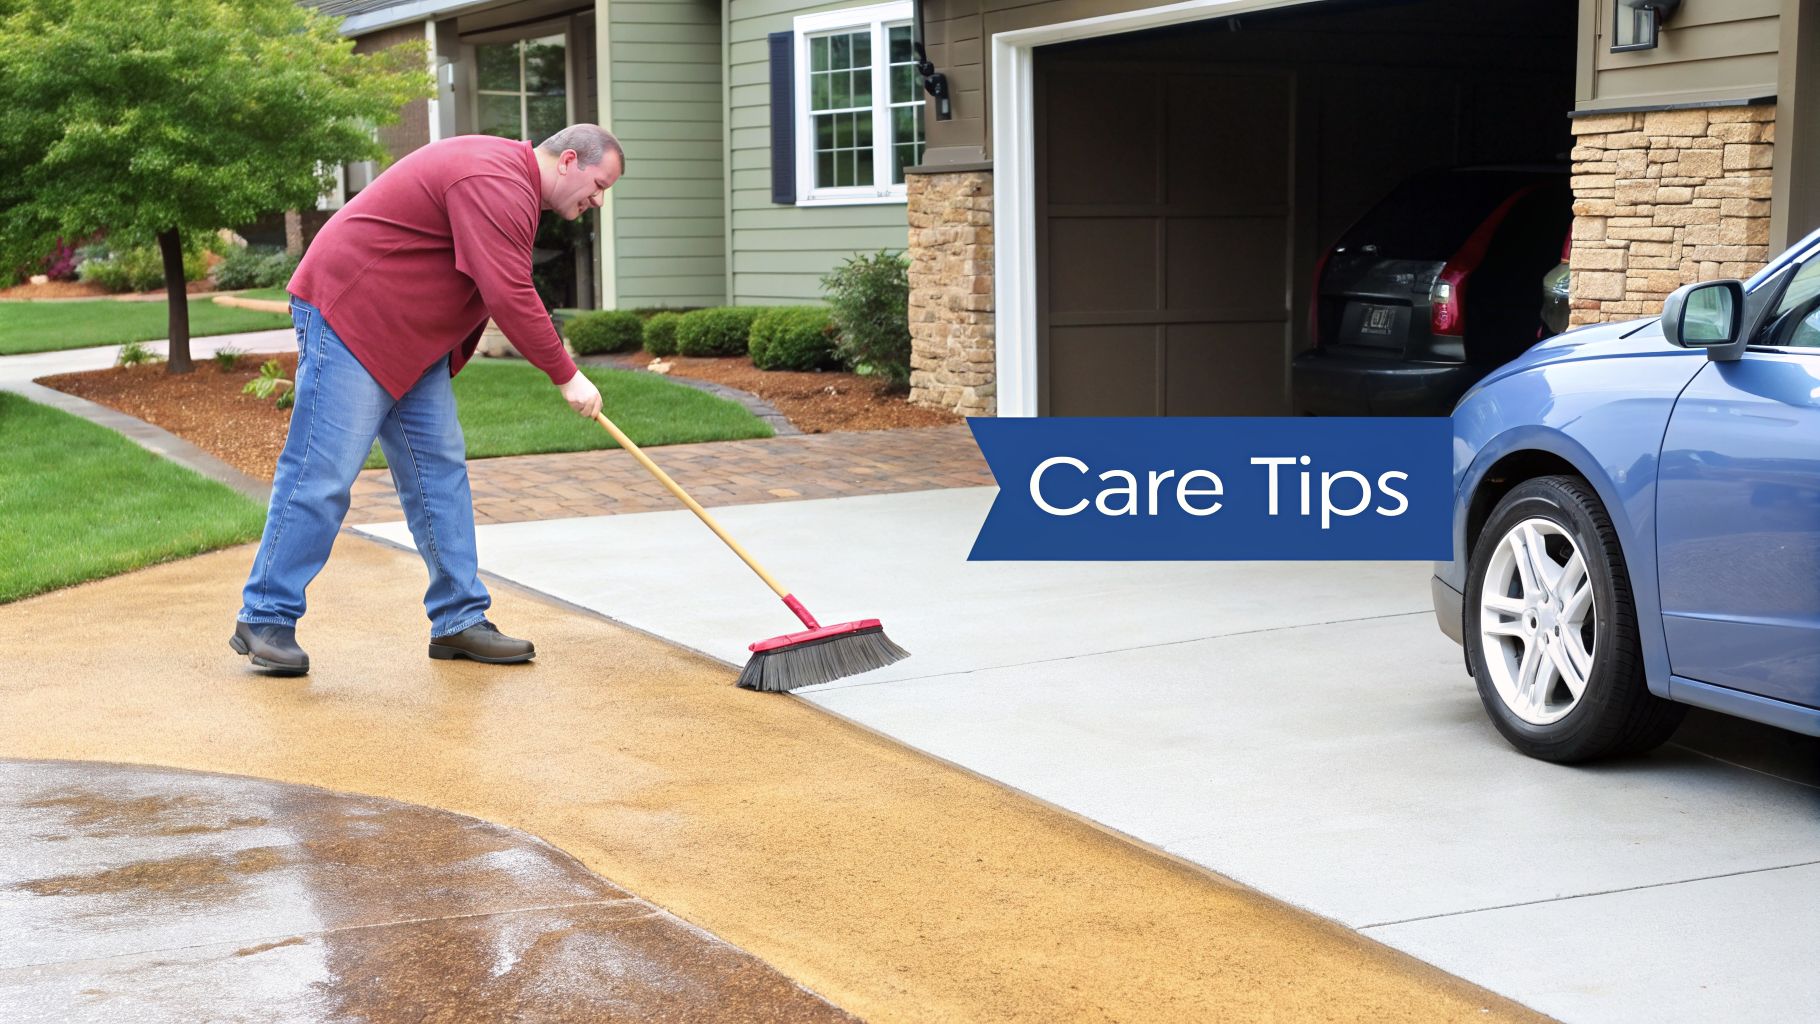
Maintaining Your Newly Sealed Driveway
A great sealing job is just the beginning. Now that your driveway has its rich, dark finish back, a few simple habits will keep it looking fantastic and extend the life of the protective layer. Think of it as protecting your investment—a little care now goes a long way.
The most important rule is patience. Your new sealer needs time to fully cure. This means keeping all vehicles off the surface for a full 24 to 48 hours. Driving on it too soon can leave permanent tire tracks, ruining the smooth finish.
Simple Aftercare for Long-Lasting Results
Once the sealer has cured, adopting a couple of good habits will maximize the life of your new surface. The goal is to prevent physical damage and stop stains before they set.
One common way people damage a fresh sealcoat is by turning their car's wheels while stationary. This grinding motion creates power steering scuffs—ugly, crescent-shaped marks that scrape away the new surface. Always try to have your wheels rolling, even slightly, as you turn.
Think of your sealed driveway like a freshly waxed floor. You wouldn't drag heavy furniture across it, and you shouldn't grind your tires into it. Gentle movements are key to preserving that perfect finish.
Keeping Your Sealed Driveway Clean
Routine cleaning doesn't have to be a major chore. It's about preventing the buildup of dirt and chemicals that can cause problems, especially under the Arizona sun.
- Clean Spills Immediately: Oil, gasoline, and other automotive fluids are harmful to asphalt. While sealer provides a tough barrier, it’s best to soak up any spills with cat litter or a rag as soon as you see them.
- Sweep Away Debris: Use a broom or leaf blower regularly to clear away dirt, sand, and leaves. This grit acts like sandpaper under your tires, slowly wearing down the sealcoat.
- Rinse Gently: For a deeper clean, a simple rinse with a garden hose and a gentle nozzle is sufficient. Avoid using high-pressure washers for routine cleaning, as the intense spray can be too aggressive and prematurely strip the sealer.
This kind of proactive care is a core principle for any part of your property. While this guide focuses on asphalt, similar tips for maintaining your gravel driveway also emphasize the importance of regular upkeep.
Ultimately, taking care of your driveway is part of a complete property care cycle. A beautifully maintained driveway paired with sparkling clean windows and a pristine exterior creates a powerful first impression. At South Mountain Window Cleaning, we see ourselves as your partner in keeping every part of your Phoenix home or business—from the pavement to the penthouse glass—looking its absolute best.
Frequently Asked Questions About Driveway Sealing
Even with thorough research, you might still have questions about sealing your driveway. We get it. Here are answers to some of the most common questions Phoenix homeowners ask, giving you the clarity you need.
How Much Does It Cost to Seal a Driveway in Phoenix?
For a professional job in the Phoenix area, you can generally expect the cost to be between $0.20 to $0.50 per square foot. The final price depends on factors like the size of your driveway, the extent of crack repair needed, and the quality of the sealer used.
You might also be curious about how this compares to other exterior cleaning jobs. We break down similar services in our guide on the cost of pressure washing.
While a DIY approach saves on labor, a professional service brings expertise, thorough preparation, and commercial-grade sealers, which almost always results in a more durable, longer-lasting finish and better long-term value.
Can You Seal Over Cracks in the Asphalt?
No, especially if the cracks are wider than a hairline. Think of sealer as a thin coat of paint; it protects the surface but doesn't fix underlying damage. For a lasting repair, every crack must be cleaned out and filled with a dedicated, flexible asphalt crack filler before sealing.
Skipping this step allows water to get under the new sealcoat, where it can cause further damage, turning small cracks into major potholes. Filling cracks first is essential for a job that will actually last.
Sealer protects the surface; filler fixes the foundation. Applying sealer over an unfilled crack is like painting over a hole in the wall—it hides the problem for a little while but does nothing to solve it.
How Long Do I Stay Off the Driveway After Sealing?
Patience is crucial after the work is done. As a general rule, you should keep people from walking on the fresh surface for at least 4 to 8 hours. More importantly, you must wait a full 24 to 48 hours before driving or parking on it.
This waiting period is not a suggestion—it's essential for allowing the sealer to fully cure. Rushing this can leave permanent tire marks and ruin the protective barrier you just invested in.
Will Driveway Sealer Make the Surface Slippery?
A freshly sealed driveway can be slightly slick, especially after rain. However, most modern professional-grade sealers include anti-slip additives to improve traction.
If your driveway has a steep slope or you're particularly concerned about slips and falls, just ask your contractor. They can add sand or another aggregate to the sealer mix to provide extra grip and complete peace of mind.
For any of your exterior maintenance jobs, from preparing your driveway for sealing to making your windows look brand new, the licensed and insured team at South Mountain Window Cleaning has you covered. We proudly serve residential, commercial, and high-rise clients in Phoenix, Scottsdale, Paradise Valley, Chandler, Tempe, and Gilbert. Schedule your free estimate online or give us a call today to see how we can bring back your property’s curb appeal.